Turning the magnification ring makes a distant object look larger. That part is obvious. What is less obvious is that a larger image is not automatically a more detailed image.
If the optical system has already lost a fine edge, weak contrast or a small texture, extra magnification cannot rebuild it. It only enlarges the image that reached your eye—including its blur, colour fringing, shimmer and shake. This is why a clear view at 10× can sometimes be more useful than a soft, unstable view at 16× or 20×.
The practical lesson is simple: magnification and resolution work together, but they are not the same specification.
What does magnification actually do?
Magnification changes the apparent angular size of the scene. A feature viewed at 12× appears larger than it does at 6×, so your eye may find it easier to examine.
That can reveal detail when the scope is already resolving that detail and the viewing conditions support it. It does not mean that doubling the magnification doubles the information in the image.
This distinction is sometimes described as empty magnification: the view becomes bigger, but no additional detail becomes visible. The idea is widely used in optical microscopy, but the basic warning also makes sense for a sporting optic. Once the useful detail is limited by the glass, focus, atmosphere, available contrast or your ability to hold the view steady, turning the ring farther may simply enlarge the limitation.
If you are still deciding what power range fits your normal distances, start with our beginner’s guide to scope magnification. The goal is usable power, not the largest number on the box.
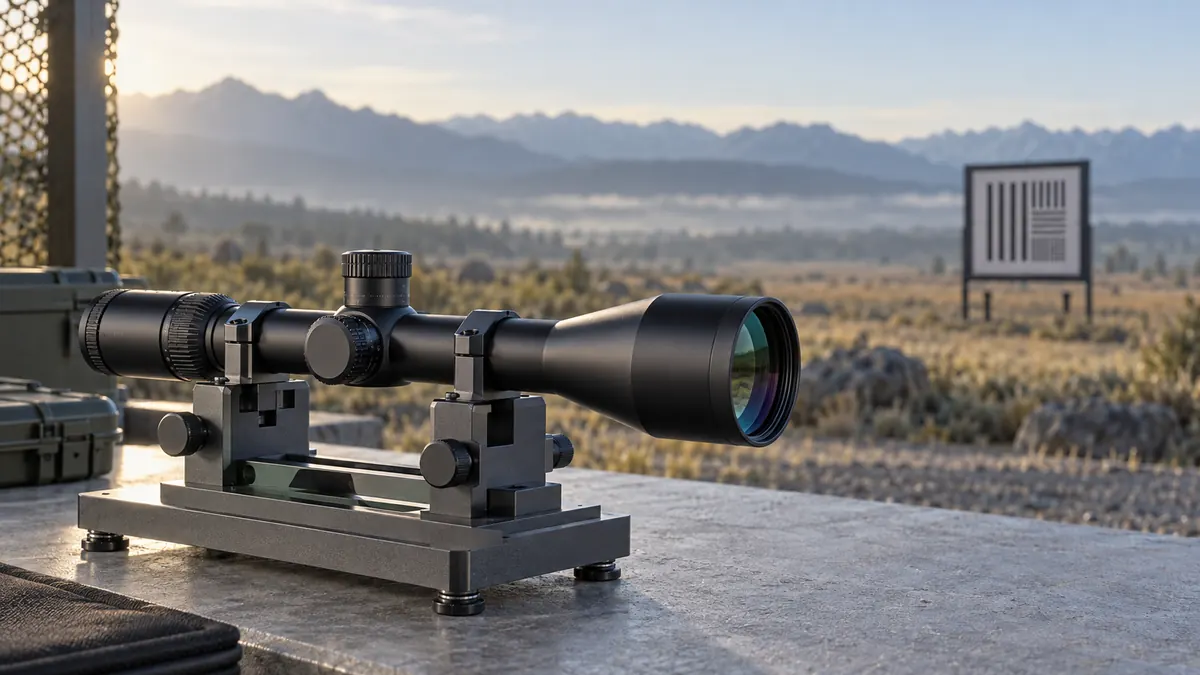
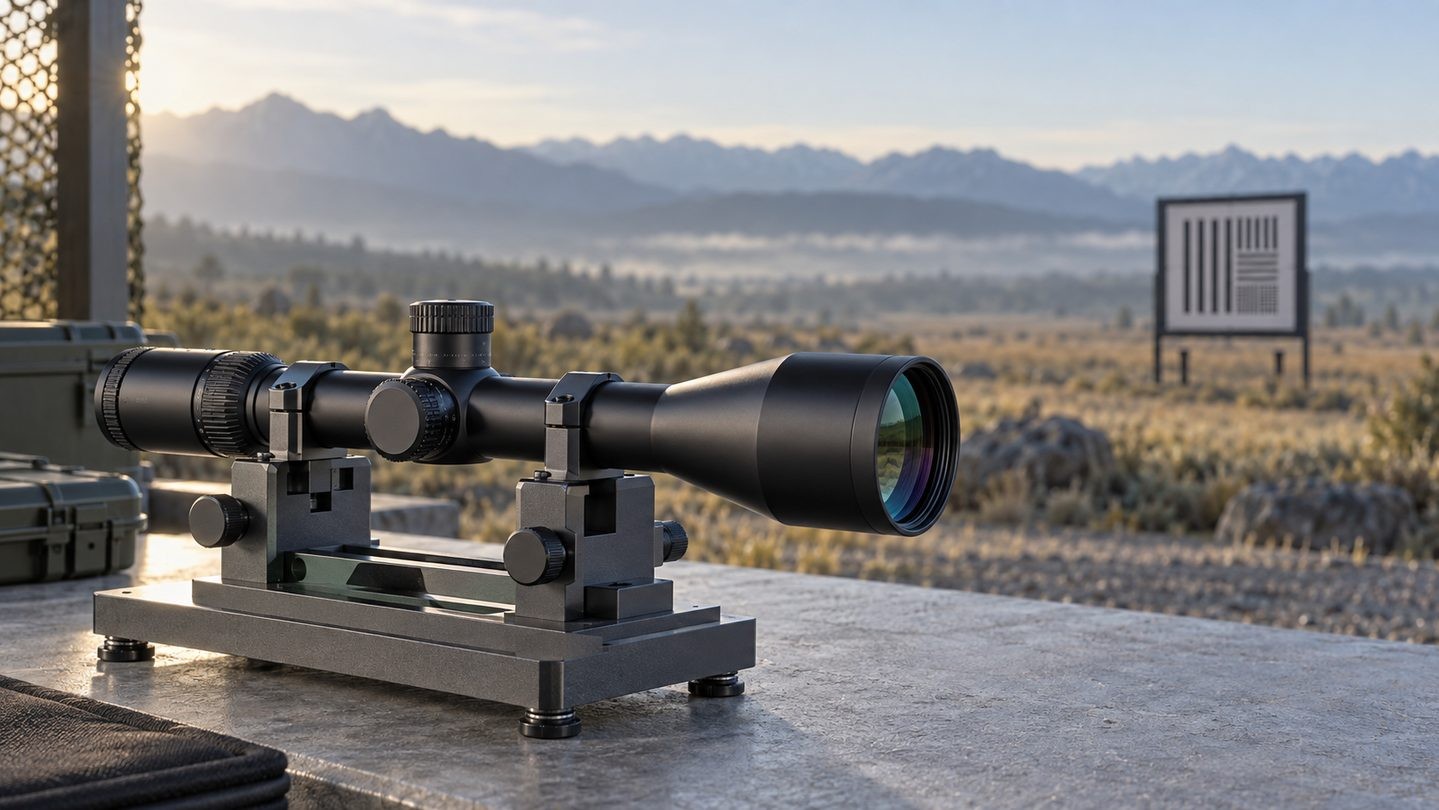
Illustration: a controlled target is more useful for comparing fine detail than a quick glance at an irregular outdoor scene. This is a generic educational image, not a laboratory test of a specific scope.
What is optical resolution?
Resolution is the ability of an optical system to separate fine details that are close together. A common laboratory approach uses alternating light and dark lines that become progressively finer. At some point the lines no longer look separate and begin to merge into grey.
That does not make resolution a simple yes-or-no number. Fine detail also needs enough contrast to be visible. A lens may technically separate two features, yet reproduce them with so little difference between light and dark that they are difficult to recognise. This is why optical engineers often discuss resolution and contrast together through measurements such as modulation transfer function, or MTF.
For a beginner, there is no need to read an MTF chart before buying a scope. The useful takeaway is that sharpness is not just about whether an edge exists. It is also about how clearly the system preserves the difference across that edge.
Why high magnification can make the view look worse
Higher power places greater demands on the complete viewing system. Several effects become easier to notice.
It enlarges optical imperfections
Residual spherical aberration, astigmatism, colour fringing and imperfect edge performance may be less distracting at moderate power. At the top of the zoom range, they can become more obvious. Our guide to ED glass and chromatic aberration explains why coloured fringes are one part of image quality, not a complete score by themselves.
It enlarges atmospheric distortion
Warm ground, dust, haze and moisture sit between the scope and the subject. Magnification enlarges their effects along with the subject. On a hot afternoon, turning down the power can produce a steadier, more readable image even though the subject appears smaller.
It enlarges movement
Small movement from the support, your body or the viewing position becomes more visible at higher power. If the image never settles, the extra scale may not help you inspect detail.
It usually reduces exit pupil
For a fixed objective diameter, exit pupil becomes smaller as magnification rises. A 50 mm objective provides a nominal 5 mm exit pupil at 10×, but only 2.5 mm at 20×. A smaller exit pupil is not automatically bad, but it can make eye position less forgiving and can limit apparent brightness when the observer’s pupil is larger in dim conditions.
It narrows field of view
More power normally shows a smaller slice of the scene. That may be useful after you have found the detail you want to inspect, but it can make initial observation slower. Our field-of-view guide explains why FOV must be compared at the same magnification and reference distance.
Focus problems are not resolution problems
Before judging a scope’s resolution, set up the view correctly. Three different adjustments are often confused:
- the diopter is used to make the reticle look sharp for your eye;
- the side-focus or adjustable-objective control is used to focus the target image and reduce parallax error at the chosen distance;
- the magnification ring changes apparent image size.
If the reticle is soft, the diopter may need attention. If the target is soft or seems to shift relative to the reticle as your eye moves, the parallax/focus setting may need attention. Neither problem proves that the scope lacks resolution.
Work through those controls in the right order with our guide to parallax, target focus and diopter adjustment.
Do coatings, ED glass and light transmission determine resolution?
They influence what you see, but none is a stand-alone resolution guarantee.
Anti-reflective coatings can reduce losses and internal reflections, helping the image retain contrast. ED glass can reduce certain forms of chromatic aberration. Good baffling can keep stray light from washing out darker details. Consistent assembly helps the optical elements perform closer to their intended design.
These features support useful image quality, but a marketing label alone does not tell you how the complete scope performs. The lens-coating guide and our explanation of rifle-scope light transmission show why contrast, glare control and measurement context matter alongside headline specifications.
A practical way to compare two scopes
You do not need a laboratory to make a more disciplined comparison. You do need to keep the conditions consistent.
- Use the same target, distance and lighting. A printed line pattern, textured sign or natural object with fine high- and low-contrast detail is more informative than two unrelated views.
- Set both scopes to the same magnification. Compare 10× with 10× before comparing either scope at its maximum setting.
- Adjust the diopter and target focus carefully. Give your eye a short rest between repeated checks so it is not doing all the focusing work.
- Stabilise the optic. A steady test cradle or other secure support helps separate image movement from optical performance. Follow all applicable safety rules and local laws, and never look at the sun through an optic.
- Check centre and edge detail. A scope may look crisp in the centre but soften toward the edge. Decide which part of the field matters for your use.
- Turn up magnification gradually. Note the point at which additional power stops revealing new detail and begins to emphasise shimmer, softness or movement.
- Repeat in realistic conditions. A bright indoor target cannot tell you everything about glare, haze or fading outdoor light.
The comparison will still be subjective, especially without calibrated targets and instruments. It is nevertheless far more useful than looking through one scope at 6× and another at 18× and deciding that the larger image must be better.
What should beginners look for?
Start with a magnification range that suits the distances and observation tasks you actually expect. Then look for a balanced image rather than one dramatic number.
A useful scope should let you find the subject, focus without fuss, maintain a full image from a natural eye position and see the detail that matters under realistic light. Moderate power with good contrast and stable focus often beats maximum power that you rarely use.
Also read a model name carefully. The numbers in 3–9×40, for example, describe magnification range and objective diameter; they do not state resolution. Our guide to what rifle-scope numbers mean separates those basic specifications.
The bottom line
Magnification makes detail larger. Resolution determines whether the optical system can separate that detail in the first place, while contrast determines how clearly your eye can recognise it.
Use enough magnification to make the important feature comfortable to inspect—but stop when more power only magnifies blur, shimmer or shake. That setting may change with the light, distance, atmosphere and support, which is why the most useful magnification is often a range rather than a single maximum number.
For more plain-language comparisons, browse the USEEIN Buying Guides.

















Leave a comment