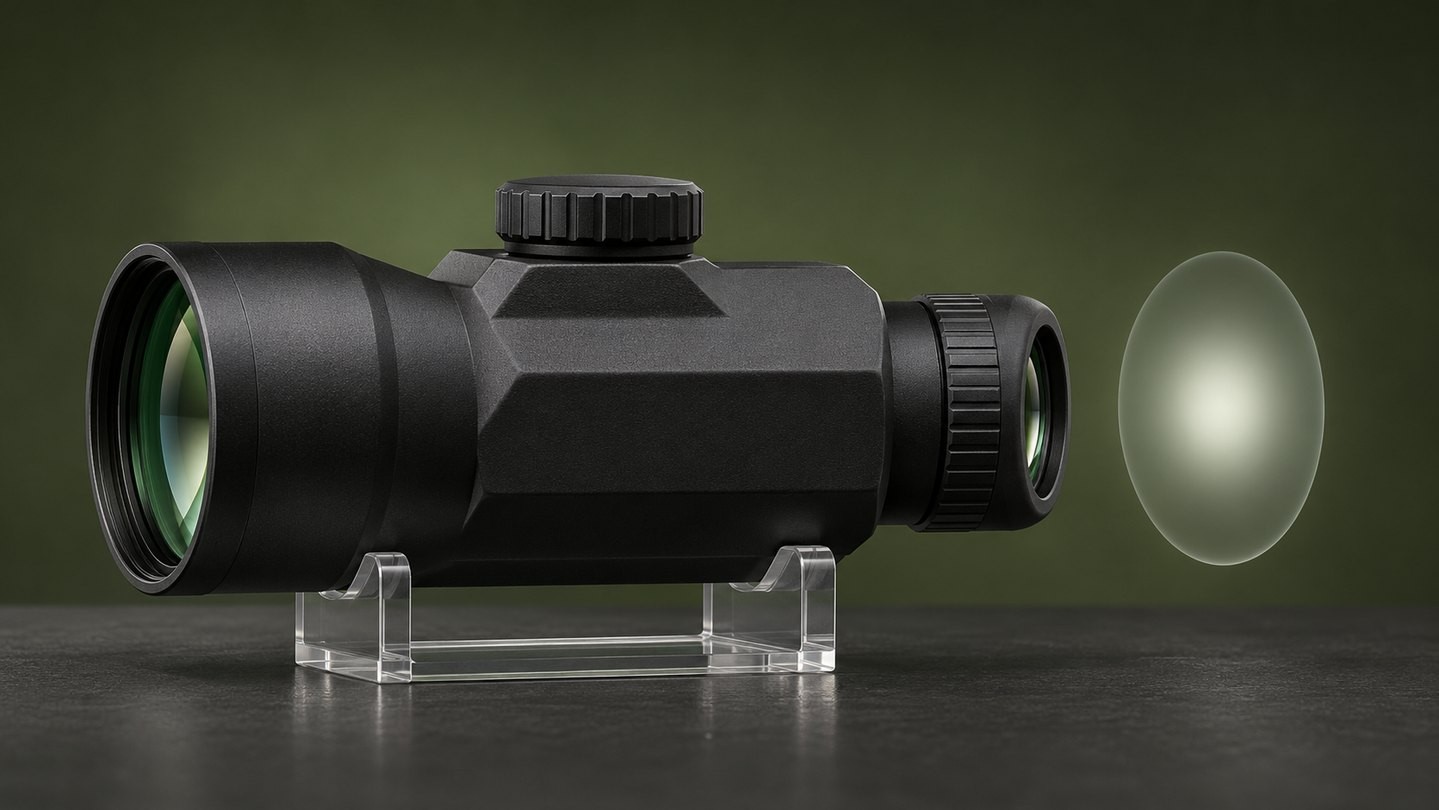
A prism scope can look perfectly clear when your head is in one position, then darken or lose part of the image after a small movement. That does not automatically mean the optic is defective. Unlike a reflex red dot, a prism scope forms a real optical image and gives your eye a defined area where the full field of view is available.
Understanding that area makes setup much easier. The key is to separate three ideas that are often blended together: eye relief, eye box and diopter focus. They interact, but each solves a different problem.
Eye relief is a distance; the eye box is a usable space
Eye relief is the distance from the rear ocular lens to the position where your eye can see the intended image. Manufacturers normally publish it as a distance or range for a specific model. It is a starting point for placement, not a promise that every position at that distance will show a perfect view.
The eye box is the three-dimensional space in which your eye can move while retaining a useful sight picture. It includes forward-and-back tolerance as well as some vertical and lateral movement. Our general guide to the scope eye box explains why a single eye-relief number cannot describe the whole viewing experience.
Why a prism scope does not behave like a red dot
A reflex red dot is commonly described as having unlimited eye relief because the projected dot can be seen from a wide range of distances behind the window. A prism scope uses lenses and a prism to form a magnified or nominally 1x image. Your eye therefore needs to sit within the optical system's usable exit position.
This difference is why moving far behind a prism scope can shrink the visible image even if the reticle remains recognizable. A 1x prism may feel relatively forgiving, but it should not be assumed to behave exactly like a red dot. The comparison in our red dot, prism and LPVO guide covers the larger design trade-offs.
Magnification can change how forgiving the position feels
Eye relief is model-specific, not a universal value for all prism scopes. Current manufacturer examples show why. Vortex lists different eye-relief specifications for its 1x, 3x and 5x Spitfire models. Primary Arms likewise explains that some of its 1x MicroPrism models allow a broad usable range, while its higher-magnification examples have a more defined optimum position.
Those examples do not create a rule that every higher-power prism must have a particular distance or a smaller eye box. Housing length, ocular design, exit pupil and the complete optical system all matter. Use the specification and manual for the exact model. If you are still selecting magnification, see the 1x versus 3x versus 5x prism comparison.
Too close or too far usually creates scope shadow
When your eye moves forward or backward beyond the useful range, a dark ring or crescent can appear around the image. Continue moving and the bright circle may become smaller until the view is mostly dark. This is commonly called scope shadow. It is the optical system showing that your eye is no longer centered in its usable exit area.
Do not try to fix this first with brightness. Illumination can make the etched reticle easier to see against the scene, but it does not move the eye-relief zone. Move your viewing position slowly forward and backward instead. The point where the full field appears with the least effort is the useful reference for mount placement.
Side-to-side or vertical movement crops the image differently
Forward-and-back distance is only part of the problem. If your eye moves left, right, up or down, one edge of the sight picture may darken first. A crescent on one side is a useful clue that the eye is off the optical axis rather than simply too far away.
Small changes can come from head height, shoulder position, cheek pressure or the height of the optic. The goal is not to freeze your head with unnatural effort. It is to place the optic so your normal, repeatable position begins near the center of its eye box.
The diopter sharpens the reticle; it does not move the eye box
The rear diopter adjusts reticle focus for your eyesight. It is not an eye-relief control, and it does not correct an optic that is mounted too far forward, too far rearward or at an awkward height. Turning it while your eye is outside the usable position can make setup confusing because the view keeps changing for two different reasons.
Establish a stable full image first, then set the diopter using brief glances at the reticle against a plain background. Our prism-scope diopter guide gives the sequence and explains why staring through the optic can let your eye compensate temporarily.
Set the mounting position before final tightening
Begin with the mounting hardware secure enough to support the optic but still adjustable according to the manufacturer's instructions. Use the posture and head position in which the optic will actually be viewed. Slide the optic only within the permitted mounting range until the full image appears naturally.
Check the position more than once before final tightening. A setup that looks perfect during an upright bench check may feel different when the user's posture changes. Confirm that controls remain accessible, the optic does not contact another component and the selected mounting interface is fully engaged. Then follow the exact fastener sequence and torque instructions for the model.
Check repeatability rather than chasing one perfect glance
Close your eyes, settle into your normal position, then open them and observe the image. Repeat this several times. If the full field appears without searching, the setup is probably close to a useful position. If you consistently see the same dark crescent, the mount height or fore-and-aft position may need attention.
Use the same basic check with any intended clothing, eyewear or protective equipment that changes head position. The purpose is not to claim that one setup fits every person. It is to confirm that the chosen arrangement works repeatedly for the intended user.
Do not confuse eye-relief limits with an optical fault
A view that returns cleanly when the eye moves back into position usually points to normal eye-relief or eye-box behavior. A problem deserves a different response if the image stays partly blocked in every reasonable position, a lens appears loose, the reticle remains unexpectedly displaced, controls bind or the housing shows impact damage.
Also separate illumination issues from the etched image. Many prism reticles remain visible without power, while illumination only adds contrast. The etched-reticle versus illumination guide explains that distinction. If the correct position, focus and brightness checks do not restore a normal view, stop adjusting and contact the manufacturer or seller with the exact model and symptoms.
The practical takeaway
Prism-scope eye relief tells you where the eye should be along the optical axis; the eye box describes how much movement is available around that position. Moving too close, too far or off-axis can shrink the image or create dark crescents even when the optic is functioning normally.
Start with the exact model's published specification, place the optic for a natural repeatable view, and set the diopter only after the full image is stable. A good setup is not the one that works for a single carefully arranged glance. It is the one that returns a clear, complete picture when you settle into the same normal position again.

















Leave a comment