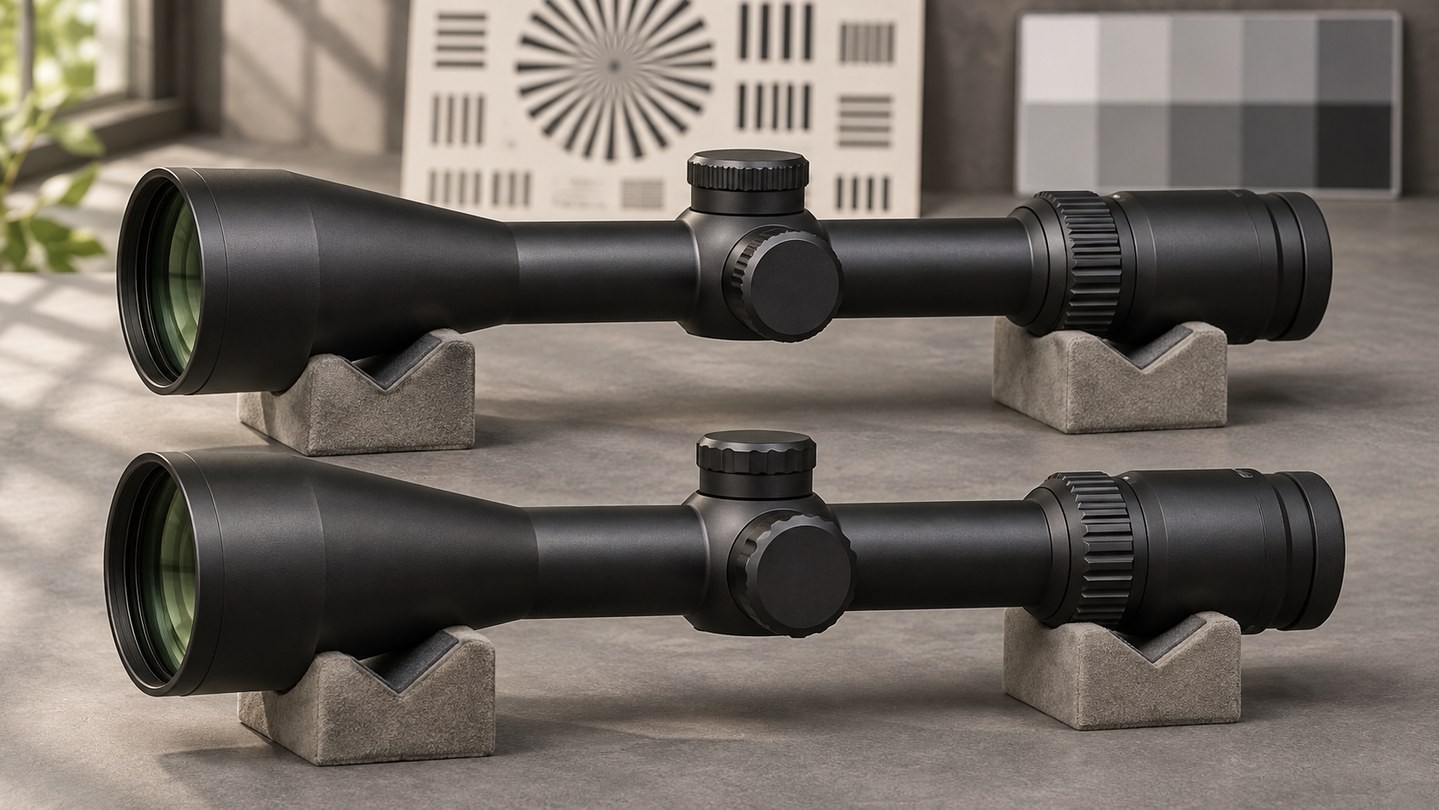
Put two rifle scopes on a bench and one will often look “better” within seconds. The brighter image wins. The wider view wins. The scope with the larger-looking target wins. The trouble is that quick impressions can come from mismatched magnification, an unset diopter, different eye position or even a small change in lighting—not necessarily from better optics.
A useful comparison is less dramatic and more controlled. You do not need a laboratory, but you do need to give both scopes the same job. The method below keeps the comparison safe, repeatable and focused on what you can actually observe.
Start With a Safe, Stable Test Setup
Compare unmounted optics on inert supports, or follow the manufacturer's handling instructions for the exact equipment. Do not conduct an optical comparison while handling a loaded firearm. A padded bench, two stable rests and a distant scene with fine detail are enough for most checks.
Choose a scene that includes several kinds of information: dark texture in shade, a bright area nearby, straight lines, foliage or lettering, and detail near the center and edge. Never point an optic at the sun or another intense light source. The goal is to reveal ordinary differences, not to create an unsafe stress test.
If possible, place both scopes close enough that you can switch between them without changing your seating position or the scene. Remove dirty lens caps, but do not clean glass automatically. Loose dust that does not affect the image is safer left alone than rubbed across a coating.
Record the Basic Specifications First
Write down each model's magnification range, objective diameter, field-of-view figures, eye relief, parallax setting or adjustment range, and any published exit-pupil values. These numbers do not decide the winner, but they explain why two scopes may not be directly comparable at every setting.
For example, the last number in a label such as 3–15×50 is the nominal objective diameter, not a brightness score. Our guide to rifle scope numbers explains the notation. Likewise, a wider main tube does not automatically mean a brighter image.
Use the specifications to choose fair checkpoints. If one scope is 3–15× and the other is 4–20×, compare them first at powers they share—perhaps 4×, 8× and 12×—rather than comparing each at its maximum.
Set the Diopter for Each Viewer
The eyepiece diopter focuses the reticle for the user's eye. It does not focus the distant scene. If one scope's reticle is crisp and the other's is not, the second scope begins the comparison with an avoidable disadvantage.
Follow the exact manufacturer's procedure. In general, use brief glances at a plain, bright background, look away between adjustments and stop when the reticle appears immediately sharp. Do not stare while turning the eyepiece; your eye can accommodate and hide a poor setting. If another person joins the test, let that person set each diopter again.
Once the reticles are sharp, leave the diopters alone while comparing target detail. Repeatedly using the diopter to sharpen the scene mixes two different controls and makes the result hard to reproduce.
Match Magnification—Do Not Trust the Ring Mark Alone
Start at a shared, moderate magnification. Ring markings are useful references, but small calibration and apparent-scale differences can remain between models. A target that looks larger can seem sharper even when it does not contain more resolved detail.
Use the printed settings as your starting point, then compare a known object in the center of the view. If one image is visibly larger, note the mismatch instead of immediately awarding it more resolution. The distinction matters because magnification enlarges both real detail and blur. See our explanation of resolution versus magnification for a fuller treatment.
Repeat the comparison at two or three shared settings. A scope that looks excellent at 6× may behave differently near the top of its range, and that change is part of the product's real usefulness.
Focus the Target and Control Parallax
If both scopes have adjustable parallax or target-focus controls, set them for the same scene and distance. Treat printed yardage or metre marks as starting references. Refine the control until the target is clear, then move your eye slightly behind the eyepiece. If the reticle appears to shift across the target, adjust again according to the manufacturer's instructions.
If one scope has fixed parallax and the other is adjustable, record that difference. You can still compare the image, but do not pretend the controls are equivalent. Use a distance that suits the fixed-parallax design when practical.
Focus error can look like poor glass. Parallax error can also make a fine aiming reference appear inconsistent as your eye moves. Correcting both before judging clarity prevents a setup problem from becoming a false optical verdict.
Keep Eye Position Consistent
Move behind each scope until you see the full field without a heavy black ring or crescent. Then center your pupil and relax. If you have to hunt for the image, record that experience—it tells you something about eye relief and the practical eye box—but do not judge edge clarity from a partly shadowed view.
Our eye-box guide explains why the usable viewing space is not captured by one simple number. Test it separately by moving slightly forward, backward and sideways. Do not let a forgiving eye box substitute for a sharpness test, or vice versa. They are different qualities.
Glasses, posture and the height of the support can change the experience. Keep those conditions the same for both scopes, and let each viewer report their own result rather than forcing a group verdict.
Compare One Image Quality at a Time
“Clear” is too broad to be useful. Break the view into smaller questions:
- Center detail: Can you separate fine edges or lettering at the same magnification?
- Edge detail: Does the outer field stay useful, or soften abruptly?
- Contrast: Can you distinguish similar dark tones in shade?
- Color: Does either image add an obvious warm, cool or green cast?
- Stray-light control: Does a bright area near—not inside—the field wash out darker detail?
- Distortion: Do straight lines bend or does the scene stretch while you pan?
Change only one condition at a time. If you move to a different target, raise magnification and shift your eye position simultaneously, you will not know what caused the new impression.
Lens-coating labels can help describe construction, but they do not replace observation. Read the rifle-scope lens coating guide before treating a visible reflection color or the phrase “fully multicoated” as a complete quality grade.
Test Field of View Separately From Image Scale
At the same stated magnification and distance, note how much of the scene each scope shows. Use two landmarks near opposite edges instead of relying on the size of the circular image alone. A view can look large and immersive without actually covering more of the scene.
Published field of view is normally expressed as a width at a stated distance, such as feet at 100 yards or metres at 100 metres. Compare like with like. The field-of-view guide shows how to read those units and why magnification alone does not predict the exact result.
After checking width, pan slowly across straight lines and detailed edges. This can reveal distortion or edge behavior that a centered, static view hides. Keep panning speed and eye position as consistent as possible.
Repeat the Check as Light Changes
A bright midday comparison can hide differences that appear near dusk, while a single low-light look can overemphasize pupil size, temporary eye adaptation or changing clouds. Repeat the same short checklist as ambient light changes naturally.
Give your eyes time to adapt and alternate the viewing order. If Scope A is always tested first, the order itself may influence the result. Do not point toward the sun to manufacture glare. A bright sky or illuminated wall outside the field is enough to compare how well darker detail holds up.
Nominal exit pupil is objective diameter divided by magnification, but that geometry is not the whole image. Transmission, contrast, stray-light control and your own pupil all matter. Our guide to rifle-scope light transmission explains why one percentage or one objective size cannot settle a low-light comparison.
Use a Simple Score Sheet, Not a Single Winner
Record conditions at the top: date, time, weather, target distance, shared magnification, whether parallax was adjustable, and who was viewing. Then score or describe each category separately.
A practical sheet might include center detail, edge detail, contrast in shade, color neutrality, field of view, eye-box tolerance, focus ease and control feel. Add short notes rather than forcing every observation into a number. “Fine black lettering remained separate at 10×” is more useful than “clarity: 9/10.”
Repeat any surprising result. Swap the order, reset focus and ask a second viewer to set their own diopter. Agreement across repeated checks is more meaningful than one impressive glance.
What a Bench Comparison Cannot Prove
A careful visual test cannot prove turret tracking, return to zero, impact resistance, waterproofing, long-term sealing or manufacturing consistency across every unit. It also does not turn a personal preference into a universal ranking.
The scope with the widest view may not have the most forgiving eye box. The brightest-looking image may have a color cast you dislike. The sharpest center may come with softer edges. Those are trade-offs, not contradictions.
Use the side-by-side test to answer a narrower question: which optic gives the more useful view for your eyes, conditions and priorities? When magnification, focus, lighting and eye position are controlled, that answer becomes much harder for first impressions to fake.

















Leave a comment