A new optic can look ready as soon as it is mounted, but a few calm checks at the workbench can prevent confusion later. The goal is not to chase perfect settings immediately. It is to confirm that the optic, mount and viewing position work together consistently.
1. CONFIRM THE MOUNTING INTERFACE
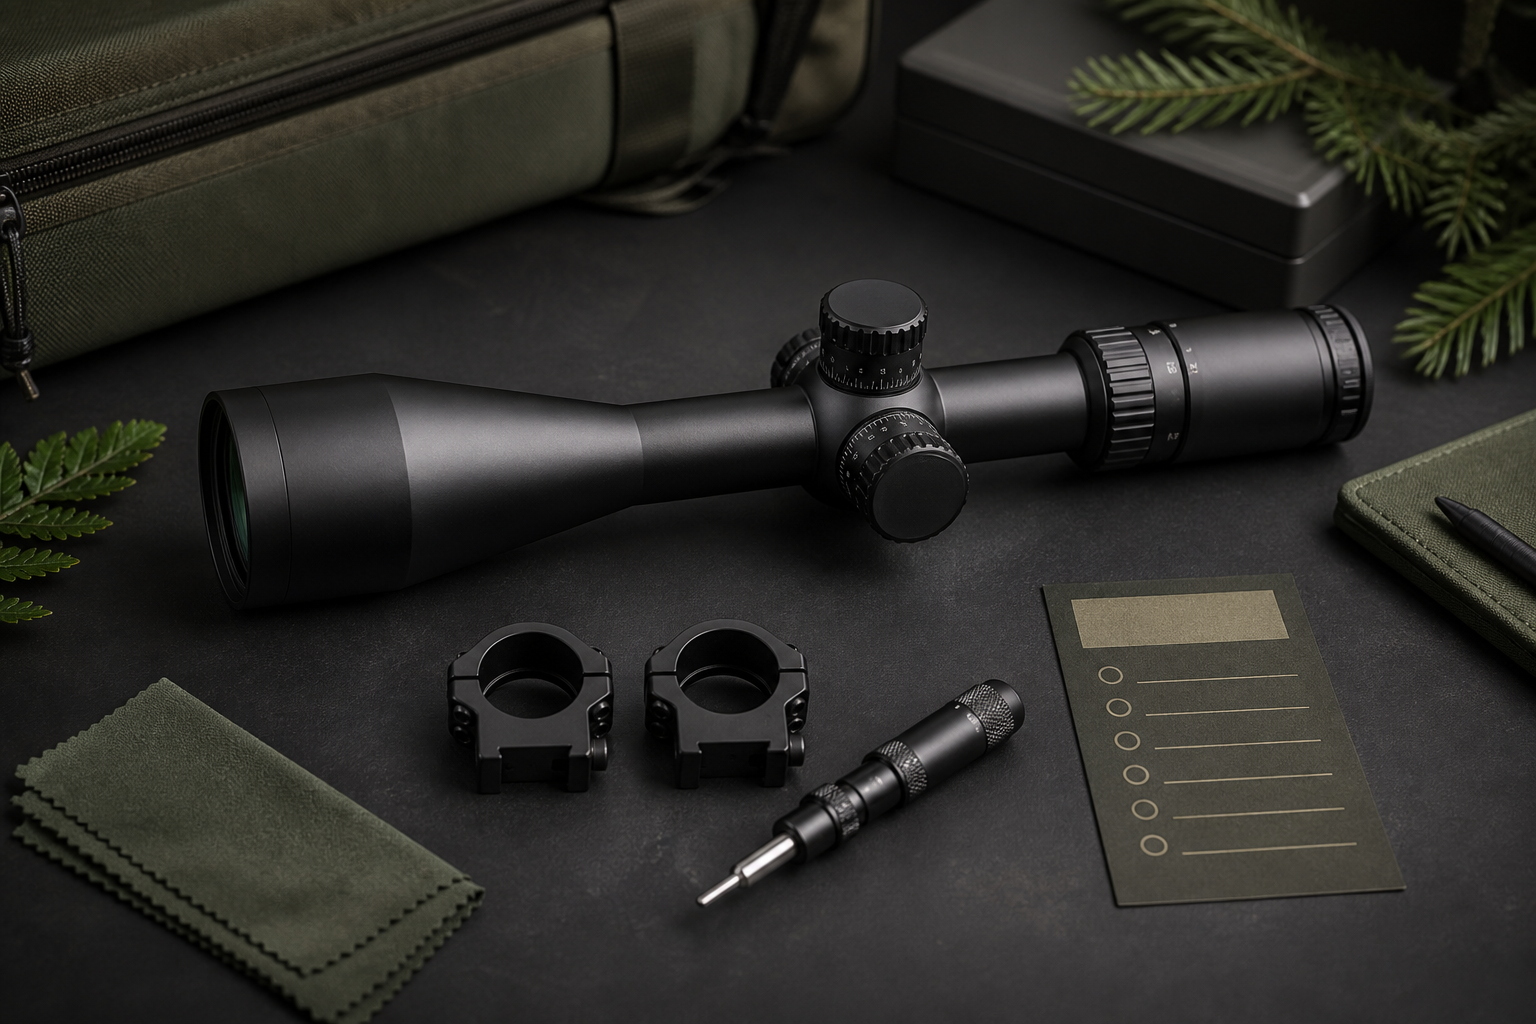
Check that the mount matches both the optic and the intended rail or base. Make sure every contact surface is clean and free of packaging oil, grit or loose debris. Follow the optic and mount manufacturers’ instructions for screw order and torque. More force is not automatically better: over-tightening can damage threads, distort a tube or make future removal difficult.
After tightening, use a small witness mark only if the manufacturer permits it. A fine removable mark makes it easier to notice unexpected movement during routine inspections.
2. SET A NATURAL VIEWING POSITION
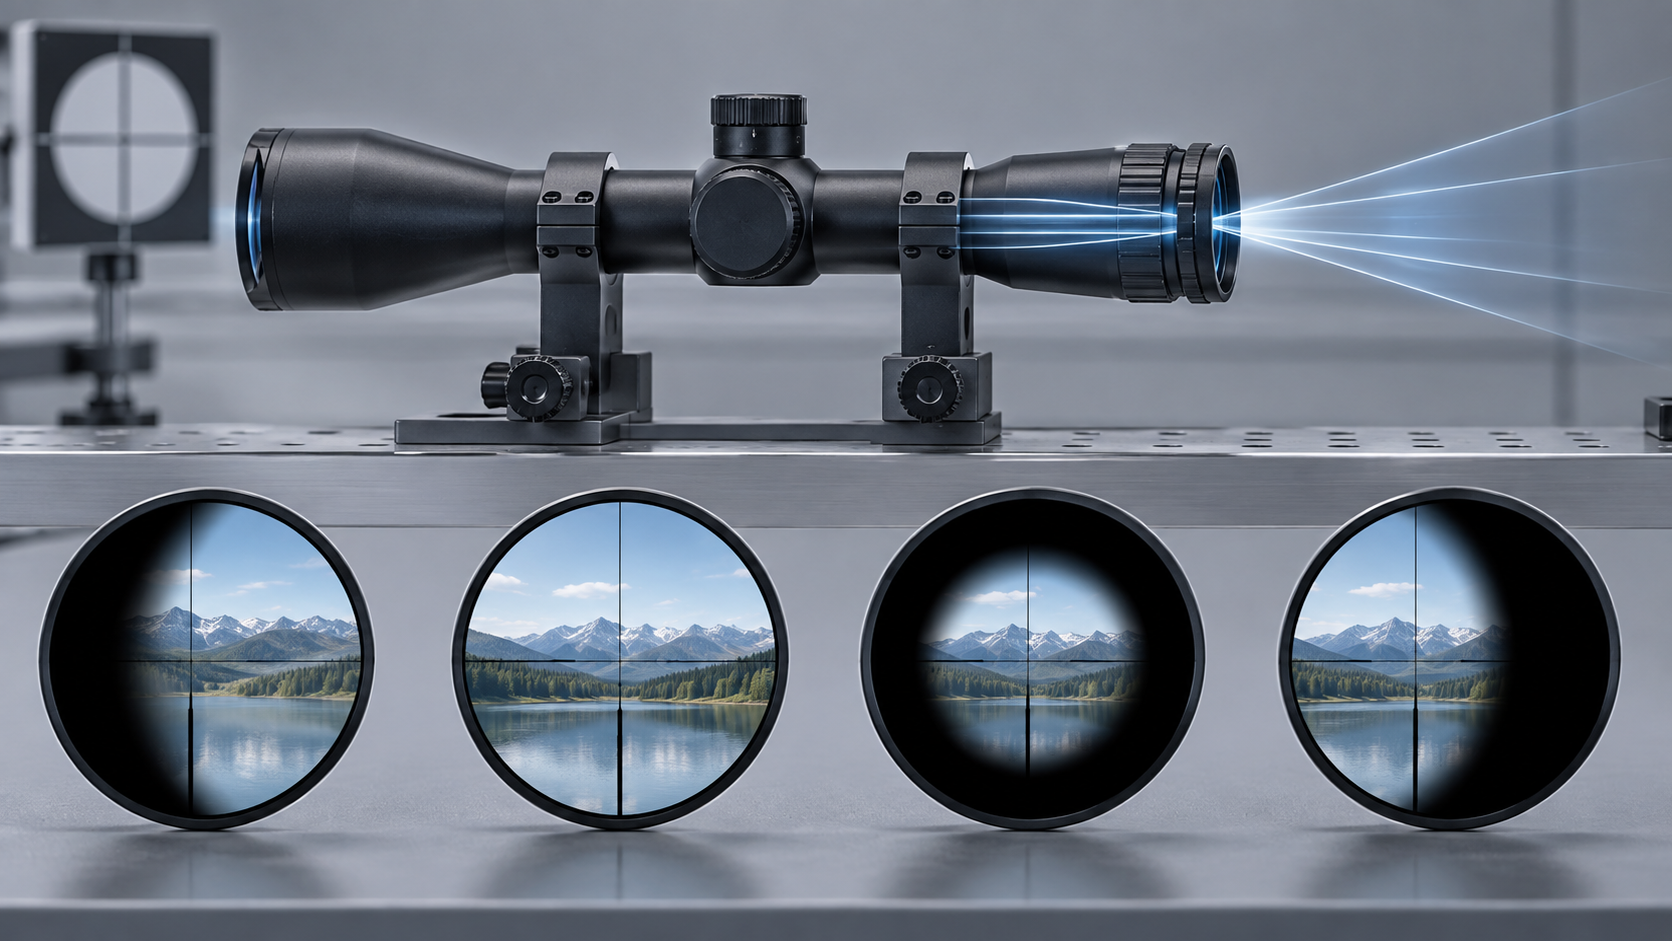
Before making fine adjustments, establish a comfortable and repeatable viewing position. With the optic at its intended magnification, bring it toward your eye position until the image appears full and clear without forcing your head forward or backward. For a variable optic, verify eye relief at both low and high magnification.
A usable setup should remain comfortable when you repeat the same position several times. If the image repeatedly shows dark edges, revisit the optic’s fore-and-aft position before changing anything else.
3. CHECK LEVEL AND RETICLE ORIENTATION
A reticle that appears slightly tilted at the bench can cause inconsistent corrections at longer distances. Use a stable, level working surface and compare the optic to a reliable reference on the mount or base. Do not use a rounded receiver surface or cosmetic edge as your only reference.
Tighten ring screws gradually and evenly, checking alignment after each small step. The gaps on split rings should remain reasonably balanced according to the mount manufacturer’s guidance.
4. LEARN THE CONTROLS BEFORE YOU NEED THEM
Identify the elevation, windage, illumination, parallax and magnification controls that apply to your optic. Turn each control gently through its normal range and return it to a sensible starting point. Never force a control beyond its stop.
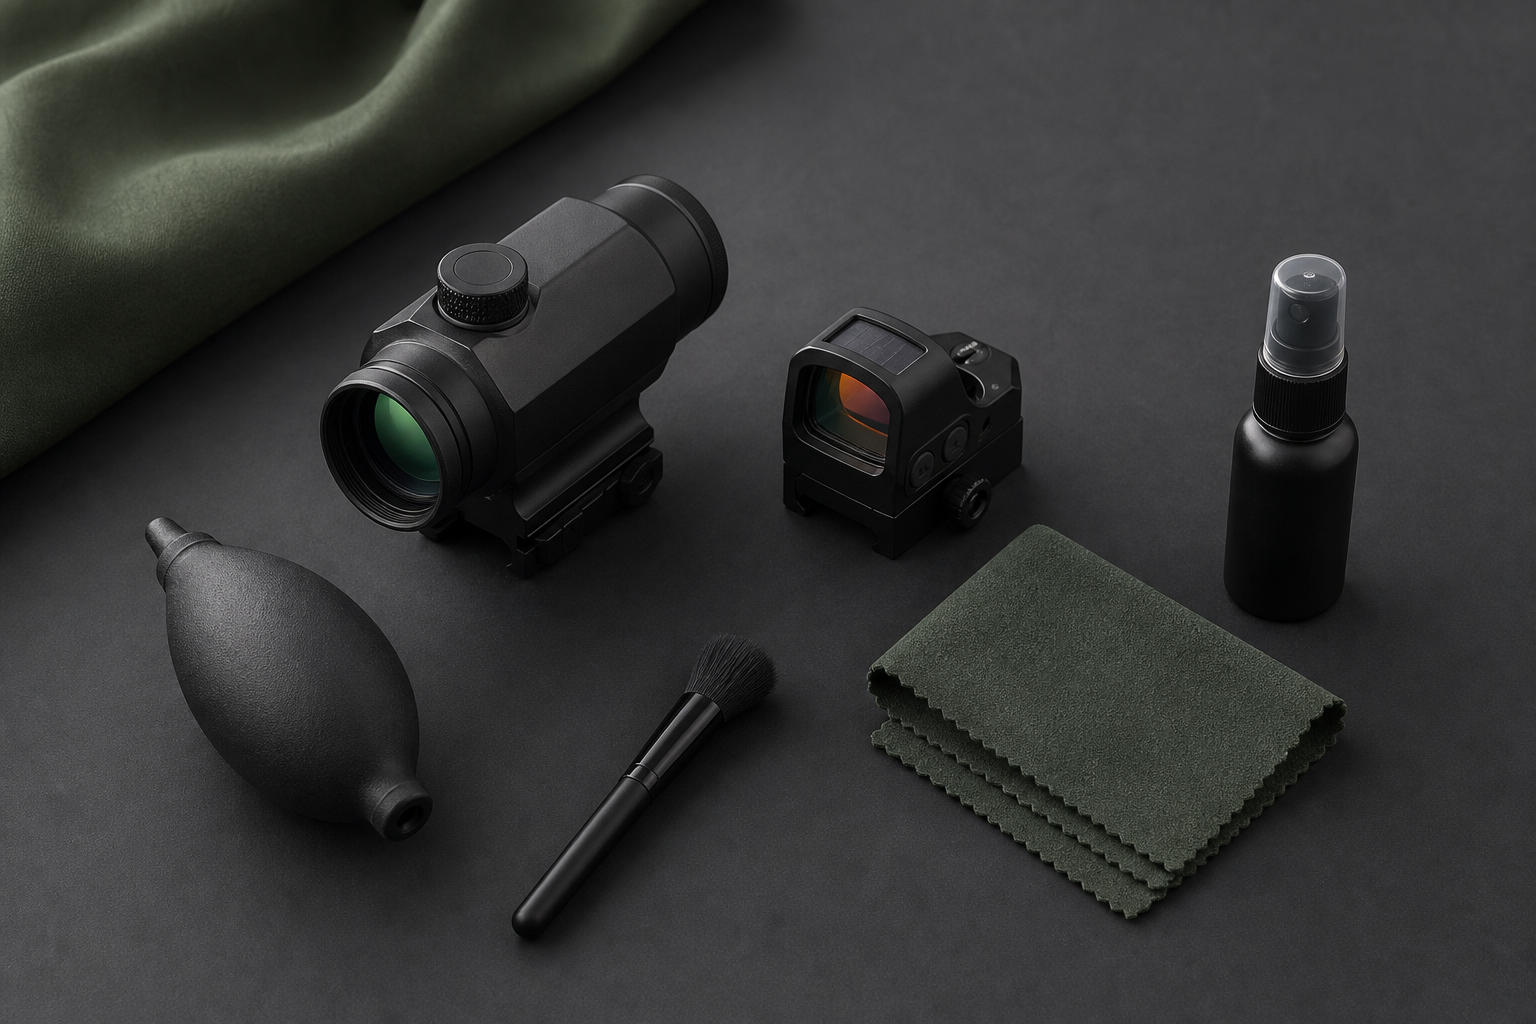
Confirm the battery type and orientation for illuminated optics. If the optic has automatic brightness, shake-awake or solar assistance, review how those features behave before relying on them. Keep a spare battery in a dry, protected place when appropriate.
5. RECORD A CLEAN STARTING POINT
Take a photo of the installed optic and write down the mount position, ring position, torque values recommended by the manufacturers and the initial turret settings. This simple record gives you a reference if the setup is moved, serviced or compared later.
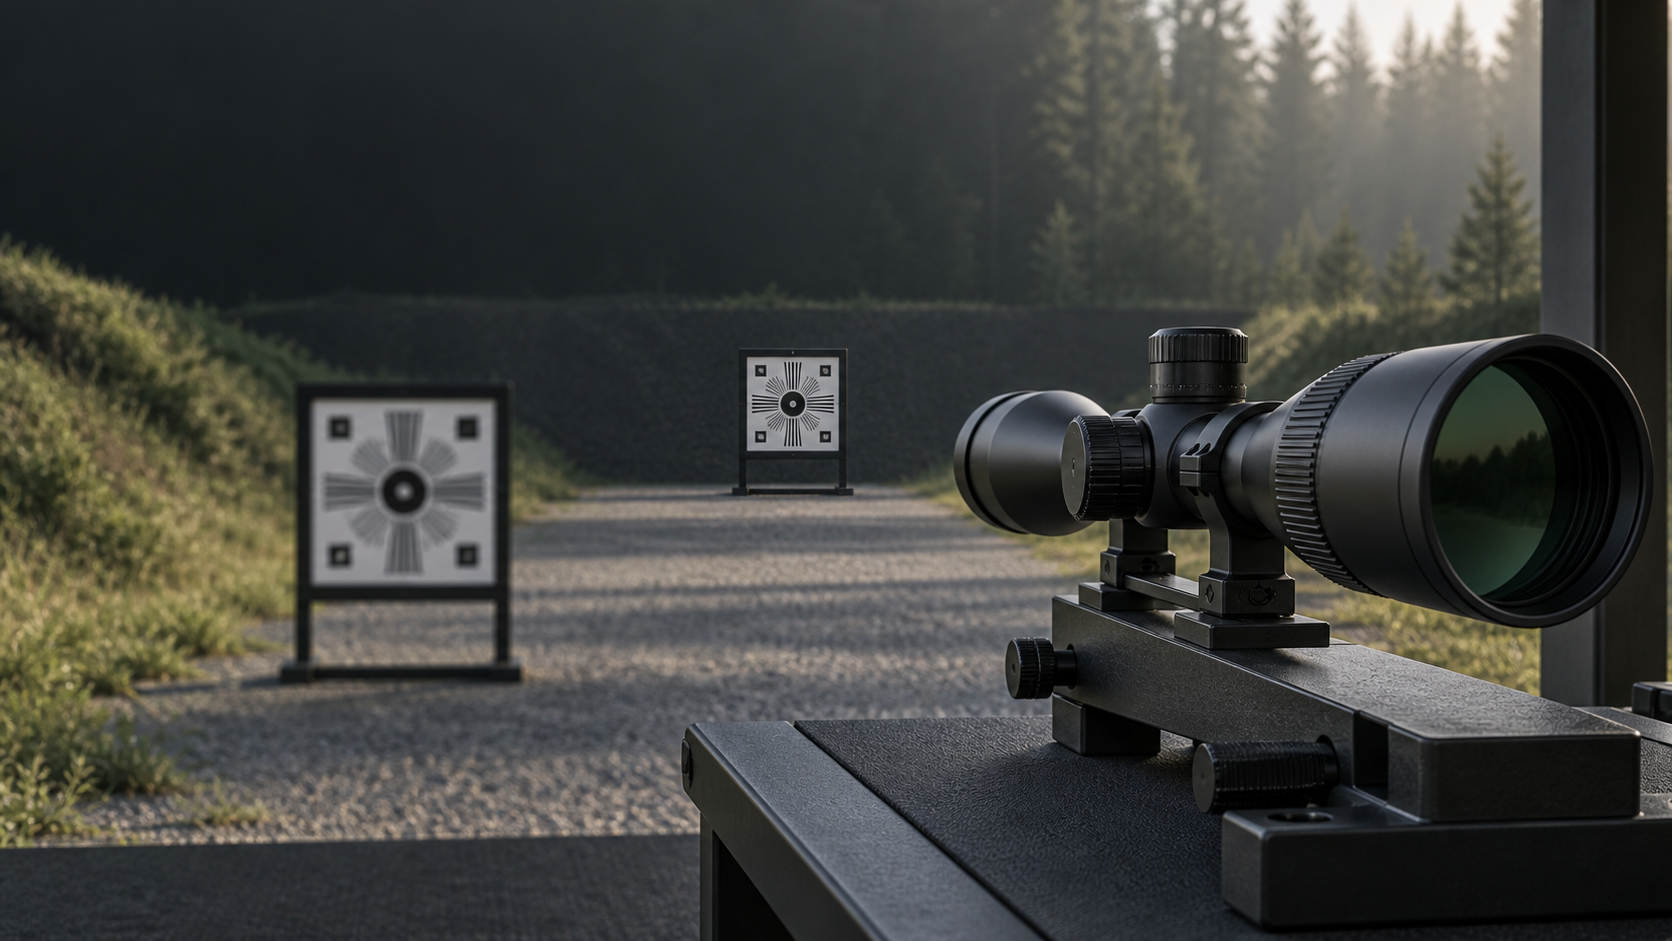
At the range, begin with a safe, stable target setup and follow all local laws, range rules and equipment instructions. Make one deliberate change at a time and record the result. If an adjustment behaves unexpectedly, stop and recheck mounting, fasteners and control direction rather than compensating with increasingly large corrections.
FINAL CHECKLIST
Before leaving the bench, confirm: the mount is compatible; fasteners follow the specified torque; eye relief is comfortable; the reticle is level; controls move normally; lens caps and accessories clear the optic; and the starting setup is documented.
A careful setup process is not complicated. It simply makes later decisions clearer, more repeatable and easier to trust.





Leave a comment