Modern optical coatings are durable, but they still benefit from careful handling. The safest cleaning routine is simple: remove loose particles first, use as little liquid as necessary, and avoid repeated rubbing.
START BY DECIDING WHETHER CLEANING IS NECESSARY
A small amount of dust rarely affects normal viewing. Cleaning too often can create more risk than leaving a few harmless particles in place. Clean the lens when fingerprints, dried droplets, pollen or oily film reduce clarity, or before long-term storage if the optic has been exposed to salt, mud or heavy moisture.
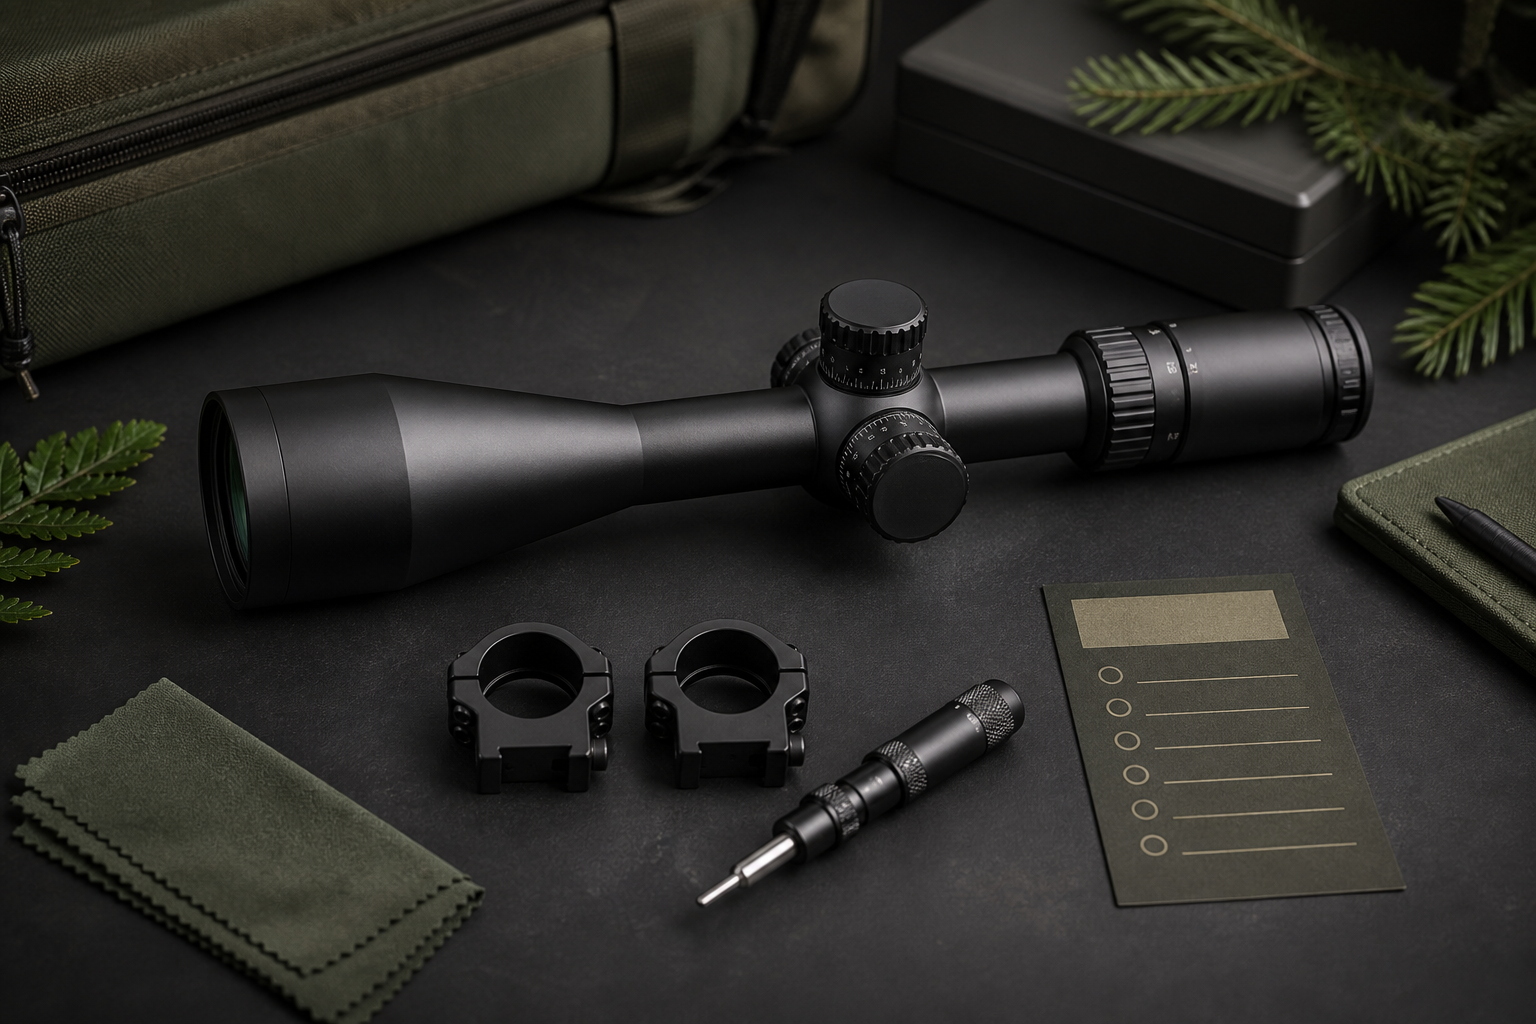
Before you begin, switch off illumination where applicable, close adjustment caps and place the optic on a stable surface. If the optic is attached to other equipment, follow all safety procedures and the manufacturer’s care instructions.
STEP 1: REMOVE LOOSE DUST WITHOUT TOUCHING THE GLASS
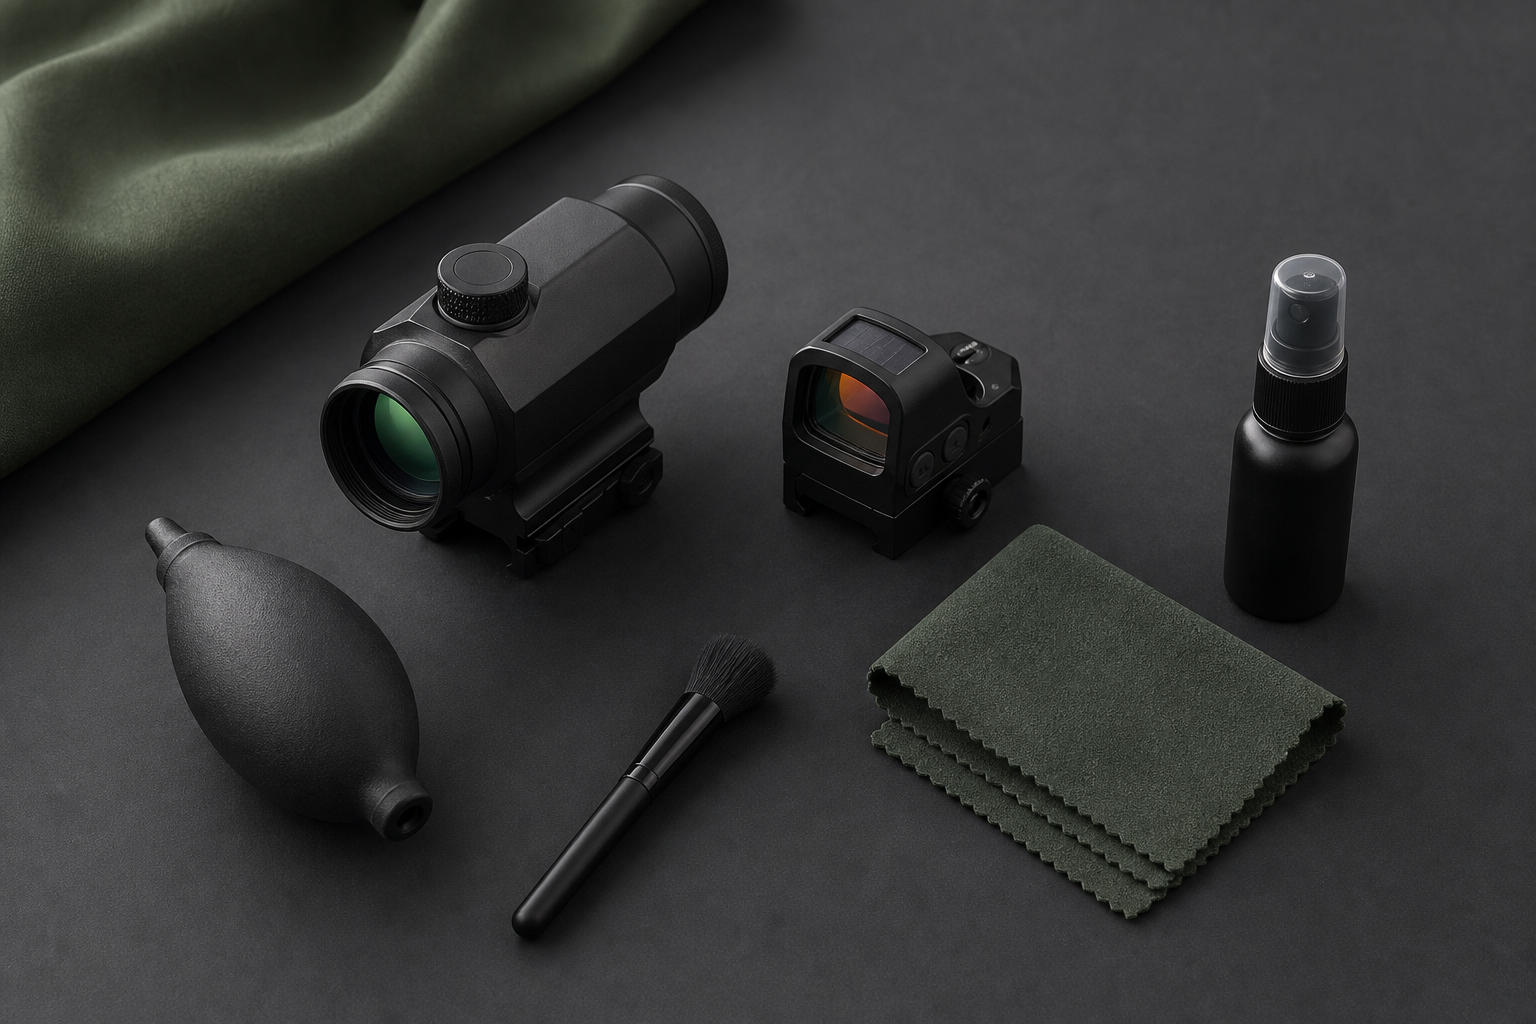
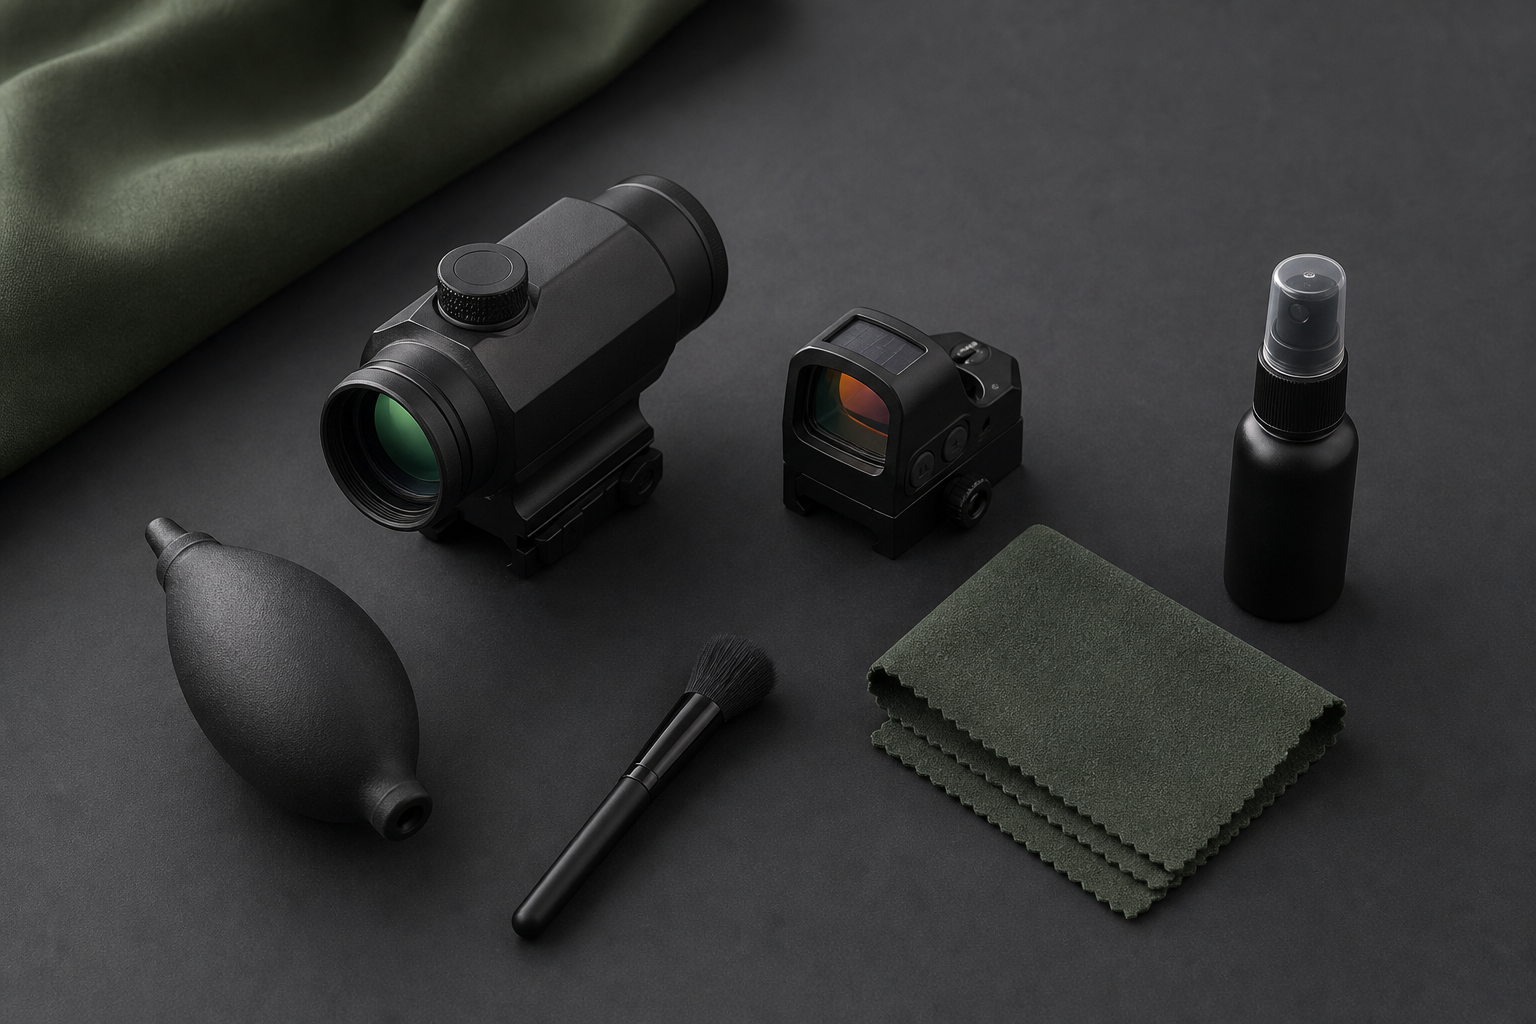
Hold the optic so debris can fall away from the lens. Use a hand-squeeze air blower to move dust from the center toward the edge. Avoid high-pressure canned air, which may release propellant or create sudden temperature changes.
For particles that remain, use a clean, very soft lens brush. Brush lightly in one direction. Do not press grit against the coating, and never use a shirt sleeve, paper towel or household tissue as the first step.
STEP 2: ADDRESS FINGERPRINTS AND OILY MARKS
Use a lens-cleaning solution specifically intended for coated optics, or follow the solution recommended by the manufacturer. Apply a small amount to a clean microfiber cloth or lens tissue rather than flooding the lens directly. Excess liquid can migrate toward seals, retaining rings or electronic areas.
Wipe gently from the center outward in a slow spiral. Use a fresh section of the cloth for each pass. If a mark remains, repeat with a new clean section instead of increasing pressure.
STEP 3: DRY AND INSPECT
Allow any remaining moisture to evaporate, then inspect the lens under soft angled light. Bright direct light can make harmless coating reflections look like defects. If you see a streak, use one final clean, dry pass with a dedicated optical microfiber cloth.
Check the exterior housing for moisture and wipe it with a separate cloth. Keeping the lens cloth separate prevents grit from the housing from returning to the glass.
WHAT TO AVOID
Do not use window cleaner, ammonia-based products, aggressive solvents or abrasive wipes. Do not scrape dried residue with a fingernail or tool. Avoid breathing directly onto a cold lens because moisture may condense around the edges. Never disassemble sealed optical components for routine cleaning.
CARE FOR RED DOT AND PRISM WINDOWS
Open reflex sights can collect dust around corners and emitters. Use a blower first and work gently around recesses. Do not push swabs into areas the manufacturer says to leave untouched. Prism optics and enclosed red dots are cleaned like other coated lenses, but their smaller openings may require a narrower clean brush or folded lens tissue.
STORAGE HABITS THAT REDUCE CLEANING
Install clean lens caps after the optic is dry. Store the optic in a cool, ventilated and low-humidity area. Avoid leaving wet equipment sealed in a case. A small reusable desiccant pack can help in a storage container, but it should not touch the optic and must be maintained according to its instructions.
After exposure to rain, allow the exterior to dry naturally before long-term storage. If the optic has been used near salt water, follow the manufacturer’s procedure for cleaning the housing while preventing liquid from entering controls or battery compartments.
A GOOD ROUTINE IS GENTLE AND INFREQUENT
The best lens care is preventive: keep caps clean, handle lenses by the housing, and use a blower before anything touches the glass. When cleaning is needed, patience and light pressure protect clarity better than aggressive polishing.







Leave a comment