A mark across a red-dot window can look serious under a phone flashlight. Before calling it a scratch, however, separate loose dust, dried residue, coating reflections and actual surface damage. They can overlap visually, yet they do not call for the same response.
The safest inspection is gentle and repeatable. It should improve what you know without turning a small mark into a larger one. Use the exact product manual when it gives model-specific cleaning or service instructions, and stop before any step that involves polishing, disassembly or pressure on the window.
Start by asking where the mark is
Place the standalone optic on a stable, padded surface and switch the illumination off. Look at the front and rear of the window under ordinary room light. A speck that changes position when you change viewing sides may be on an exterior surface. A line that seems to stay within the optical path but cannot be reached safely may be inside the housing or may simply be a reflection from another surface.
Do not use a fingernail, pin or tool to test the mark. Touching the glass adds oil and can damage coatings. If the location remains uncertain after a careful visual check, photograph it from both sides and treat the condition as unresolved rather than guessing.
Remove loose particles before any wiping
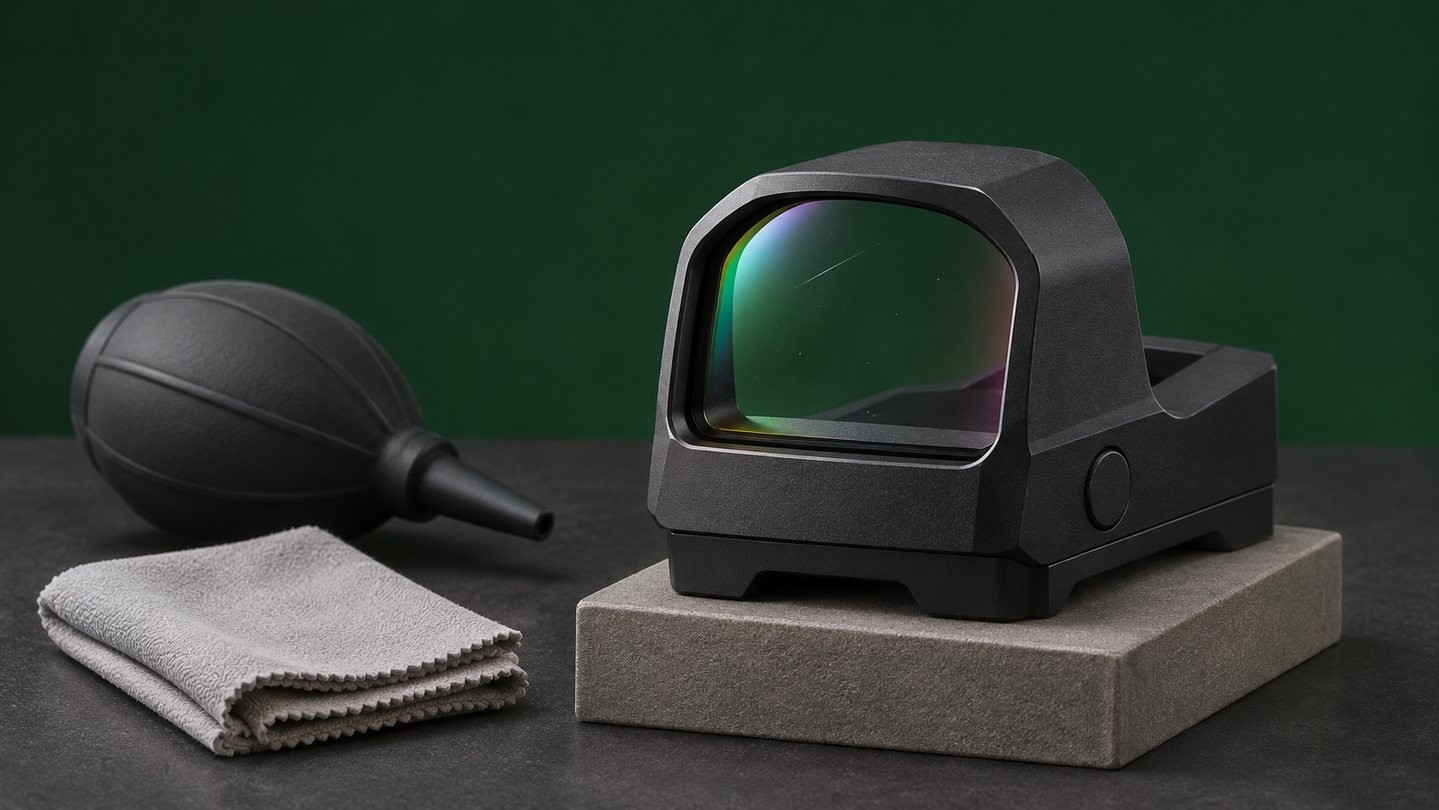
Abrasive grit is the main reason a harmless cleaning attempt can create a real scratch. Several manufacturers instruct users to clear dust or debris before a cloth or lens pen touches coated glass. Hold the optic so particles can fall away, then use a hand-squeezed rubber blower or another method approved for that exact model.
Do not use your breath to blast saliva onto the window, and do not use high-pressure shop air. If the surface needs further cleaning, follow the particle-first sequence in our guide to cleaning a red-dot sight safely. Use only the liquid and material allowed by the manufacturer; one manual's solvent advice is not automatically valid for another coating.
Compare diffuse light with a shallow side light
After loose debris is removed, inspect the window in two lighting arrangements. Diffuse front light shows the overall viewing area without harsh glare. A small light placed well to the side can reveal a surface line because the mark scatters light differently from the surrounding coating.
Move the light, not the optic, and avoid staring into an intense beam. A surface scratch often changes contrast as the light angle changes. Dried residue may look irregular or have an edge that softens after model-approved cleaning. A reflected line may move or disappear as the light source moves. None of these observations alone proves depth, but together they are more useful than one dramatic photograph.
Do not confuse coating color with damage
Red-dot windows are designed to manage selected wavelengths and reflections. Depending on the design and viewing angle, a clean window may show blue, green, amber or magenta color. Uneven-looking color near an edge can also come from curved glass, lighting or the angle of the camera.
A coating reflection is usually broad and changes smoothly with angle. A scratch is a localized line or patch. If the concern is color rather than a physical line, compare the examples in our guide to red-dot lens tint and reflections before attempting more cleaning. Normal coating behavior cannot be polished away, and trying to do so may harm the surface.
Check the view with illumination off and on
First view a distant, evenly lit scene through the clean window with the dot switched off. Keep both eyes relaxed and move the optic only enough to compare the mark against different backgrounds. A small surface line may be obvious under inspection light yet nearly disappear in the normal view.
Then switch the dot on at a brightness appropriate for the room. Focus on the distant scene rather than on the glass or the dot. Note whether the mark creates a repeatable flare, blocked area or distracting reflection. Do not turn the brightness to maximum just to make the condition look worse; excessive brightness can create bloom and halos unrelated to the window mark.
Judge function separately from appearance
Cosmetic appearance and optical usefulness are related, but they are not identical. A fine exterior line near an edge may have little visible effect during a normal view. A mark closer to the central viewing area may be more noticeable, especially under strong backlighting. The same-looking line can also behave differently on two window shapes or coating systems.
There is no universal scratch length, depth or location that proves an optic is safe, defective or covered by warranty. Those decisions belong to the manufacturer or qualified service provider for the exact model. Record what the mark does in normal viewing conditions instead of trying to assign your own damage grade.
Know the conditions that should stop the check
Stop cleaning and arrange service guidance if you see a crack, edge chip, loose or shifting window, spreading separation, internal moisture, debris moving inside a sealed housing, or a mark that appeared after a significant impact together with another functional change. Do not press the glass or retaining area to see whether it moves.
If the condition followed a drop, use the external steps in our dropped-optic inspection checklist. A clear-looking window does not certify internal alignment, and a cosmetic mark does not prove an internal fault. Treat impact history and visual evidence as separate pieces of the service description.
Open and enclosed designs need different viewing angles
An open reflex sight exposes the emitter area and one main window surface to the environment. Dust, lint and droplets may collect in places that are easy to see but awkward to reach. An enclosed red dot adds front and rear exterior windows around the emitter path, so a line may be on either outer surface or appear as a reflection between them.
Do not insert swabs or tools into a narrow emitter area unless the exact manual permits it. Do not open a sealed enclosed housing. Our open-versus-enclosed red-dot guide explains the design trade-offs, but the cleaning and service boundary still comes from the exact product instructions.
Document the mark before requesting service
Useful photographs are neutral, sharp and repeatable. Take one overall image that identifies the optic, one close view in diffuse light and one close view with shallow side light. Photograph from both sides when possible. Include a short written note explaining when the mark was first noticed, whether cleaning changed it, and whether the normal view is affected.
Avoid filters, artificial sharpening and contrast edits that exaggerate edges. Do not post a readable serial number publicly. The checklist in our guide to photographing an optic problem for customer support helps organize the evidence without presenting a phone image as a technical measurement.
Prevent the next mark without overprotecting the optic
Use the supplied or model-compatible cover during storage and transport when the manufacturer recommends it. Keep the inside of the cover clean; a gritty cover can place the very particles you are trying to avoid against the window. Store the optic dry, and keep the blower and clean optical cloth in a separate protective pouch.
For a routine inspection, remember the order: identify the surface, remove loose particles, use approved cleaning only when needed, compare more than one light angle, and evaluate the normal view. Stop at cracks, chips, movement, internal contamination or uncertain damage. A careful record is more useful to service staff than aggressive polishing, and it preserves the condition you are trying to understand.

















Leave a comment