A customer recently asked us:
“Please check that the scope provides a completely clear, properly focused image at 10 metres at full magnification, as stated in the specifications.
A friend of mine bought the same type, but his only comes into focus at around 15 metres at full magnification.”
This raises an important question: which product specifications determine whether a high-magnification scope can focus clearly at 10 metres?
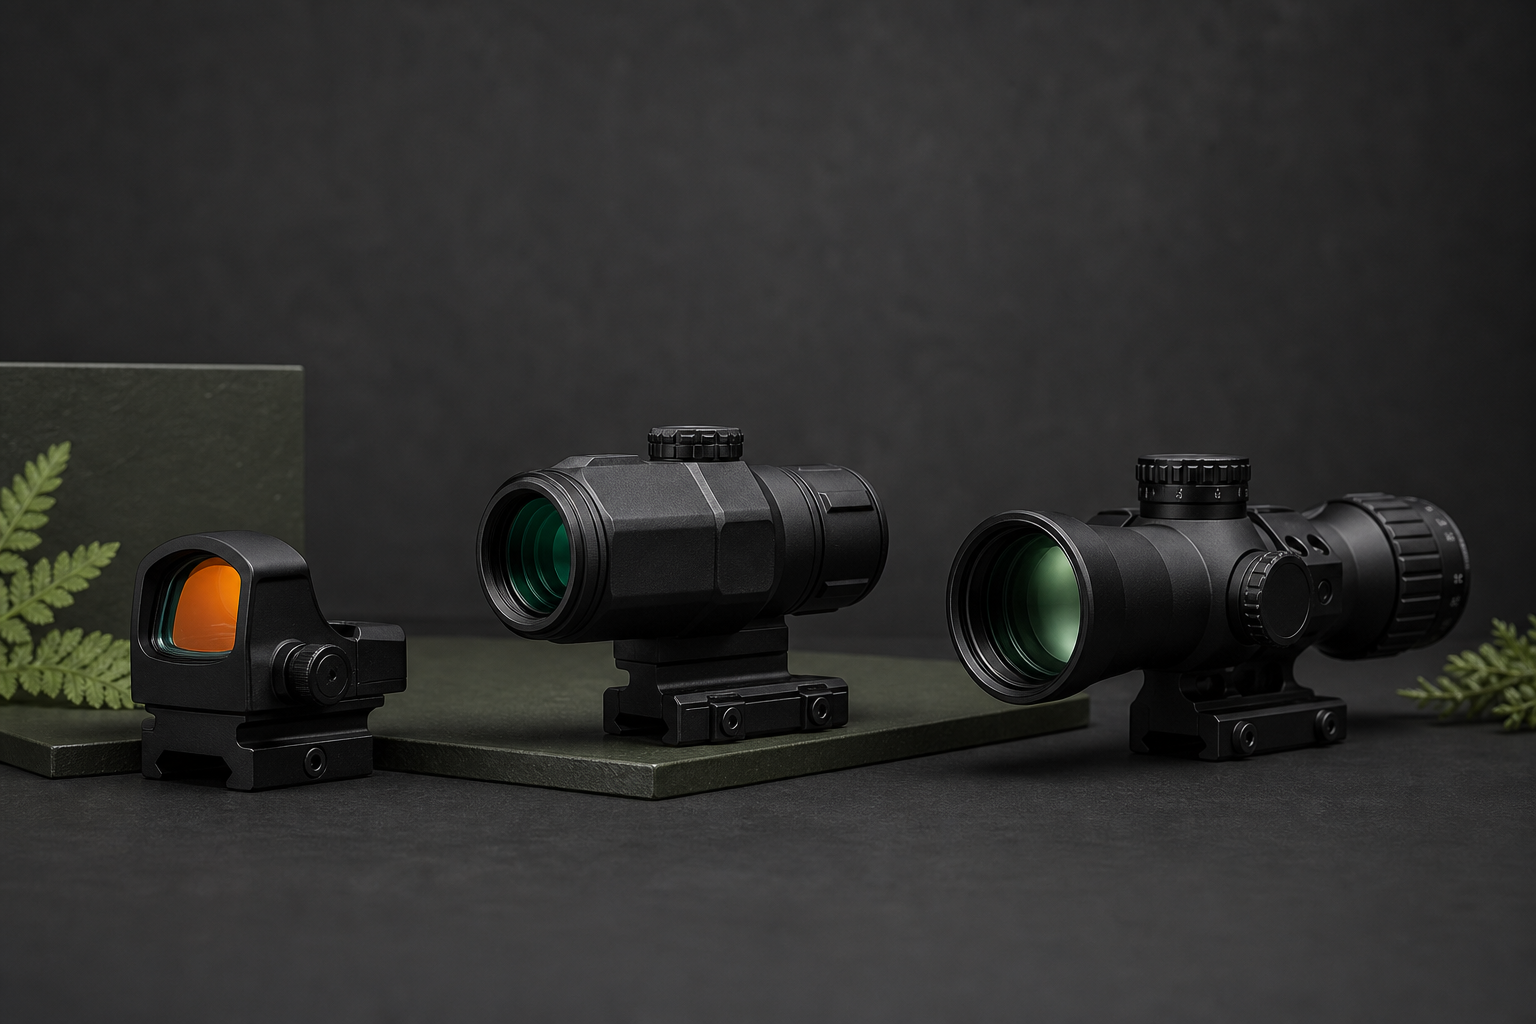
The answer involves more than general optical clarity. It relates specifically to minimum focusing distance, parallax adjustment range, magnification and eyepiece setup. This guide explains how these factors work together and how to test a 4–24×56 SFP scope correctly. You can also explore USEEIN sporting optics or read our guide on how to choose a magnified optic.
The Most Important Specification: Minimum Parallax Distance
For a scope equipped with side focus, the first specification to check is usually written as one of the following:
- Parallax adjustment: 10 m to infinity
- Side focus: 10 m–∞
- Minimum focusing distance: 10 m
- Parallax setting: 10 yd to infinity
These descriptions may look similar, but the units must be checked carefully. Ten metres is approximately 10.9 yards, while 10 yards is approximately 9.1 metres. Fifteen metres is approximately 16.4 yards, and 20 yards is approximately 18.3 metres.
A scope specified for parallax adjustment from 20 yards to infinity is not necessarily expected to produce its best close-distance image at 10 metres. However, if the documented specification states 10 metres to infinity, it is reasonable to verify its performance at an accurately measured 10-metre distance.
The specification for the exact model should always take priority over comparisons with a different scope.
Why Is Focusing More Difficult at 24×?
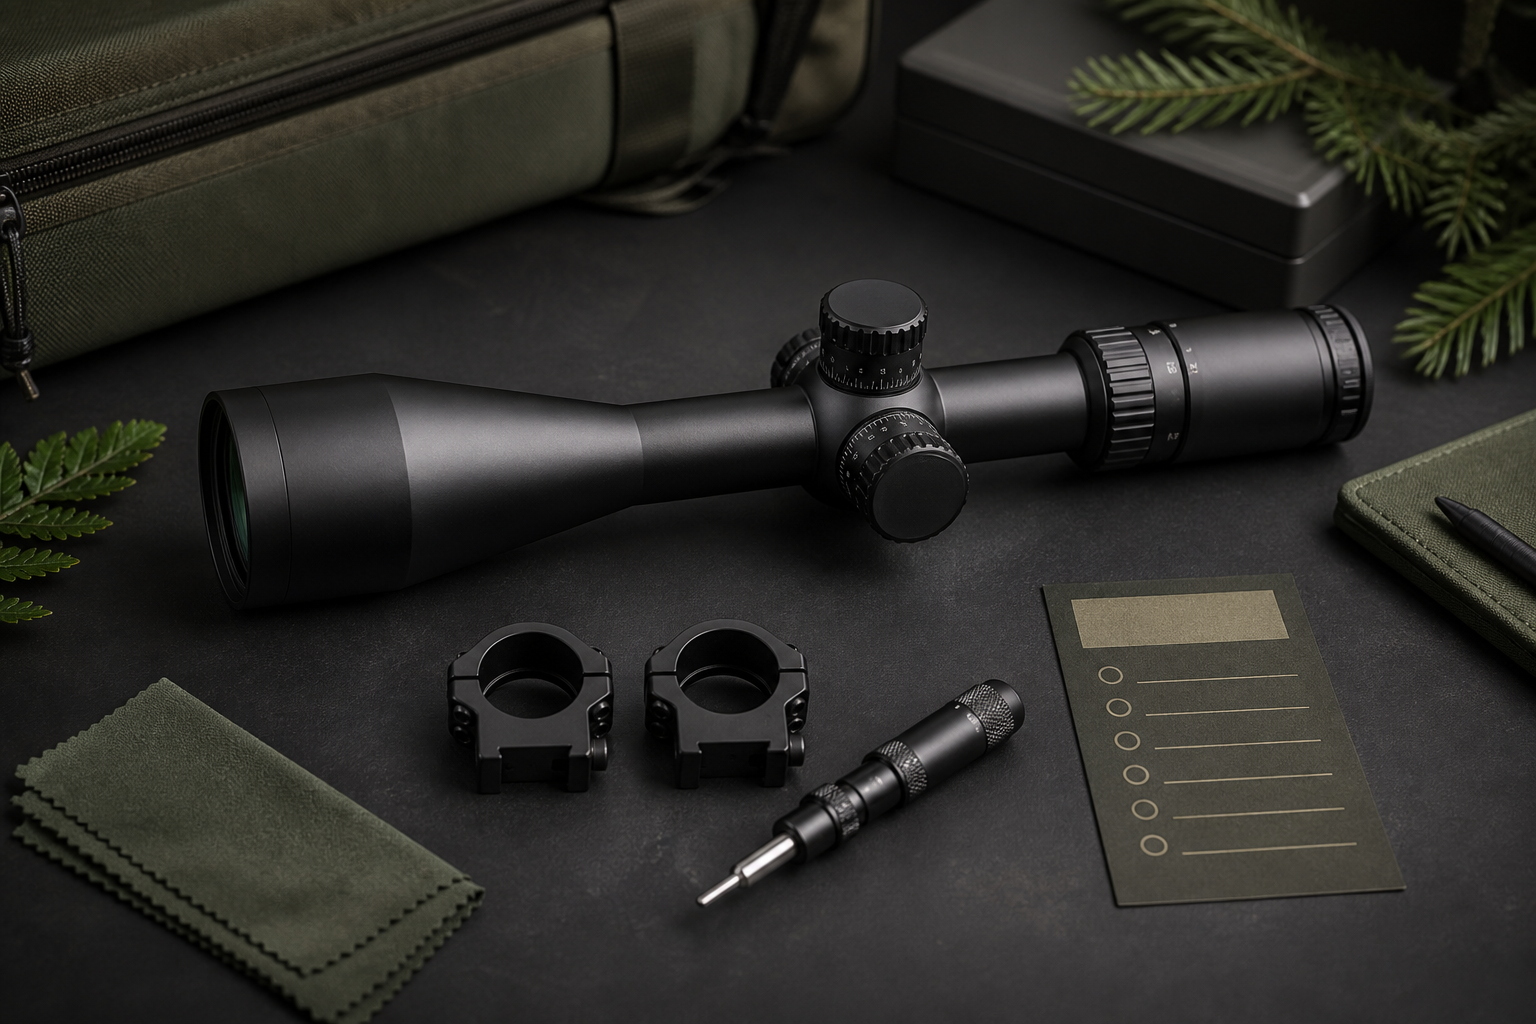
A 4–24×56 scope has a variable magnification range: 4× is the lowest magnification, 24× is the highest, and 56 mm is the objective-lens diameter.
At lower magnification, small focusing differences may be less noticeable. At 24×, the apparent depth of field becomes shallower, image movement is magnified and precise adjustment becomes more important. Differences in target distance, side-focus position, eye position and viewing technique therefore become easier to see at full magnification.
A target appearing clear at 10 metres on 4× or 8× does not automatically confirm that it will appear equally clear at 24×. The correct test should be performed at the exact magnification and distance stated in the product specification.
For shoppers comparing similar magnification ranges, the 6–24×50 FFP Precision Optic is an example of another high-magnification configuration. Its specifications should still be evaluated independently rather than assumed to match a 4–24×56 model.
Eyepiece Focus and Side Focus Have Different Functions
Eyepiece or Diopter Adjustment
The eyepiece is used primarily to make the reticle appear sharp for the individual user’s eyesight. It should normally be adjusted while looking at a plain, bright background. Look through the scope only briefly during each adjustment so the eye does not compensate for an incorrectly focused reticle.
Once the reticle appears immediately sharp, leave the eyepiece in that position unless the scope is used by someone with different eyesight.
Side-Focus Adjustment
The side-focus control adjusts the optical system for targets at different distances. It helps bring the target image into focus and reduces apparent reticle movement caused by parallax.
Turning the eyepiece repeatedly to make a 10-metre target clearer is therefore not the correct way to evaluate minimum target-focusing distance.
- Adjust the eyepiece until the reticle appears sharp.
- Leave the eyepiece in that position.
- Set the scope to 24× magnification.
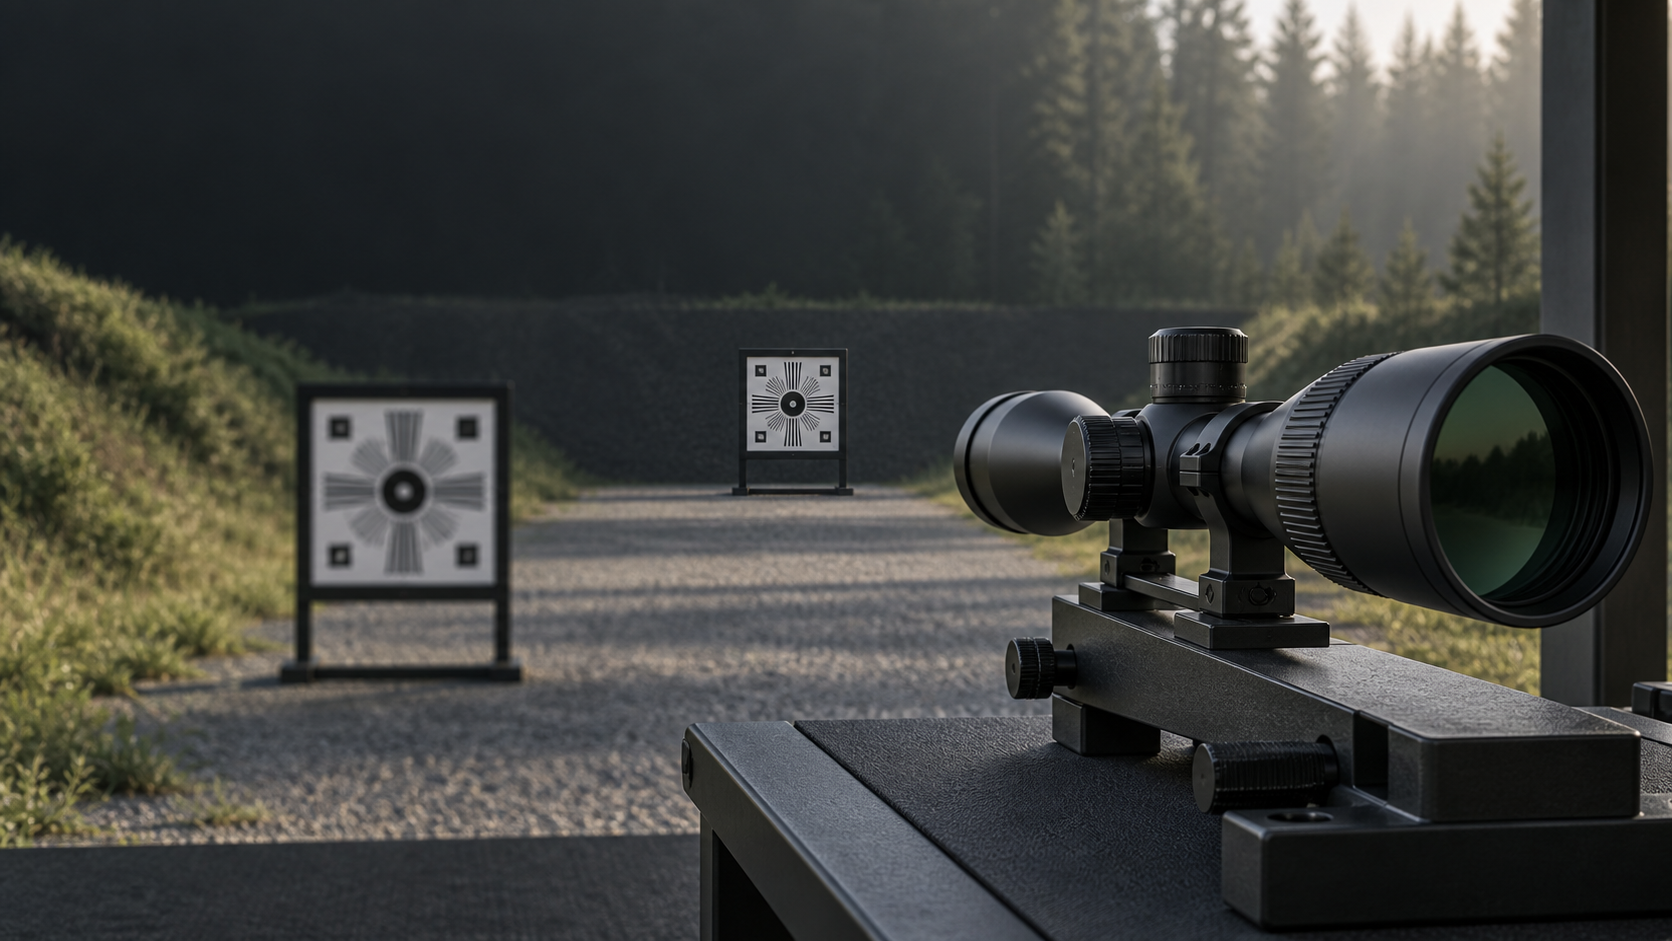
- Aim at a detailed target at an accurately measured 10 metres.
- Adjust the side-focus control for the sharpest target image.
- Check for apparent reticle movement before recording the result.
Clear Focus and Parallax Correction Are Related—but Not Identical
A clear-looking target image does not automatically mean that parallax has been fully corrected. Hold the scope steady and move the eye slightly up, down, left and right behind the eyepiece. If the reticle appears to move across the target as the eye position changes, some parallax remains.
A complete evaluation should answer two separate questions:
- Is the target image acceptably sharp?
- Does the reticle remain relatively stationary against the target when the eye position changes slightly?
This distinction matters when comparing two scopes. One may produce a visually sharp image while retaining more apparent parallax, while another may require a slightly different adjustment to achieve both a sharp image and reduced reticle movement.
How to Test a 4–24×56 Scope at 10 Metres
1. Measure the Distance
Measure exactly 10 metres from the scope’s objective area to the target. Do not estimate the distance by eye. A difference of several metres can be significant near the lower adjustment limit of a high-magnification optical system.
2. Use a Detailed Target
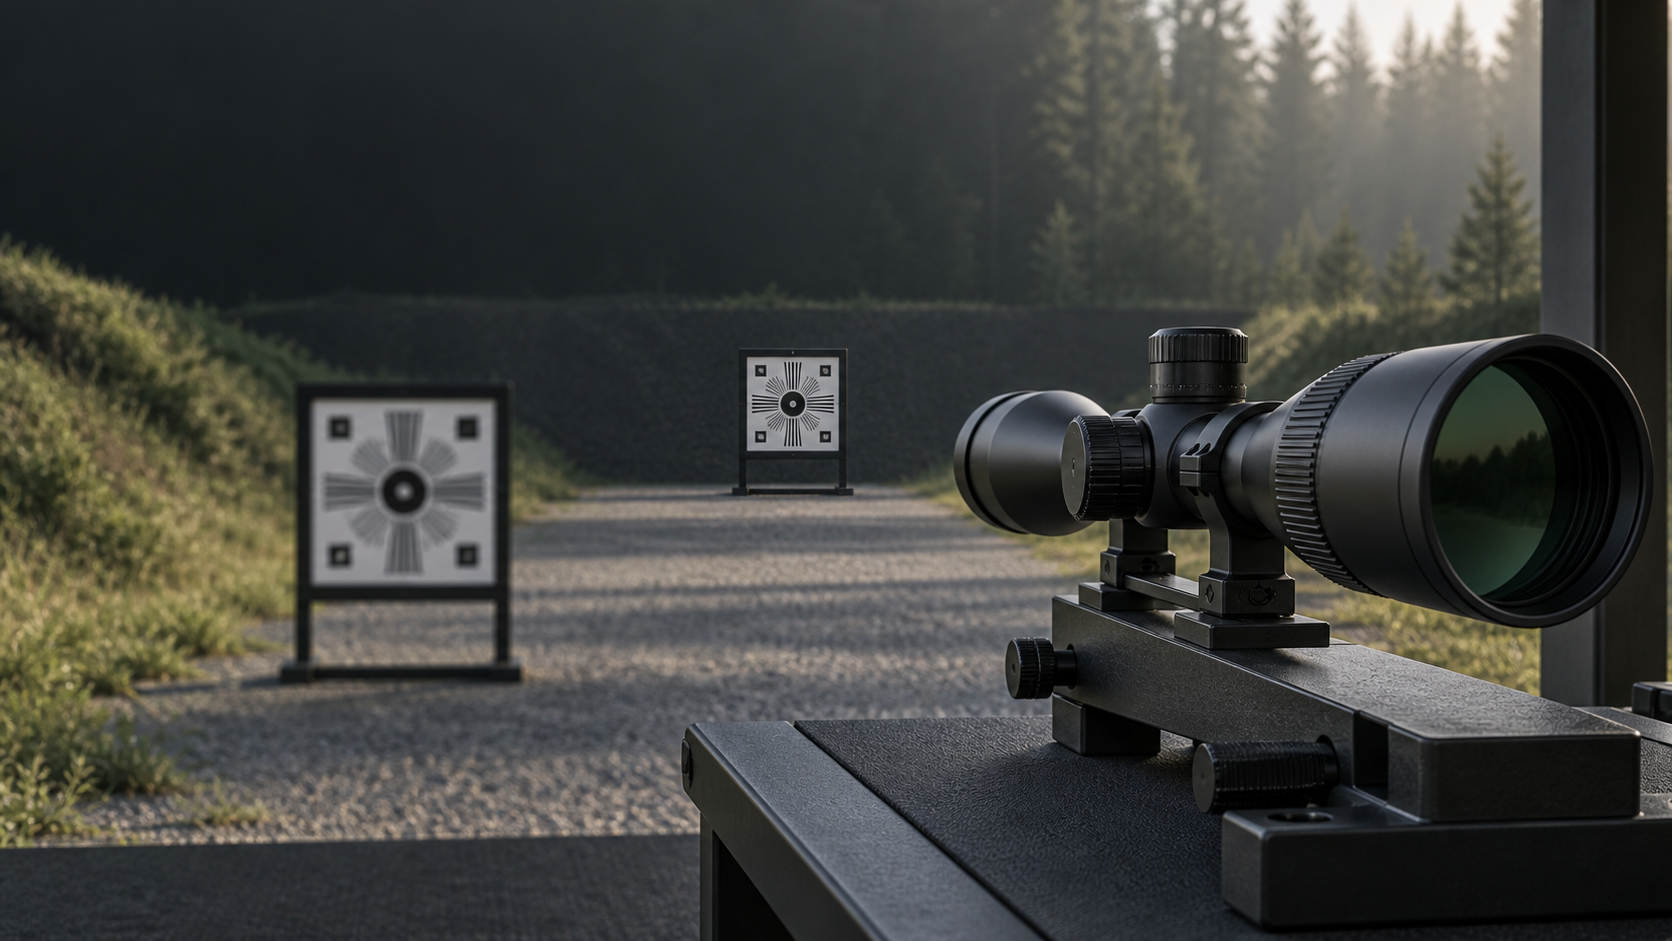
Choose printed text, a focus chart, a checkerboard pattern, millimetre markings or fine black lines on a white background. A plain wall or an object without fine detail is unsuitable for evaluating precise focus.
3. Keep the Scope Stable
Keep the scope stationary on secure support. Movement makes it difficult to distinguish optical blur from hand movement, particularly at 24×. When testing a mounted optic, follow applicable safety procedures and use a safe target area.
4. Set the Reticle Focus First
Point the scope toward a plain, bright background and adjust the eyepiece until the reticle appears immediately sharp. Look away regularly while adjusting so the eye does not temporarily compensate for an incorrect diopter setting.
5. Select 24× Magnification
Turn the magnification ring to the maximum 24× position and confirm its position visually.
6. Adjust the Side Focus
Turn the side-focus control toward its nearest setting, then adjust it slowly until the target image is as sharp as possible. Treat dial distance markings as reference points rather than precision measurements.
7. Check for Parallax
Without moving the scope, shift the eye slightly behind the eyepiece. Observe whether the reticle appears to move relative to the target, then fine-tune the side focus to minimise this movement.
8. Repeat at Longer Distances
If a satisfactory image cannot be achieved at 10 metres, repeat the same procedure at 15 metres, 20 yards (approximately 18.3 metres) and 25 metres. Record the nearest distance at which an acceptably sharp and stable image can be achieved at 24×.
Can a Phone Camera Prove Whether the Image Is Clear?
A photograph or video taken through the eyepiece can be helpful, but it is not conclusive by itself. Phone autofocus, camera-to-eyepiece distance, alignment with the exit pupil, camera movement, exposure and digital processing can all affect the recorded result.
For more useful evidence, record one continuous video showing the measured target distance, the magnification ring at 24×, the side-focus control being adjusted, the image through the scope and a second test at a comparison distance. The user should also describe what the image looks like when viewed directly through the scope.
Does SFP Affect the Minimum Focusing Distance?
SFP means Second Focal Plane. In an SFP scope, the apparent size of the reticle remains relatively constant as magnification changes. SFP primarily affects how reticle references correspond to the target at different magnifications. It does not, by itself, determine whether the scope can focus at 10 or 15 metres.
For an example of an SFP configuration, see the 1–6×24 SFP Variable-Power Optic. Its magnification and intended use differ from a 4–24×56 scope, but the same distinction between focal-plane type and minimum focusing distance applies.
Minimum focusing performance is more directly related to optical design, the side-focus or adjustable-objective range, mechanical travel, optical assembly, calibration and selected magnification. A 56 mm objective does not by itself establish the minimum focusing distance.
For example, the 5–25×56 FFP Long-Distance Optic and 4–40×56 FFP Magnified Optic both use 56 mm objectives, but each model must be assessed according to its own complete specification.
When Does the Result Indicate a Specification Issue?
The test result should be compared with the documented specification for the exact model—not with the performance of a different scope.
If the specification states 20 yards to infinity, a target at 10 metres is below the stated adjustment range. Failure to achieve perfect focus at 10 metres would not, by itself, establish a product defect.
If the specification clearly states 10 metres to infinity, but the target cannot be brought into acceptable focus at 10 metres under a correct and repeatable 24× test, further inspection may be appropriate.
Possible explanations include incorrect setup, inaccurate distance measurement, eyesight differences, side-focus calibration variation, mechanical adjustment limitations or a product version with a different minimum-distance specification.
Final Thoughts
When evaluating whether a 4–24×56 scope can focus clearly at 10 metres at full magnification, concentrate on three questions:
- What minimum parallax or focusing distance is documented for the exact model?
- Was the scope tested at a measured 10 metres with magnification set to 24×?
- Were the eyepiece and side-focus controls adjusted in the correct order?
A controlled test helps distinguish among a setup issue, the normal limitations of the specified adjustment range and a genuine difference from the documented product specification.
Before choosing an optic, compare magnification, minimum parallax distance, focal-plane design, eye relief and intended viewing distance—not simply the largest magnification number.
Explore USEEIN sporting optics to compare available configurations for sporting, hunting, range and outdoor applications.


Leave a comment