Look through a rifle scope at a bright wall or clear sky and a tiny dark speck may suddenly become impossible to ignore. The first reaction is often, “There is dirt inside the scope.” Sometimes there is contamination on an exterior lens. Sometimes the mark is associated with the reticle or another internal surface. Sometimes it is not in the optic at all.
The useful question is not whether you can make the spot disappear immediately. It is which observations help separate an exterior cleaning issue, a repeatable optic issue and something seen by the viewer. This guide uses a safe bench procedure and stops short of conclusions that require professional inspection.
Start With the Most Important Clue: Does the Speck Move?
Before touching a lens, watch the mark while changing only one thing at a time. A particle on the front lens, a mark near the reticle plane and a visual floater do not necessarily behave the same way.
Keep the scope still on a padded support and look at a plain, evenly lit target. Blink normally, look away, then look again. Move your eye slightly behind the eyepiece without moving the scope. If the speck drifts or follows your eye in a delayed way, the observation may be associated with your vision rather than a fixed point inside the optic. If it remains locked to the same place in the sight picture every time, the optic deserves closer inspection.
This is only a sorting clue, not a diagnosis. A repeatable position does not prove that a seal has failed, and a moving spot does not prove that the optic is perfect.
Build a Safe, Repeatable Bench Test
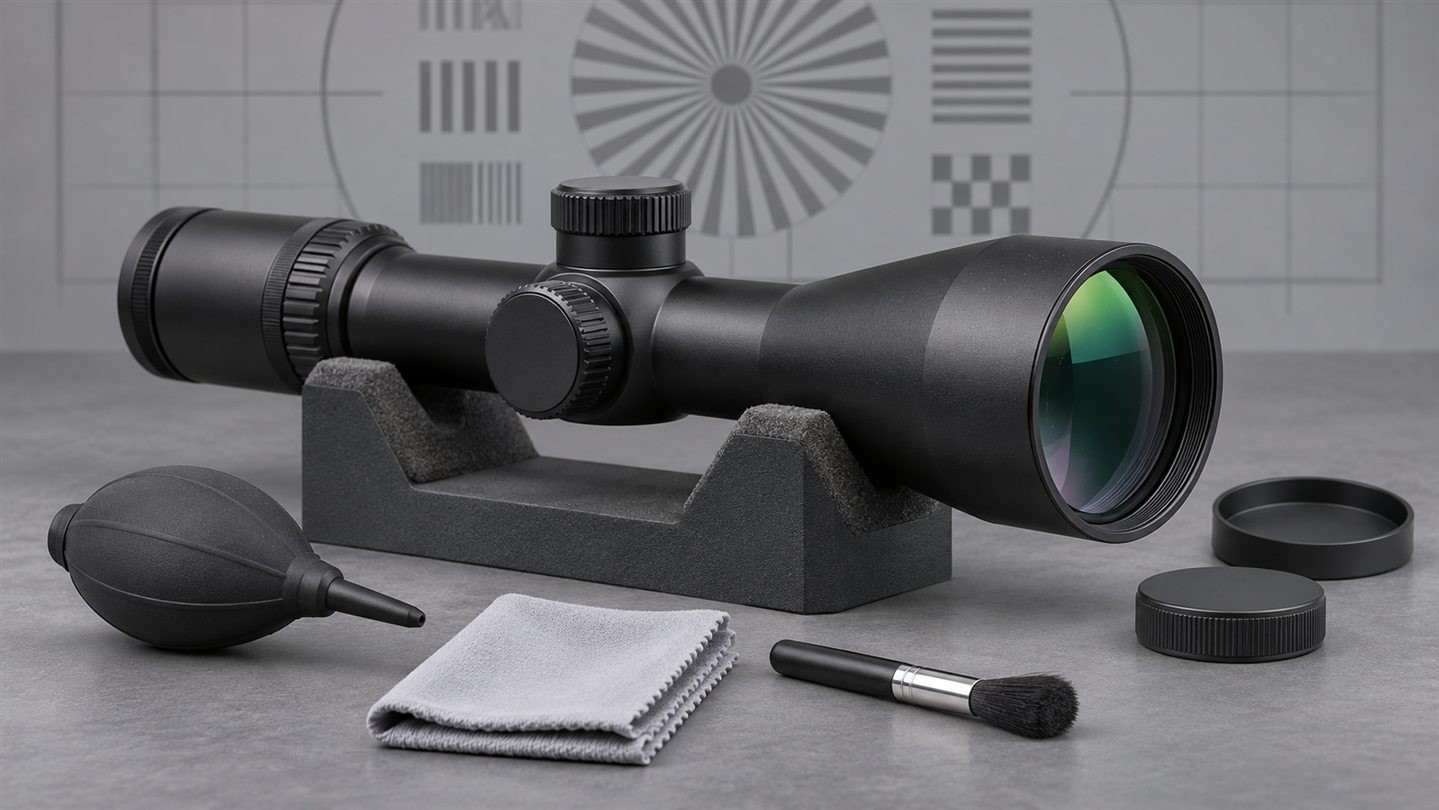
Inspect the scope as a standalone optical instrument on a stable, padded bench. Do not perform this test while handling a loaded firearm. Keep the objective pointed toward a bright matte wall, overcast sky away from the sun, or an evenly illuminated test card. Never point an optic at the sun or another intense light source.
Set the diopter so the reticle appears immediately sharp, following the manufacturer’s instructions. Then choose a moderate magnification and focus or parallax setting appropriate for the target distance. Poor setup can make harmless texture and blur look more serious than they are. Our guide to why the same scope can look different explains how eye position, focus and lighting change the view.
Record the starting conditions: which eye you used, magnification, target distance, parallax setting, lighting and the approximate clock position of the speck. Repeatability matters more than how dramatic the mark looks in one glance.
Inspect the Exterior Glass Before Cleaning It
Use reflected light to examine the objective and ocular lenses from several angles. Look for loose dust, a dried droplet, a fingerprint, lint near the edge or a mark on a lens cap that may have transferred to the glass. Do not assume every visible particle is causing the speck. Dust on the objective is often far from the image plane and may be much less visible through the scope than expected.
Change the angle of the inspection light rather than shining a powerful light directly through the optic. Compare what you see on the surface with the speck’s position in the sight picture, but do not expect a simple left-right match. The optical path can invert or relocate the apparent relationship.
If the exterior glass is already clean enough for a normal view, stop. Cleaning repeatedly to chase an uncertain spot adds handling risk without proving anything.
Remove Loose Dust Before You Wipe
If loose particles are present, follow the manufacturer’s care instructions for that exact model. A clean bulb blower or clean lens brush can remove particles without dragging them across a coating. Do not use your breath, compressed shop air or a dirty cloth. Do not rub dry grit around the lens.
For fingerprints or oily residue, use only a suitable optical cleaning fluid and clean lens tissue or microfiber specified for coated optics. Work gently and use fresh material rather than redistributing contamination. The step-by-step sequence in our rifle scope lens-cleaning guide starts with particle removal for this reason.
After cleaning, repeat the same bench view at the same magnification, focus, eye position and lighting. If the speck is gone, the result supports an exterior contamination explanation. If it is unchanged, do not keep cleaning automatically.
Change Focus and Magnification Deliberately
A mark close to a focal plane may look more defined than contamination far from it. You can gather useful evidence by changing one control at a time, but you cannot identify the exact internal surface from appearance alone.
First, keep the target and eye position constant while changing magnification through two or three settings. Note whether the speck changes apparent size, sharpness or position relative to the reticle. Return to the starting power and confirm the original appearance.
Next, leave magnification fixed and adjust target focus or parallax according to the manufacturer’s procedure. Finally, recheck the diopter using brief glances at a plain background. The diopter is for reticle focus, not for sharpening the distant scene. If the spot becomes more or less obvious as these controls change, write down the behavior instead of turning it into a diagnosis.
Compare Another Optic and Each Eye
A second clean optic can be a useful control. Place it on the same bench, view the same target under the same light and use a similar magnification. If the speck appears in both instruments in a similar way, the cause may not be unique to the first scope.
You can also compare one eye at a time without an optic against a plain bright background. Eye floaters can appear as dots, strands or cobweb-like shapes and may be easier to notice against a bright, uniform field. Do not use a rifle-scope test to diagnose an eye condition.
Health note: If you suddenly notice many new floaters, flashes of light, a shadow or a curtain in your vision, seek urgent professional eye care. Those symptoms are about your eyesight, not an equipment-cleaning problem. If a recurring speck is present with or without multiple optics, arrange an eye examination rather than repeatedly servicing the equipment.
Distinguish a Fixed Speck From Fogging or Condensation
Internal fogging usually looks like haze, milkiness, droplets or a general loss of contrast rather than one sharply defined black dot. Exterior condensation can also soften the entire view and may clear as the optic acclimates. A single spot and a broad fogging problem should not be treated as the same symptom.
If the optic moved between cold and warm environments, allow it to acclimate in a dry place and inspect both outer lens surfaces. Do not apply direct heat. Our guide to external condensation versus internal moisture explains the safe distinction and service stop conditions.
Persistent haze or droplets that are clearly behind an exterior surface can indicate a sealing or contamination issue that needs manufacturer evaluation. Cleaning the outside will not repair an internal seal.
Know When the Evidence Points Toward Service
Contact the manufacturer or an authorized service center when a fixed mark remains after a careful exterior inspection, appears on a newly received optic, changes after an impact, is accompanied by internal fogging, or materially blocks the reticle or target detail. A cluster of new particles, a loose-looking fragment or a mark that moves when the scope is gently repositioned also deserves professional review.
Do not open the optic, loosen optical assemblies, remove the ocular housing or inject cleaning fluid. Those actions can damage seals, disturb alignment and complicate warranty evaluation. A sealed scope is not a user-serviceable camera lens.
The same restraint applies after a drop or hard impact. Use the external checks in our dropped-optic inspection checklist, then stop if the symptom suggests an internal change.
Document the Speck Without Exaggerating It
A clear support request is more useful than a statement such as “the glass is defective.” Record the model, serial number privately, purchase date, when the speck first appeared and whether exterior cleaning changed it. Include magnification, focus setting, target distance and lighting.
Photographing through a scope is difficult because a phone camera can add its own dust, reflections and focus errors. Clean the phone lens, stabilize both devices and take several images while keeping the spot in the same part of the sight picture. Then capture the exterior lenses separately under reflected light. Our guide to photographing an optic problem for customer support provides a fuller evidence checklist.
Do not edit the images to make the speck darker or larger. A short video showing whether it stays fixed while focus or magnification changes can be helpful, provided the test remains on a safe bench.
What the Bench Test Can—and Cannot—Tell You
A controlled inspection can show whether a mark is repeatable, whether exterior cleaning changes it and whether it behaves differently with another eye, optic or focus setting. It can also establish whether the issue affects normal use or only appears against an unusually bright, uniform background.
It cannot identify a precise internal component, prove a manufacturing defect or confirm that sealing remains intact. It also cannot diagnose visual symptoms. Those conclusions belong to the manufacturer, an optical service professional or an eye-care professional as appropriate.
The practical goal is modest: remove loose exterior contamination safely, avoid unnecessary cleaning, collect repeatable evidence and choose the right next step. A tiny speck may be harmless, serviceable or unrelated to the scope. Careful observation prevents all three possibilities from becoming the wrong repair.

















Leave a comment