A support team cannot inspect an optic through a single dark, blurry photo. They need enough context to identify the product, understand the symptom and decide whether the next step is troubleshooting, a replacement part or factory service.
That does not mean sending dozens of images. A short, consistent photo set is usually more useful: the complete optic, the model and serial information, the affected area and one or two views that reproduce the problem. The goal is documentation, not a home diagnosis.
Start with the support channel and current instructions
Before taking anything apart or packing a box, open the current support page for the exact manufacturer or seller. Service procedures differ. Trijicon currently asks for the model number, serial number and reason for repair before issuing the required return authorization. Leupold asks customers to record the serial number, complete its service form and remove accessories before shipment. Vortex routes current service requests through its regional support process.
Those differences matter. Do not assume that an old form, a forum post or another brand's instructions still apply. If the support team gives a photo list or case number, follow it and use the case number in every later message.
Photograph the complete optic first
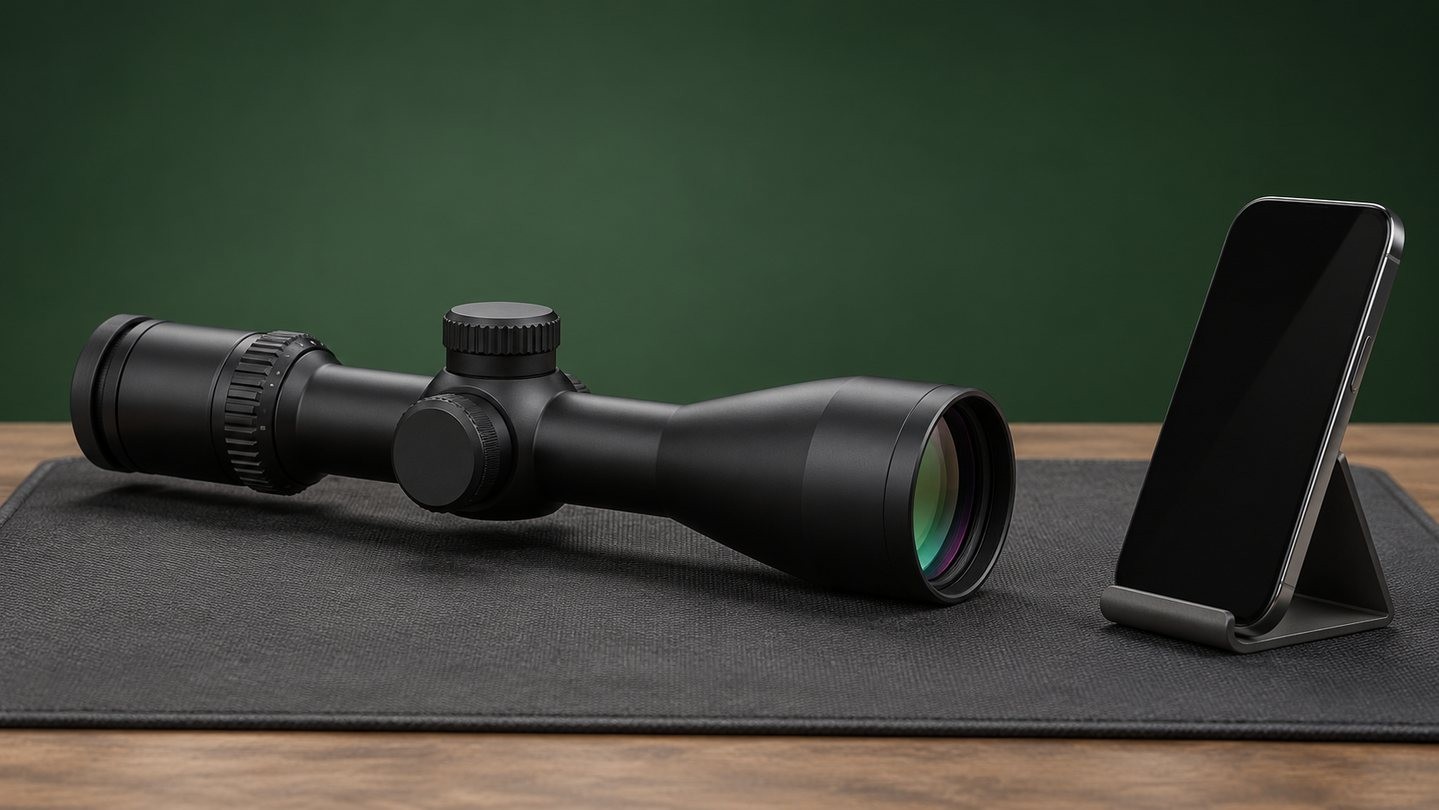
Place the optic by itself on a clean, plain surface with soft, even light. A complete three-quarter view helps the reviewer recognize the product family, body shape, controls and overall condition before looking at close-ups. Add a view from the opposite side and one from above if the layout is not obvious.
Keep unrelated equipment out of the frame. The optic should not be attached to a firearm for a customer-service photo. If it cannot be removed safely or the manufacturer does not instruct you to remove it, stop and ask the support team what they need. Do not create a handling risk merely to obtain a cleaner picture.
If the problem followed an impact, first work through the external checks in our dropped-optic inspection checklist. Photos can preserve what you see, but they cannot certify that the internal optical or mechanical system is undamaged.
Record the model and serial number privately
Photograph the model label and serial number sharply enough to read, then type the same information into the service request. A typed entry avoids confusion between similar characters, while the photo shows the original marking. Also record the purchase date, seller and order number if the current warranty or return process asks for them.
Treat this identification image as private service information. Send it through the manufacturer's or seller's official support channel rather than posting it publicly. Crop out shipping labels, addresses, phone numbers, account screens and other unrelated personal information.
Do not scrape, polish or add ink to make a faint marking more visible. Change the light angle or use a close-focus setting instead. If a label is damaged, show both the close-up and the wider location on the product.
Show the symptom, not your theory
Describe what changes in plain language: the dot flickers, a control stops at one point, the image has internal moisture, the housing is cracked, or the reticle no longer appears level. Then photograph the visible symptom from a useful angle.
A statement such as “the brightness button responds only every third press” is more useful than “the circuit board is failing.” The first describes a repeatable observation; the second guesses at an internal cause that a photo cannot prove. Include when the symptom began, whether it is constant or intermittent, and which normal control setting reproduces it.
Do not force a stiff control, open a sealed housing or remove a part that the manual does not identify as user-serviceable. Marketing terms such as rugged or shockproof do not eliminate physical limits; our guide to reading shockproof optics claims explains why the stated test and warranty conditions still matter.
Use a simple four-view photo sequence
For most visible problems, the following sequence gives useful context without overwhelming the case:
- Complete product: the entire optic on a neutral surface.
- Identification: the model and serial marking in focus.
- Location: a medium view showing where the affected area sits on the product.
- Detail: a close-up of the damage, contamination, loose component or unusual gap.
If scale matters, place a clean ruler beside the product without covering it. Do not use a coin, cartridge or another object of uncertain size. Keep the camera parallel to the surface you are documenting so perspective does not exaggerate a gap or bend.
Take an extra view under a different light angle when glare hides the surface. Keep every original image; aggressive filters, sharpening and contrast changes can make scratches, coating reflections and edges look different from reality.
Photograph an optical symptom carefully
A phone held behind an eyepiece can document what appeared during a test, but it is not a laboratory measurement. Phone focus, exposure, digital processing and alignment can add blur, color, vignetting or distortion. Photograph the external condition first, then add a through-the-optic image only if it helps reproduce the reported symptom.
Stabilize the optic and phone, use a distant evenly lit scene, and avoid pointing at the sun or another intense light source. Record the magnification, brightness mode, focus setting and approximate viewing distance in your notes. Do not present a phone image as proof of parallax, tracking accuracy, waterproofing or internal alignment.
Clean only when contamination is genuinely part of the question and the manual permits it. Follow the particle-first method in our rifle-scope lens-cleaning guide; a support photo is not a reason to scrub a coated surface.
Keep lighting neutral and the files original
Diffuse daylight near a window or a soft desk lamp usually reveals surface condition better than a direct flash. Flash can turn a coated lens into a bright mirror and hide detail. If reflective metal or glass remains difficult, move the light instead of applying a heavy image filter.
Check focus at full size before sending. The serial number, affected edge or control should be crisp, not merely recognizable on the phone screen. Send the original-resolution files when the support portal allows it. If the portal has a size limit, make one sensible export and keep the untouched originals for follow-up.
Use descriptive filenames such as model-overview-left.jpg, serial-number.jpg and objective-ring-gap-closeup.jpg. Avoid filenames containing your full address, phone number or payment information.
Add a short written timeline
Photos work best with a concise record. Include the exact model, serial number, purchase information if requested, first date noticed, the conditions in which the symptom appears, settings used, and any safe troubleshooting already completed. If the issue is intermittent, note how often it happens and what reliably triggers or stops it.
List only relevant changes. A battery replacement, mount change, drop, temperature transition or exposure to rain may matter. Do not omit an event because you think it will harm a claim; an accurate timeline helps the technician choose the right inspection.
When checking a listing or manual, separate model facts from assumptions. Our guide to reading an optics product page shows which specifications and included parts should be verified for the exact product.
Prepare the optic for shipment only after authorization
Do not ship an optic merely because photos have been taken. Wait for the official return instructions, authorization number or regional service direction. Current manufacturer procedures are not identical: one company may ask for all accessories to be removed, while another may allow protective lens covers to remain.
Follow the issued instructions exactly. Protect the lenses, prevent the optic from moving inside the box, use a suitable outer shipping carton and keep tracking evidence when requested. Do not include batteries, mounts, rings, tools or unrelated accessories unless the service team specifically asks for them.
International customers should also confirm the correct regional service route before shipping. Warranty handling, customs documents, duties and carrier rules can differ by destination, so a domestic return address should not be treated as universal.
A final support-photo checklist
Before submitting the case, confirm that you have:
- a clear full-product view with the optic shown by itself;
- readable model and serial-number documentation sent privately;
- a medium location view and a sharp close-up of the affected area;
- neutral lighting and unfiltered original files;
- a symptom description based on observations rather than an internal-failure guess;
- the settings and conditions needed to reproduce the issue;
- purchase or order information only when the current process requests it; and
- the correct authorization and regional shipping instructions before dispatch.
A good service request is not the longest one. It gives the reviewer a clean product identity, a repeatable symptom, honest context and images that can be enlarged without ambiguity. For more setup and maintenance references, visit the USEEIN optics buying guides.

















Leave a comment