A prism scope can be mechanically secure and still feel awkward to look through. The problem is often not the glass or the diopter. It is the relationship between the optic’s centerline and the position your eye naturally reaches when you settle behind the equipment.
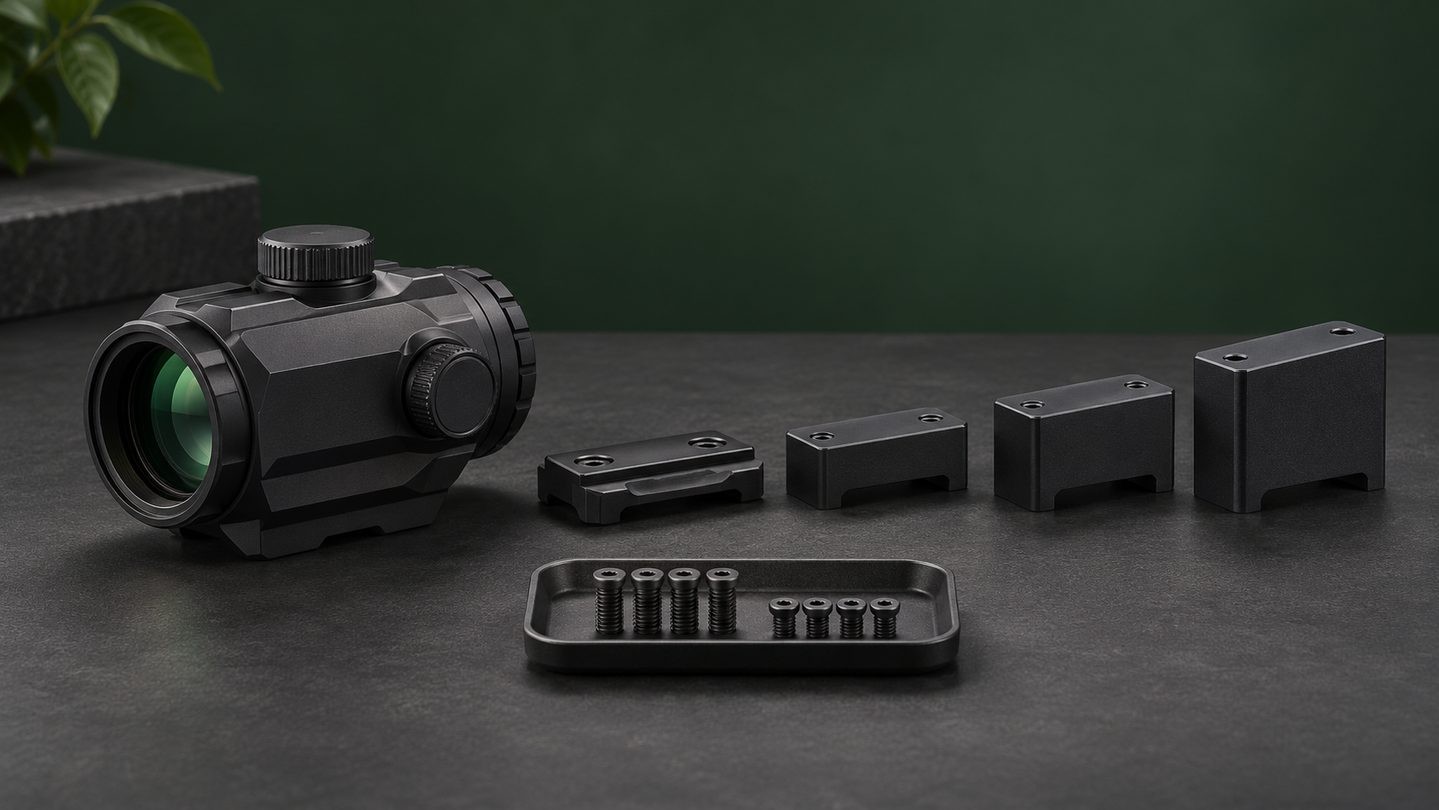
That is why some prism scopes include a low base, one or more risers, or a set of modular spacers. These parts do not improve optical quality. They change where the entire optic sits. The right arrangement helps you find the viewing position consistently; the wrong one can make a usable eye box feel unnecessarily difficult.
Mount height changes where your eye meets the optic
Mount height is normally described from the top of the mounting surface to the optic’s optical centerline. Raising the optic moves that centerline upward. Removing a riser or choosing a lower base moves it downward.
The useful height is the one that lets you bring your head into a stable, repeatable position without excessive lifting, rolling or pressure. It is not automatically the lowest or highest option in the box. Stock shape, body proportions, shooting position, protective equipment and the optic’s own viewing geometry can all affect the result.
Height and eye relief solve different problems
Height moves the viewing axis vertically. Eye relief describes the distance from the rear lens to the position where the eye receives the intended image. A spacer can raise the optic, but it cannot correct an optic that is too far forward or too far back.
If the image looks good only when you move closer, farther away, left or right, first identify which direction restores the view. Our guide to prism-scope eye relief explains why the image can crop or disappear. The related eye-box guide helps separate a limited viewing area from a height problem.
Start with the factory mount and included parts
Before buying another mount, inventory the parts supplied with the optic. Some prism scopes use a fixed base, while others include a low mount, straight spacer, cantilever spacer or several height combinations. Manufacturer product pages may simply describe the system as multi-height, so the manual or parts diagram is the better source for the permitted combinations.
Lay out the base, spacers and hardware without assembling them. Match each screw to the configuration shown in the instructions. A taller stack often requires longer screws; using the short screws from a no-spacer arrangement may provide too little thread engagement, while using longer screws in the wrong configuration may bottom out before the parts clamp correctly.
Confirm the mounting footprint before changing the base
A similar-looking underside does not prove compatibility. Compact prism optics can use different mounting footprints, hole patterns and screw specifications. Some accept a red-dot-style mount, while others use a mini-prism or full-size prism pattern. Even products from the same series can change interfaces between generations.
Check the exact model, generation, footprint, screw thread and approved hardware before ordering an aftermarket base. The principle is similar to the interface check in our direct-mount and adapter-plate guide: compatibility depends on the complete mechanical stack, not the product description alone.
When a lower setup may feel better
A lower mount can help when your natural head position already places your eye below the optic’s centerline. The clues are usually consistent: the full image appears when you press your cheek down, but disappears when you relax into the normal position. A lower arrangement may also reduce the amount of vertical offset between the optic and the mounting surface.
Lower is not universally better. The optic body still needs clearance, controls must remain accessible, and the viewing position must work from the positions you actually use. Removing a spacer only because the result looks compact can create a less repeatable setup.
When a riser or spacer may help
A riser can help when the full image appears only after you lift your head above a comfortable resting position. Raising the optic may reduce the need to compress your neck or roll your head, particularly when the equipment’s stock or support geometry places the face relatively high.
Height also changes the optical axis relative to the rest of the setup. That relationship is discussed in our guide to scope height over bore. Treat any height change as a setup change that requires a fresh zero check; do not assume that adding a spacer preserves the previous point of impact.
Signs that the mount may be too tall
A mount may be taller than useful if you must lift your cheek away from its support to center the image, if your head position varies every time you shoulder the equipment, or if the view is most complete only when you stretch upward. A tall arrangement can feel fast during one casual test yet become inconsistent when the position changes.
Do not diagnose height from a single glance. Close your eyes, settle into a comfortable position, then open them without deliberately searching for the image. Repeat the check several times. If your eye repeatedly arrives below the center of the viewing area, the stack may be too tall. If it arrives above, the stack may be too low—or another part of the fit may be changing your head position.
Straight and cantilever spacers change more than height
A straight spacer mainly adds vertical distance. A cantilever spacer also shifts the optic forward or backward, depending on its orientation and the manufacturer’s design. That extra offset can help place the eyepiece within the available mounting space, but it also changes eye-relief position.
Do not reverse a cantilever spacer or combine spacers unless the manual shows that configuration. Check that every mating surface sits flat and that controls, caps and the ocular housing remain accessible. A stack that reaches the desired height but introduces an unsupported combination is not a valid solution.
Test the arrangement before final tightening
Begin with an approved factory combination and install it only snugly enough for a careful fit check. Confirm vertical eye alignment, forward-and-back eye relief, access to controls and clearance around the optic. Repeat the natural-position test rather than forcing your head to fit the sight picture.
Once the configuration is chosen, follow the exact manual for screw preparation, tightening sequence, thread treatment and torque. There is no universal value for all prism bodies, bases and spacer screws. Our article on why scope-mount torque is model-specific explains why copying a number from another product can be risky.
A practical mount-height checklist
- Identify the exact optic model and generation.
- Confirm the mounting footprint and permitted spacer combinations.
- Use the screw length specified for that exact stack.
- Separate vertical height problems from eye-relief distance problems.
- Test a relaxed, repeatable head position several times.
- Check clearance and access to every control and cap.
- Apply only the manufacturer’s tightening and thread-treatment instructions.
- Recheck zero after any base, spacer or height change.
The best prism-scope height is not a fashionable number. It is an approved, mechanically compatible arrangement that places the eye naturally inside the usable viewing area. Photograph each approved stack before disassembly so the correct parts and screw lengths remain easy to identify. Start with the supplied parts, change one variable at a time and let repeatability—not appearance—decide whether a riser or spacer belongs in the setup.

















Leave a comment