A red dot can share the same general footprint as a mounting surface and still require an adapter plate. Another optic may attach directly with no intermediate plate at all. From the outside, both arrangements can look correct. Underneath, however, they manage fit, height and hardware in different ways.
The useful question is not simply whether direct mounting is “better.” It is whether the optic, mounting interface, plate and screws are designed to work together as one complete stack.
What Direct Mount Means
In a direct-mount arrangement, the optic attaches to the host interface without a separate footprint-conversion plate between them. The mounting surface already provides the required locating features, screw pattern and clearance for that specific optic or interface.
Direct mounting can reduce the number of parts in the stack and may keep the optic lower. That can be helpful when overall height matters. It does not remove the need to verify screw thread, length, seating surfaces or manufacturer instructions.
“Direct mount” is also model-specific. A sight that mounts directly to one interface may need a plate on another. Holosun, for example, describes the SCS-CARRY as attaching directly to a HOLOSUN-K cut while using an included adapter plate with an RMSc cut. That example shows why the exact optic and exact interface matter more than a broad product-family label.
What an Adapter Plate Does
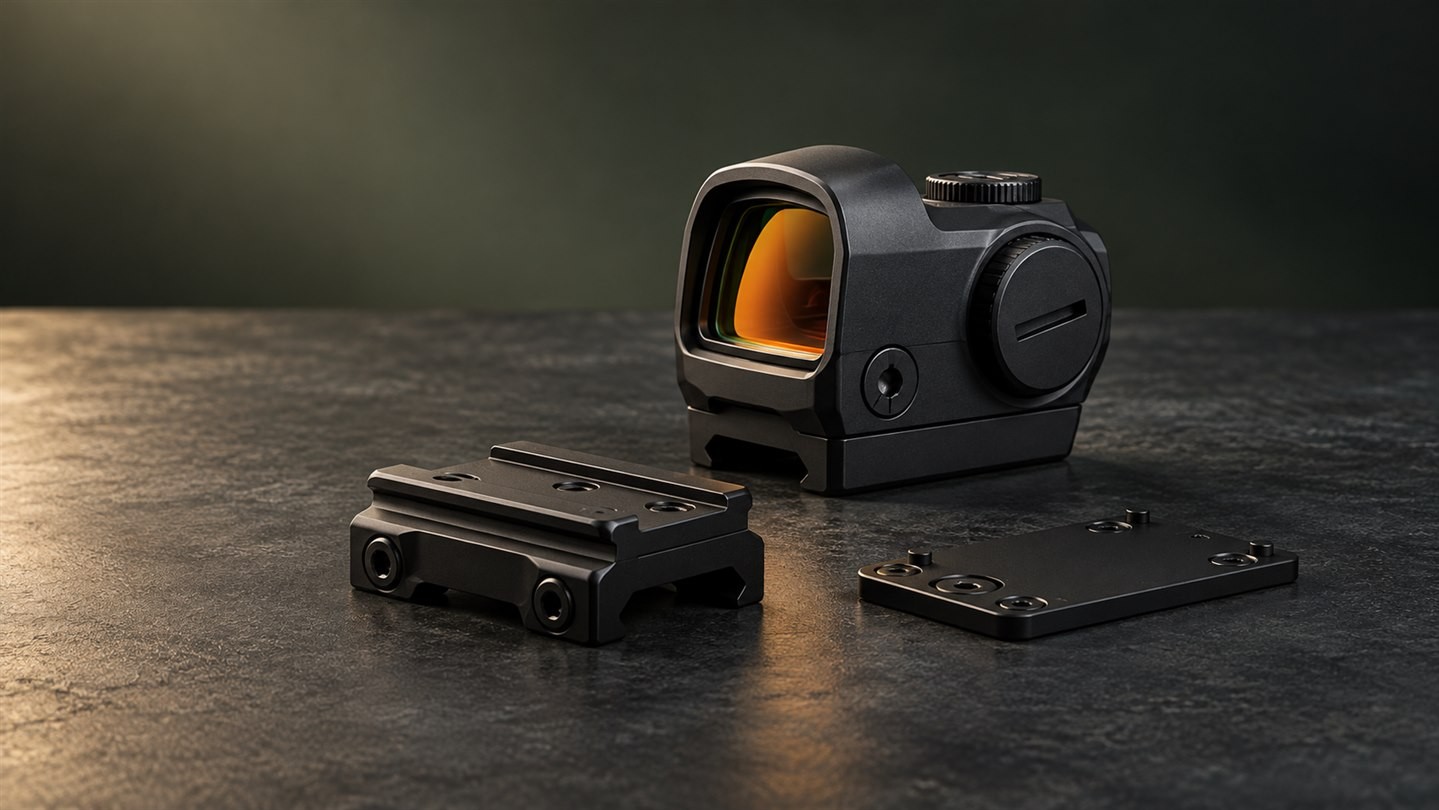
An adapter plate creates a compatible connection between two interfaces that are not designed to mate directly. It may convert one footprint to another, provide the required locating geometry, or supply the correct threaded attachment points.
Manufacturers offer many plate-specific solutions rather than one universal adapter. Aimpoint lists separate ACRO mounting plates for different interfaces and also offers footprint-conversion plates. Trijicon similarly lists model- and interface-specific plates and mounting kits. The variety is a reminder that “an adapter plate” is not a complete compatibility description.
A plate should be treated as a specified component, not as a generic spacer. Its footprint on the lower side, optic interface on the upper side, thickness, fasteners and installation instructions all matter.
Height Is the Most Visible Difference
Adding a plate normally adds some height because another physical layer sits between the optic and the original mounting surface. The amount depends on the actual plate design.
That change can affect how the optic aligns with other viewing components or how naturally the user finds the window. It does not automatically make the setup unusable. It simply means the final optical centerline should be evaluated after the full stack is assembled.
If a magnifier or another aligned optic is involved, compare the final centerline rather than assuming two products will match because their advertised mount heights sound similar. Our guide to red dot magnifier height compatibility explains why the assembled height matters.
A Plate Adds Another Mechanical Interface
Direct mounting has one main clamped interface between the optic and its mounting surface. A plate-based arrangement has two: the plate to the host, and the optic to the plate.
This does not mean a plate is inherently unreliable. A correctly designed plate installed with the specified hardware can be a normal, manufacturer-supported solution. It does mean there are more surfaces and fasteners to inspect.
Before installation, check that:
- the plate sits flat with no rocking or visible gap;
- its locating features fully engage the intended interface;
- the optic sits flat on the plate;
- each screw set is assigned to the correct layer;
- no screw bottoms out before the parts are clamped;
- the specified tightening and thread-locking instructions are followed.
Do not mix the plate-to-host screws with the optic-to-plate screws unless the instructions explicitly identify them as the same hardware.
Footprint Compatibility Still Comes First
A plate cannot solve every mismatch. The lower side must fit the host interface, and the upper side must fit the optic. Product names such as “RMR,” “RMSc,” “ACRO” or “Micro” are useful starting points, but they should not replace the exact compatibility list from the plate and optic manufacturers.
Begin with the red dot footprint, then verify the plate model and supported interface. Also check whether the optic needs recoil bosses, locating pins, a sealing plate or a particular screw-head profile.
Some products described as sharing a general footprint can still differ in clearance, screw requirements or housing shape. If the plate maker does not list the exact optic, ask before installation rather than assuming.
Screw Selection Changes With the Stack
Plate thickness changes the distance a screw must pass through before it reaches the threaded interface. This is why direct-mount and plate-mounted configurations may use different screw lengths even when the same optic is involved.
The correct screw must match the specified thread, head profile and length for that exact layer. A screw that feels tight can still be too long and bottom out early. A shorter screw may engage fewer threads than intended.
Keep every supplied screw set labeled. The separate guide to red dot mounting screw length covers the warning signs and the checks to make before final tightening.
Is Direct Mount Always Better?
No. Direct mounting can offer a lower, simpler stack when the optic and interface are designed for each other. An adapter plate can be the correct solution when it provides an approved conversion, preserves the intended locating geometry or lets a chosen optic work with an existing interface.
The weaker choice is not automatically the plate-based one. It is the unverified combination: an unidentified plate, mixed hardware, incomplete seating or an optic that is only assumed to fit.
Choose based on documented compatibility, not the smallest number of parts. A high-quality, correctly specified plate is preferable to forcing a supposed direct fit that does not fully seat.
A Practical Compatibility Checklist
Before ordering or installing, record:
- the exact optic brand and model;
- the optic footprint or named interface;
- the exact host interface or mount model;
- whether the optic mounts directly or through a specified plate;
- the plate brand and model, if used;
- which screws secure each layer;
- any sealing plate, spacer or shim required by the instructions;
- the final assembled height if alignment matters.
Then compare the current instructions from both manufacturers. If the documentation conflicts, stop and ask the optic, plate or mount supplier to confirm the complete stack.
The simple rule is this: direct mount and adapter plate are two valid connection strategies, not quality grades. The correct choice is the one whose interfaces, hardware and instructions match every part in the setup.
Browse Red Dot Sights to compare footprints, housings and mounting information before choosing an optic.

















Leave a comment