Ask for a scope-mount torque value online and several confident numbers will appear. The problem is that “scope mount” can mean base screws, rail clamps, ring crossbolts or small ring-cap screws. Those are not the same joint.
The correct value belongs to the exact hardware, material, thread and manufacturer instruction—not to optics in general.
Each fastener has a different job
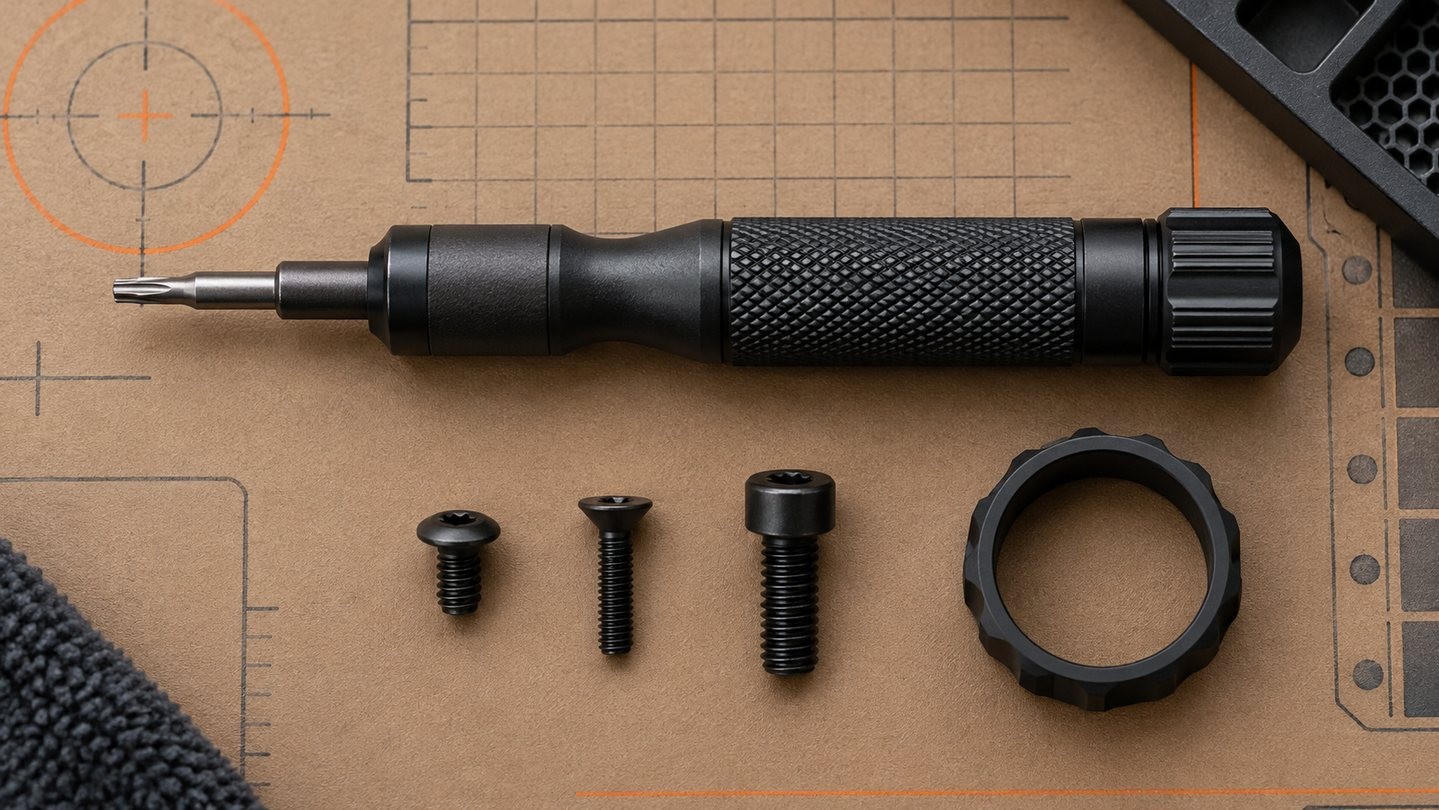
Base screws attach a base to its supporting structure. A crossbolt or clamp secures a mount to a rail. Ring-cap screws create enough clamping force to hold the scope tube without crushing or distorting it.
Applying a rail-clamp value to a small cap screw can damage threads or the optic. Applying a tiny cap-screw value to a larger clamp may not secure the mount.
Material and lubrication change the relationship
Steel, aluminum and threaded inserts behave differently. Oil, grease or threadlocker can change the friction that turns a torque reading into clamping force. Use the surface preparation and thread treatment specified by the maker.
Do not add threadlocker simply because another installation used it. Some hardware arrives with a pre-applied patch; some manuals specify a removable compound; others advise a clean dry thread.
Even tightening matters
Ring caps should normally be tightened in stages and in the documented sequence so the gap and pressure remain even. The exact pattern depends on the ring design. Watch for the scope rotating while the screws are brought up gradually.
Our ring alignment and over-tightening guide explains why more force cannot correct poor alignment.
A torque driver also needs care
Use a driver with an appropriate range and correct bit. A large general-purpose wrench may be inaccurate at the very low end. Keep the bit square to the fastener and stop when the tool indicates the set value.
Rechecking does not mean blindly retightening
An inspection can look for witness-mark movement, looseness, uneven ring gaps or a change in zero. Reapplying the full installation torque every time is not automatically required and can gradually damage a joint. Follow the maintenance instructions, and investigate repeated movement instead of treating scheduled extra force as prevention.
Safe process
- Identify every fastener and its manufacturer.
- Find the current instruction for the exact model.
- Prepare threads and surfaces exactly as specified.
- Use the correct bit and suitable torque range.
- Tighten in stages and recheck alignment.
- Record the value and thread treatment used.
- Inspect after initial use without automatically adding torque.
If a screw repeatedly loosens, read our guide to optic mounting screws rather than increasing force by guesswork. Precision starts with the correct specification, not a universal number.

















Leave a comment