A dropped scope or red dot can look completely normal and still deserve a careful inspection. It can also show a harmless cosmetic mark that has no effect on performance. The outside alone does not tell the whole story.
The sensible response is not to start turning every control or tightening every fastener. First stop using the optic, record what happened, and work through a consistent inspection sequence. The goal is to identify visible damage, separate an optic problem from a mounting problem, and know when factory service is the safer next step.
This guide applies to conventional riflescopes and enclosed or open red dot sights. Always follow the manual for your exact model, especially for battery access, removable mounts and user-serviceable parts.
1. Take the optic out of service first
After an impact, treat the optic as unverified until it has been inspected. Do not assume that a rugged or “shockproof” label guarantees that every drop is harmless. Those terms can refer to different test methods and limits, as explained in our guide to shockproof optics claims.
Move the equipment to a clean, well-lit surface. If the optic is still attached to other equipment, make the complete setup safe before touching the optic or mount. Do not continue using it merely to see whether the problem becomes more obvious.
Stop immediately and arrange qualified service if you notice broken glass, a loose lens, exposed electronics, leaking battery material, a sharply deformed housing or any part that could detach.
2. Record the impact before changing anything
A short record is more useful than it may seem. Before cleaning, adjusting or removing the optic, take clear photographs of every side and note:
- approximately how far it fell;
- the surface it struck;
- which side or control appears to have taken the impact;
- whether the optic was mounted at the time;
- any sound, looseness or change noticed immediately afterwards.
Also record the model and serial number if available. This preserves evidence of the original condition and gives the manufacturer useful context if the optic needs evaluation.
Avoid “correcting” settings at this stage. If a turret, brightness control or magnification ring has moved, photograph its position first.
3. Inspect the housing and lenses before cleaning
Use diffuse light and look slowly around the body. Check for fresh dents, cracks, gaps between parts, displaced seals, chipped edges and unusual reflections from the lenses. Compare opposite sides where possible. A small finish mark may be cosmetic, but a gap that was not present before can indicate movement between components.
Look through the objective and ocular ends without touching the glass. Watch for a lens that appears tilted, a new internal speck, a crescent-shaped separation near an edge, fogging that remains inside the optic, or anything that moves when the optic is gently repositioned.
Do not shake the optic to provoke a rattle. Do not press on a lens, seal or retaining ring. If debris on the outside prevents inspection, use only the cleaning method approved by the manufacturer. Our scope-lens cleaning guide explains why dry grit should be removed before wiping.
4. Check each control gently
Operate only the controls intended for normal user adjustment. Move them through a small, familiar range and compare the feel with their condition before the drop.
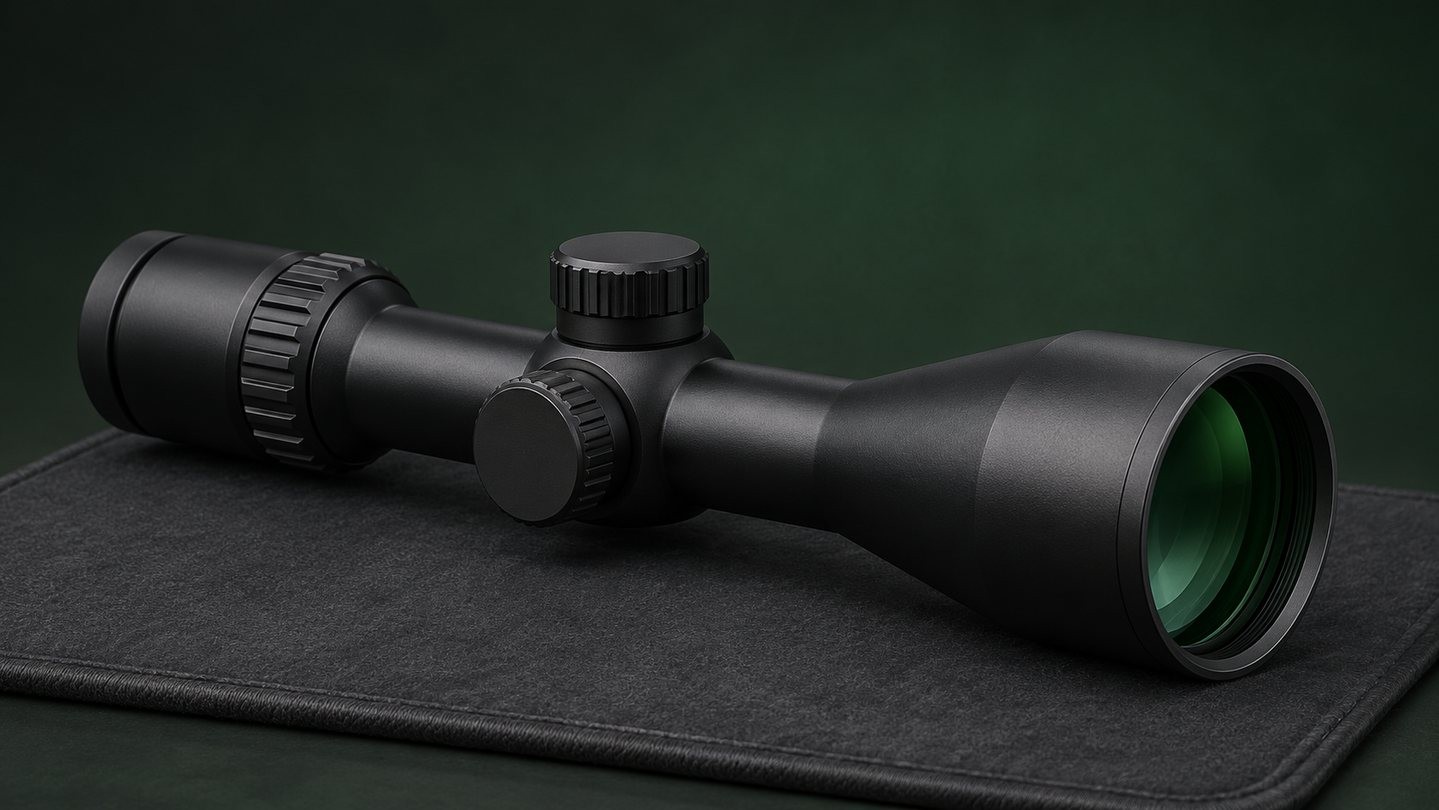
For a riflescope, this may include the diopter, magnification ring, parallax control, illumination control and exposed turrets. For a red dot, it may include brightness buttons or a rotary switch and the battery cap. Look for:
- a control that is suddenly much tighter or looser;
- roughness, scraping or a new dead spot;
- a knob that sits crooked or has visible impact damage;
- a cap that no longer starts squarely on its threads;
- a display or illuminated point that flickers during ordinary operation.
Never force a control past resistance. A damaged control is a reason to stop, not an invitation to apply more torque. Do not add oil or solvent unless the model manual specifically instructs you to do so.
5. Inspect the mounting interface separately
An impact can affect the optic, the mount, or both. Check rings, bases, clamp surfaces and fasteners for movement, fresh witness marks, bent edges or a visible change in alignment. A shifted mount can create symptoms that resemble an internal optical failure.
Do not simply tighten every screw. Excessive or uneven ring pressure can create its own problems. Review scope-ring alignment and overtightening before correcting a mounting issue, and use only the fastener sequence and torque values specified by the relevant manufacturer.
If the optic must be removed for inspection, mark its position and document the mount first. Do not reuse visibly damaged fasteners or components merely because they still fit.
6. Perform a stationary visual check
With the optic held securely and pointed toward a safe, evenly lit scene, check the image without looking at the sun or another intense light source. This is a visual inspection, not proof that the optic has retained every performance specification.
For a magnified optic, compare low and high magnification. Look for a new dark area that remains in one place, a reticle that appears displaced or rotated, a focus control that no longer produces a clear image, or an image that jumps when a normal control is moved.
For an electronic sight, confirm that the illumination starts, changes normally and remains stable. A distorted dot can also come from the viewer's eyesight or camera, so compare it with its known pre-impact appearance rather than treating one photograph as a diagnosis.
Persistent internal haze after an impact is especially important. It should not be confused with ordinary condensation on an outer lens; our guide to external condensation versus internal moisture explains the difference.
7. Know the red flags for factory service
Stop the inspection and contact the manufacturer or an authorised service centre if you find any of the following:
- cracked, chipped, loose or visibly shifted glass;
- a deformed tube, housing, turret or battery compartment;
- internal moisture, new internal debris or a moving internal part;
- controls that bind, scrape, skip or cannot be operated normally;
- unstable illumination after a known-good battery is installed correctly;
- a reticle or image that appears newly tilted, displaced or intermittent;
- damage to a sealed area or uncertainty about the optic's internal condition.
The absence of these signs is reassuring, but it is not a factory inspection certificate. If the impact was severe or the optic is used in a situation where failure could create a safety risk, professional evaluation is the conservative choice.
8. Do not disassemble or improvise a repair
The main body of a sealed optic is not a normal user-service area. Opening it can damage seals, contaminate internal surfaces and affect warranty coverage. Manufacturers commonly direct users to service channels for internal optical or structural problems.
Avoid these common mistakes:
- removing parts that the manual does not identify as user-removable;
- applying lubricant, threadlocker, heat or solvent as a diagnostic step;
- pressing a lens or retaining ring back into position;
- forcing a bent control to make it move;
- repeatedly adjusting settings to “work through” a fault;
- relying on a home pressure or water test.
Only replace a battery, cap, removable mount or other item when the exact model manual permits it and the surrounding part is undamaged.
9. Prepare a useful service request
Good information helps a service technician reproduce the problem. Include the model, serial number, purchase details if available, impact description, photographs and a concise list of what changed. Describe symptoms rather than guessing at the failed internal part.
Follow the manufacturer's packing instructions. Service guidance often asks owners to remove rings and accessories, protect the lenses and use a sturdy outer shipping carton. Confirm the current return process before sending anything, because authorisation and international-service rules vary by brand and region.
If you are comparing a replacement rather than repairing the damaged optic, start with the intended use, optical requirements and mounting constraints in our optics buying guides, not simply a higher advertised impact rating.
A calm inspection is better than a quick guess
A drop does not automatically mean an optic is ruined, and a clean exterior does not prove that nothing changed. The best response is a documented sequence: stop using the optic, inspect the housing and glass, check normal controls gently, separate mount issues from optic issues, and refer uncertain internal damage to the manufacturer.
That approach protects the equipment, preserves useful evidence and avoids turning a manageable service question into a larger repair.

















Leave a comment