A fingerprint can make a red-dot window look hazy, while one grain of sand can turn an unnecessary wipe into a permanent scratch. The safest cleaning routine is therefore not about rubbing harder. It is about removing loose debris before anything touches the coated glass.
Red-dot sights also need slightly different care from conventional scopes. An open-emitter design has a small exposed optical path that can collect dust, lint or moisture. An enclosed design protects the emitter but adds another exterior window. The correct method depends on the exact sight, so the manufacturer’s current manual always takes priority over a generic routine.
Why red-dot cleaning needs a gentle sequence
The visible window is coated optical glass. Those coatings help manage reflections and make the aiming reference visible, but they are not a license to use household cleaners, paper towels or a dusty shirt. Hard particles dragged across the surface can mark a coating even when the glass underneath remains intact.
Cleaning also cannot correct every strange-looking sight picture. Lens tint and reflections are normal parts of many reflex designs; our guide to red-dot lens tint and reflections explains why a blue, green or amber cast is not automatically contamination.
The useful order is simple: inspect, blow, lightly moisten when necessary, wipe with a clean optical material, then let the sight dry before checking it again.
Check the manual and prepare a clean workspace
Find the manual for the exact model before applying any liquid. Manufacturer instructions differ on acceptable cleaners, water exposure, seals and access to the emitter area. A product’s environmental rating does not mean every cleaning chemical or pressurized spray is safe.
Work over a clean, stable surface with bright indirect light. Turn the sight off. If practical and consistent with the manufacturer’s instructions, separate it from other equipment so dirt cannot fall from a mount or surrounding hardware back onto the glass. Keep battery doors and adjustment caps closed unless the manual specifically requires otherwise.
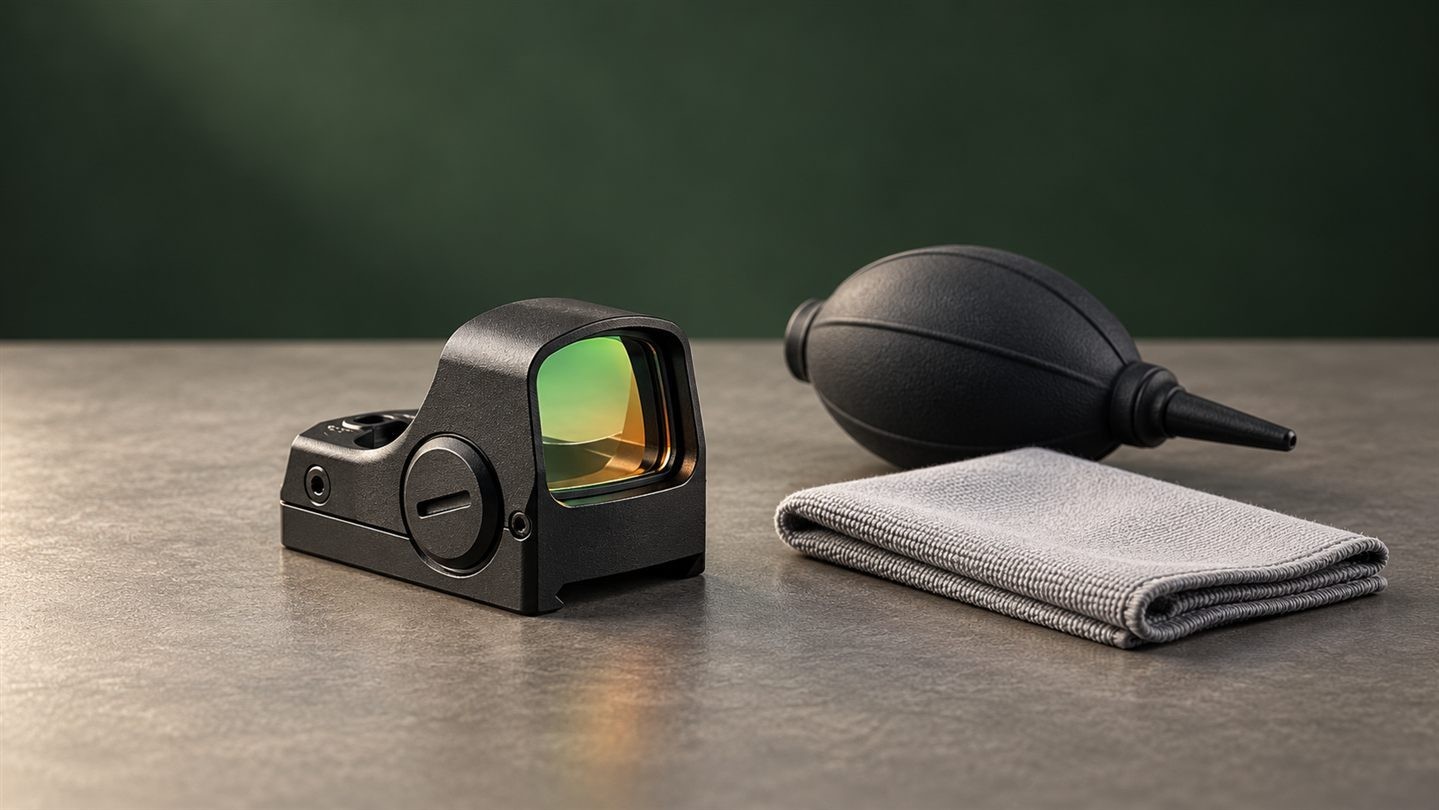
Prepare only a few clean tools:
- a hand-squeezed rubber air blower;
- a clean optical microfiber cloth or fresh lens tissue;
- a soft lens brush, if the manufacturer permits one;
- the model-approved lens cleaner or clean water;
- a separate cloth for the housing.
Do not use your lens cloth to wipe oily mounts, painted surfaces or dirty hardware. Once a cloth has picked up grit, it should no longer touch optical glass.
Start with air, not a cloth
Hold the sight so loose debris can fall away rather than deeper into an opening. Use several gentle puffs from a rubber blower across the window and around accessible edges. The goal is to lift dust, not drive it into seams.
Avoid blowing with your mouth. Saliva droplets can add a new film, and breath can leave temporary condensation. Canned or powered compressed air can also be risky because strong pressure, cold propellant or liquid discharge may affect seals, coatings or electronics. Use it only if the exact manufacturer explicitly allows it.
If a soft brush is approved, make one light pass after blowing. A brush is for particles that did not release with air; it is not a tool for scrubbing dried residue.
Use only a model-approved fluid
Fingerprints, dried water spots and oily residue may need moisture. Official red-dot manuals commonly instruct users to blow away dust first, then wet the lens with a suitable lens cleaner or clean water and wipe with lens tissue, soft cotton or microfiber. That sequence matters because moisture alone does not remove abrasive grit.
Apply a small amount to the cleaning material rather than flooding the sight. The cloth should be lightly damp, not dripping. This gives you control over where the liquid goes and reduces the chance of fluid collecting around buttons, battery compartments, adjustment screws or an exposed emitter.
Do not assume that glass cleaner, alcohol, acetone or another solvent is safe because it works on ordinary glass. Some manufacturer manuals specifically prohibit organic solvents. If the manual does not name a chemical, do not improvise.
Treat the window and emitter area differently
On an open-emitter sight, the visible window and the recessed emitter area are not the same cleaning surface. Blow loose material out of the cavity without pushing a swab, cloth corner or brush against the emitter. Do not pour cleaner into the opening. If residue remains where you cannot reach it without force, stop and ask the manufacturer or service provider for guidance.
An enclosed red dot keeps the emitter inside the housing, which reduces direct exposure to rain and debris. It still has front and rear exterior surfaces that can collect fingerprints and dust. The broader design trade-offs are covered in our open versus enclosed red-dot guide.
Neither construction should be disassembled for routine cleaning. Opening a sealed optical housing can introduce dust or moisture and may affect the warranty.
Wipe with light, controlled passes
After loose grit is gone, touch the damp optical cloth to the affected area with minimal pressure. Use a clean section for each pass instead of moving the same contamination around. A short pass from the center toward an edge is easier to control than aggressive circular polishing.
Turn the cloth frequently. If it falls on the floor or touches a dirty surface, replace or wash it before it returns to the lens. Use a separate cloth to wipe the exterior housing, and keep that cloth away from the optical surfaces.
Avoid forcing fabric into narrow gaps. Cotton fibers or microfiber loops can snag on corners, screws or seals, leaving lint in a place that is harder to clean than the original spot.
Let the sight dry, then inspect it correctly
Allow remaining moisture to evaporate naturally in a clean place. Do not accelerate drying with a hair dryer, heater or high-pressure air. When the surfaces are dry, examine them under soft light from several angles. You are looking for remaining particles, streaks and moisture—not trying to make the coating reflection disappear.
Power the sight on only after the exterior is dry. View a distant, evenly lit scene and focus on that scene rather than staring at the dot. If the aiming point still looks irregular, reduce brightness and compare the view with a camera before blaming the glass. The red-dot starburst troubleshooting guide separates contamination from brightness, eyesight and possible device faults.
Persistent internal haze, moisture behind a window, coating damage or debris inside a sealed housing is a service question, not an invitation to open the sight.
Common cleaning mistakes to avoid
Most damage comes from shortcuts rather than from leaving a little harmless dust alone. Avoid these habits:
- wiping a dusty window before using air;
- cleaning with a shirt, facial tissue or paper towel;
- reusing a cloth that has touched grit, oil or the workbench;
- spraying liquid directly into an open emitter cavity;
- using strong solvents without model-specific approval;
- scraping dried residue with a fingernail or tool;
- pushing swabs into inaccessible optical areas;
- disassembling a sealed housing;
- polishing repeatedly to remove a normal coating tint.
A few tiny dust particles that do not affect the view are often less harmful than repeated unnecessary contact. Clean when contamination changes the image, blocks the emitter path or risks holding abrasive material against the surface—not simply because the optic has been handled once.
Storage reduces how often cleaning is needed
Fit the correct protective cover when the sight is not in use, but make sure the optic is dry before enclosing it. A cover can keep new dust away; it cannot make trapped moisture disappear. Store the sight in a clean, dry place away from loose chemicals and dirty cloths.
For longer storage, follow the model’s battery guidance and inspect the compartment periodically. Our broader guide to storing optics covers moisture, batteries and lens protection in more detail.
A quick safe-cleaning checklist
Before touching the window, ask five questions:
- Have I read the current manual for this exact model?
- Have I blown away every loose particle I can see?
- Is the cloth or tissue genuinely clean and intended for coated optics?
- Is the fluid specifically approved, and am I applying it to the cloth rather than flooding the sight?
- Can I reach the residue without forcing a tool into the emitter area or opening the housing?
If the answer to the last question is no, stop. Careful cleaning preserves the sight; improvised disassembly turns a small cosmetic problem into a possible optical, sealing or warranty problem.

















Leave a comment