A new rifle scope can look surprisingly disappointing the first time you look through it. The target may seem soft, the reticle may refuse to look crisp, or the image may change as soon as you turn up the magnification.
That does not automatically mean something is wrong with the glass. Quite often, the scope simply has not been set up for the viewer and the viewing distance yet. The important part is knowing which control does which job, then adjusting the controls in an order that does not have you chasing the same problem around the scope.
Identify the controls before turning anything
Variable-power scopes can place several controls close together. Before making an adjustment, use the manual for the exact model and identify:
- the magnification ring;
- the eyepiece diopter or fast-focus ring;
- the side-focus knob or adjustable objective, if fitted;
- the elevation and windage turrets; and
- the illumination control, if the reticle is illuminated.
The elevation and windage turrets move the point of aim for zeroing. They are not focus controls. Leave them alone while you are sorting out the sight picture.
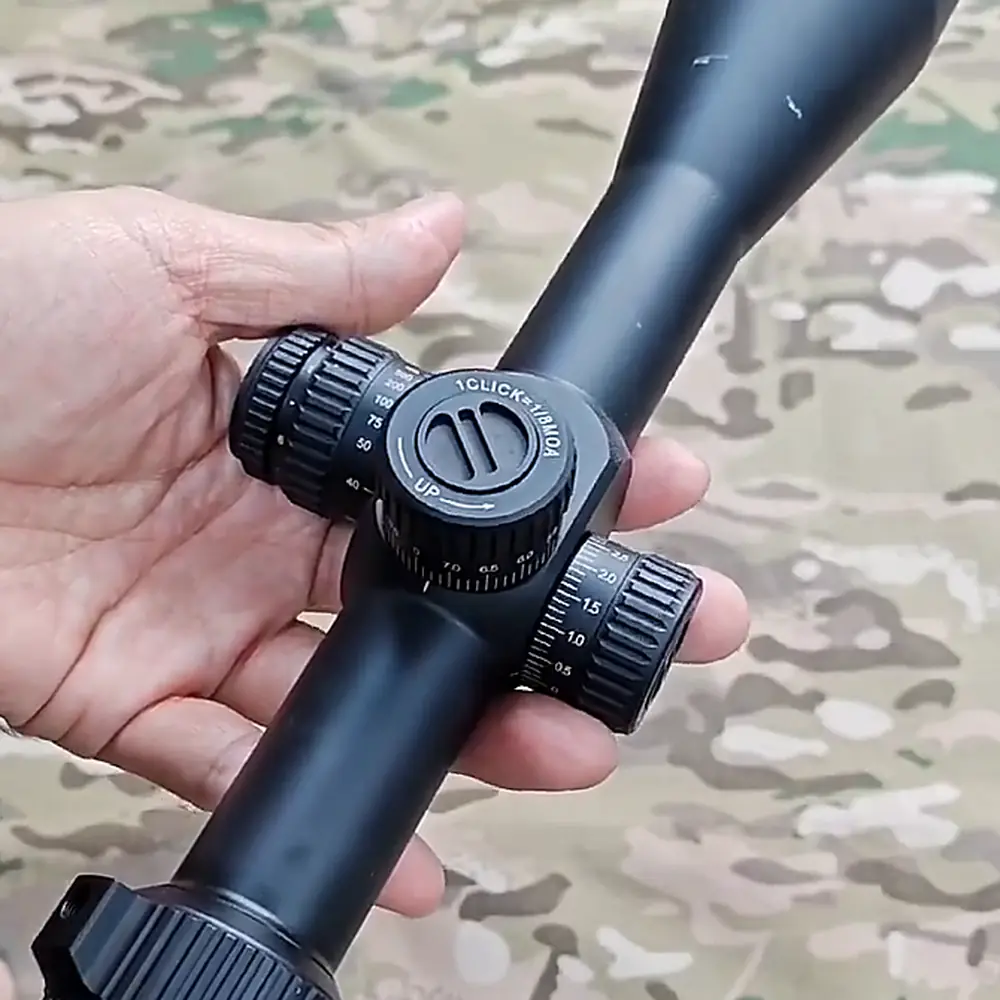
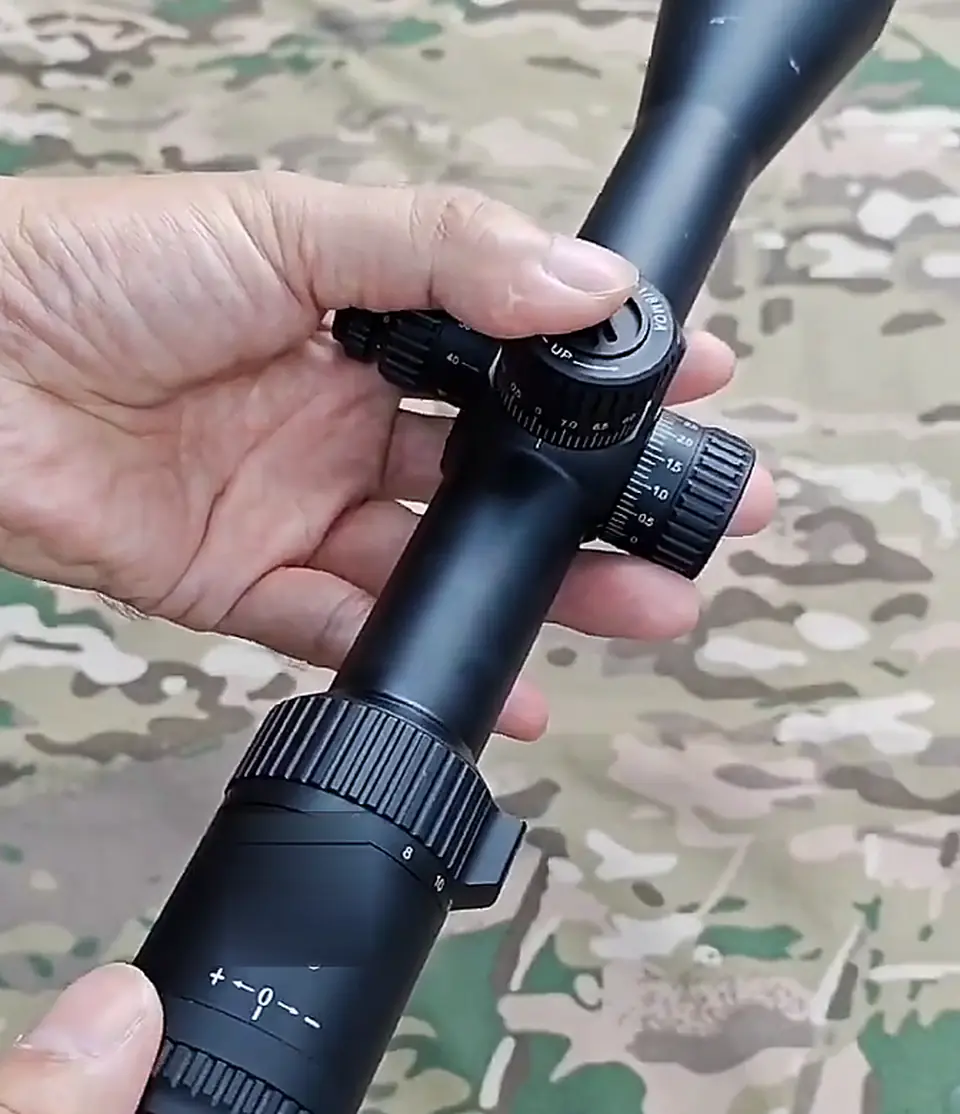
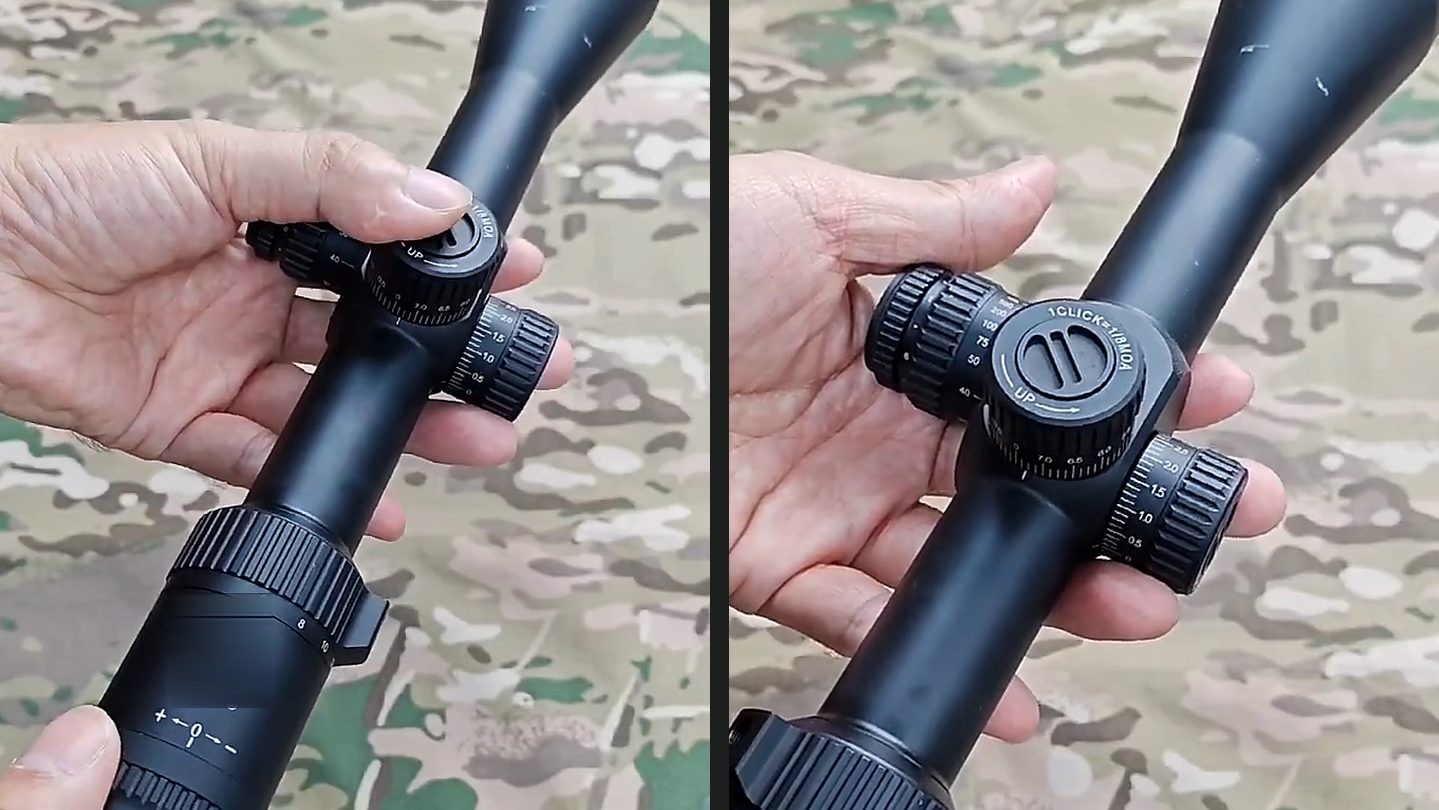
The video used for this guide shows three controls that are often mixed up: a magnification ring near the eyepiece, a rear diopter adjustment and a side-focus control near the turret saddle. Their exact shape and position vary, so the labels and the manufacturer's instructions take priority over appearance.
Start with a stable, safe setup
Do the initial optical setup with the firearm unloaded and pointed in a safe direction, or use a suitable viewing fixture when that is an option. Support the setup so you can look through the scope without fighting movement.
Begin at a moderate magnification rather than jumping straight to the highest setting. A middle setting usually makes it easier to distinguish a genuine focus problem from an unforgiving eye position. If a dark crescent or black ring appears around the image, correct your head position and eye relief before judging sharpness.
Choose a target with some fine detail at a known, practical distance. Avoid looking at the sun or another intense light source.
Set the target focus for the viewing distance
If the scope has side focus or an adjustable objective, turn that control until the target looks clear. The distance markings are useful starting points, not laboratory measurements. Your eyesight, atmospheric conditions, magnification and the scope's calibration can all make the best-looking position fall a little to either side of a printed number.
This control works on the target image and helps manage parallax at the selected distance. It is not intended to sharpen the reticle for your eyesight. Our guide to parallax, focus and diopter explains why those jobs are related but not interchangeable.
Set the eyepiece diopter for your eye
Now set the reticle focus. Look at a plain, bright background such as an overcast sky or a light-colored wall, never the sun. Give the reticle only a quick glance, then look away and make a small diopter adjustment. Repeat until the reticle appears crisp immediately.
The short-glance method matters because the eye naturally tries to accommodate a slightly soft image. If you stare through the scope for a long time, your eye can temporarily make a poor diopter setting seem acceptable. When you return later, the reticle may look soft again or cause unnecessary eye strain.
Once the reticle snaps into focus, stop. Do not use the diopter to improve target detail. A properly set diopter normally stays with the same viewer rather than being readjusted every time the distance changes. If you share the scope, note that another person's best setting may be different. For a more detailed method, see how to adjust a rifle-scope diopter.
Recheck parallax, not just target sharpness
A sharp target does not by itself prove that parallax has been minimized. Keep the scope still and move your eye slightly from side to side. If the reticle appears to drift across the target, refine the side-focus or adjustable-objective setting and check again.
The goal is not to hunt endlessly for a perfect number on the knob. It is to find a repeatable setting where the target is suitably clear and apparent reticle movement is minimized for that distance. Some scopes have fixed parallax and do not offer this adjustment; in that case, consistent eye position becomes even more important.
Change magnification, then confirm the view again
After the diopter is set, turn the magnification ring through the range you expect to use. Higher magnification can make small focus errors, parallax and head-position changes easier to notice. It may also narrow the field of view.
At a new distance or magnification, recheck the target focus and parallax control if the scope provides one. The reticle should not require constant diopter changes. On a first-focal-plane scope, the reticle appearing larger or smaller as magnification changes is normal; that is different from the reticle becoming optically blurry.
If the full image disappears at high power, do not immediately reach for a focus control. First return your eye to the correct position behind the eyepiece. Focus, parallax and eye relief can all affect what you see, but they solve different problems.
Common first-use mistakes
Using the zeroing turrets as focus controls. Elevation and windage change the aiming reference. They will not make the image clearer.
Focusing the target with the diopter. The rear diopter is for the reticle and the viewer's eye. Use side focus or the adjustable objective for the target image.
Treating yardage marks as exact. Printed numbers are convenient references. Confirm the best setting through the scope rather than forcing the knob to match an expected value.
Staring at the reticle while setting the diopter. Long viewing gives the eye time to compensate. Use short glances and small adjustments.
Starting at maximum magnification. High power can make the eye box feel tight and turn several small issues into one confusing sight picture.
Assuming optical setup equals zeroing. A clear image does not confirm ring alignment, torque, reticle level or point of impact. Those are separate checks.
A simple first-use sequence
- Read the scope and mount instructions.
- Confirm a stable, safe setup and comfortable eye relief.
- Select a moderate magnification.
- Use side focus or the adjustable objective to clarify the target at the chosen distance.
- Set the eyepiece diopter so the reticle looks sharp immediately.
- Recheck apparent reticle movement while shifting your eye slightly.
- Change magnification and confirm the target focus, parallax and full sight picture again.
- Only then move on to the separate mounting, leveling and zeroing checks specified for the equipment.
The sequence is simple, but it prevents a lot of frustration. Give each control one job: magnification changes apparent image scale, the diopter focuses the reticle for your eye, and side focus or the adjustable objective handles the target image and parallax at distance. Once those roles are clear, a new scope becomes much easier to evaluate and use consistently.
For more practical explanations without product-specific sales pressure, browse the USEEIN Optics Field Notes.

















Leave a comment