A new scope can be optically clear and still look wrong the first time you look through it. The target may seem acceptable, yet the crosshair looks soft. You turn the magnification ring, then the Side Focus dial, but the reticle is still not quite crisp.
In many cases, nothing is defective. The eyepiece simply has not been adjusted for your eyesight.
That adjustment is made with the diopter, usually located at the rear of the scope. Its job is specific: it brings the reticle into sharp focus for the person looking through the optic. Once it is set correctly, you should normally leave it alone unless another shooter uses the scope or your vision changes.
Before working with a mounted optic, make sure the firearm is unloaded, keep it pointed in a safe direction, and follow local laws and range rules. Never look at the sun or another intense light source through a scope.
What the diopter actually adjusts
The diopter focuses the reticle, not the distant target.
That distinction matters because a scope may have several controls that affect what you see:
- the diopter makes the reticle look sharp to your eye;
- the magnification ring changes how large the target appears;
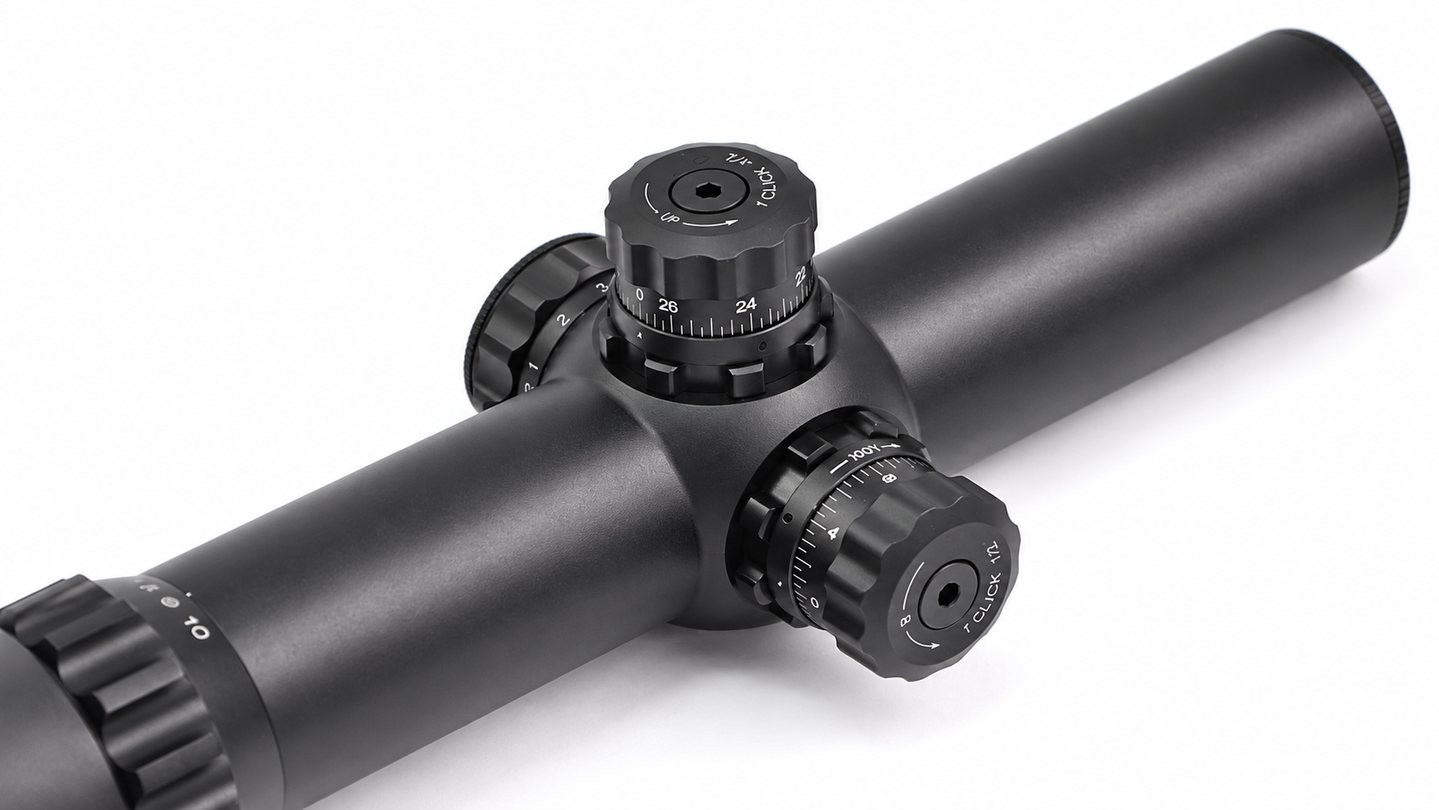
- Side Focus or Adjustable Objective (AO) is used to manage parallax at the target distance and often changes target-image clarity as you adjust it;
- your mounting position and head position determine whether you have correct eye relief and a full field of view.
These controls can influence the same overall view, but they do not do the same job. Turning all of them at once makes diagnosis harder.
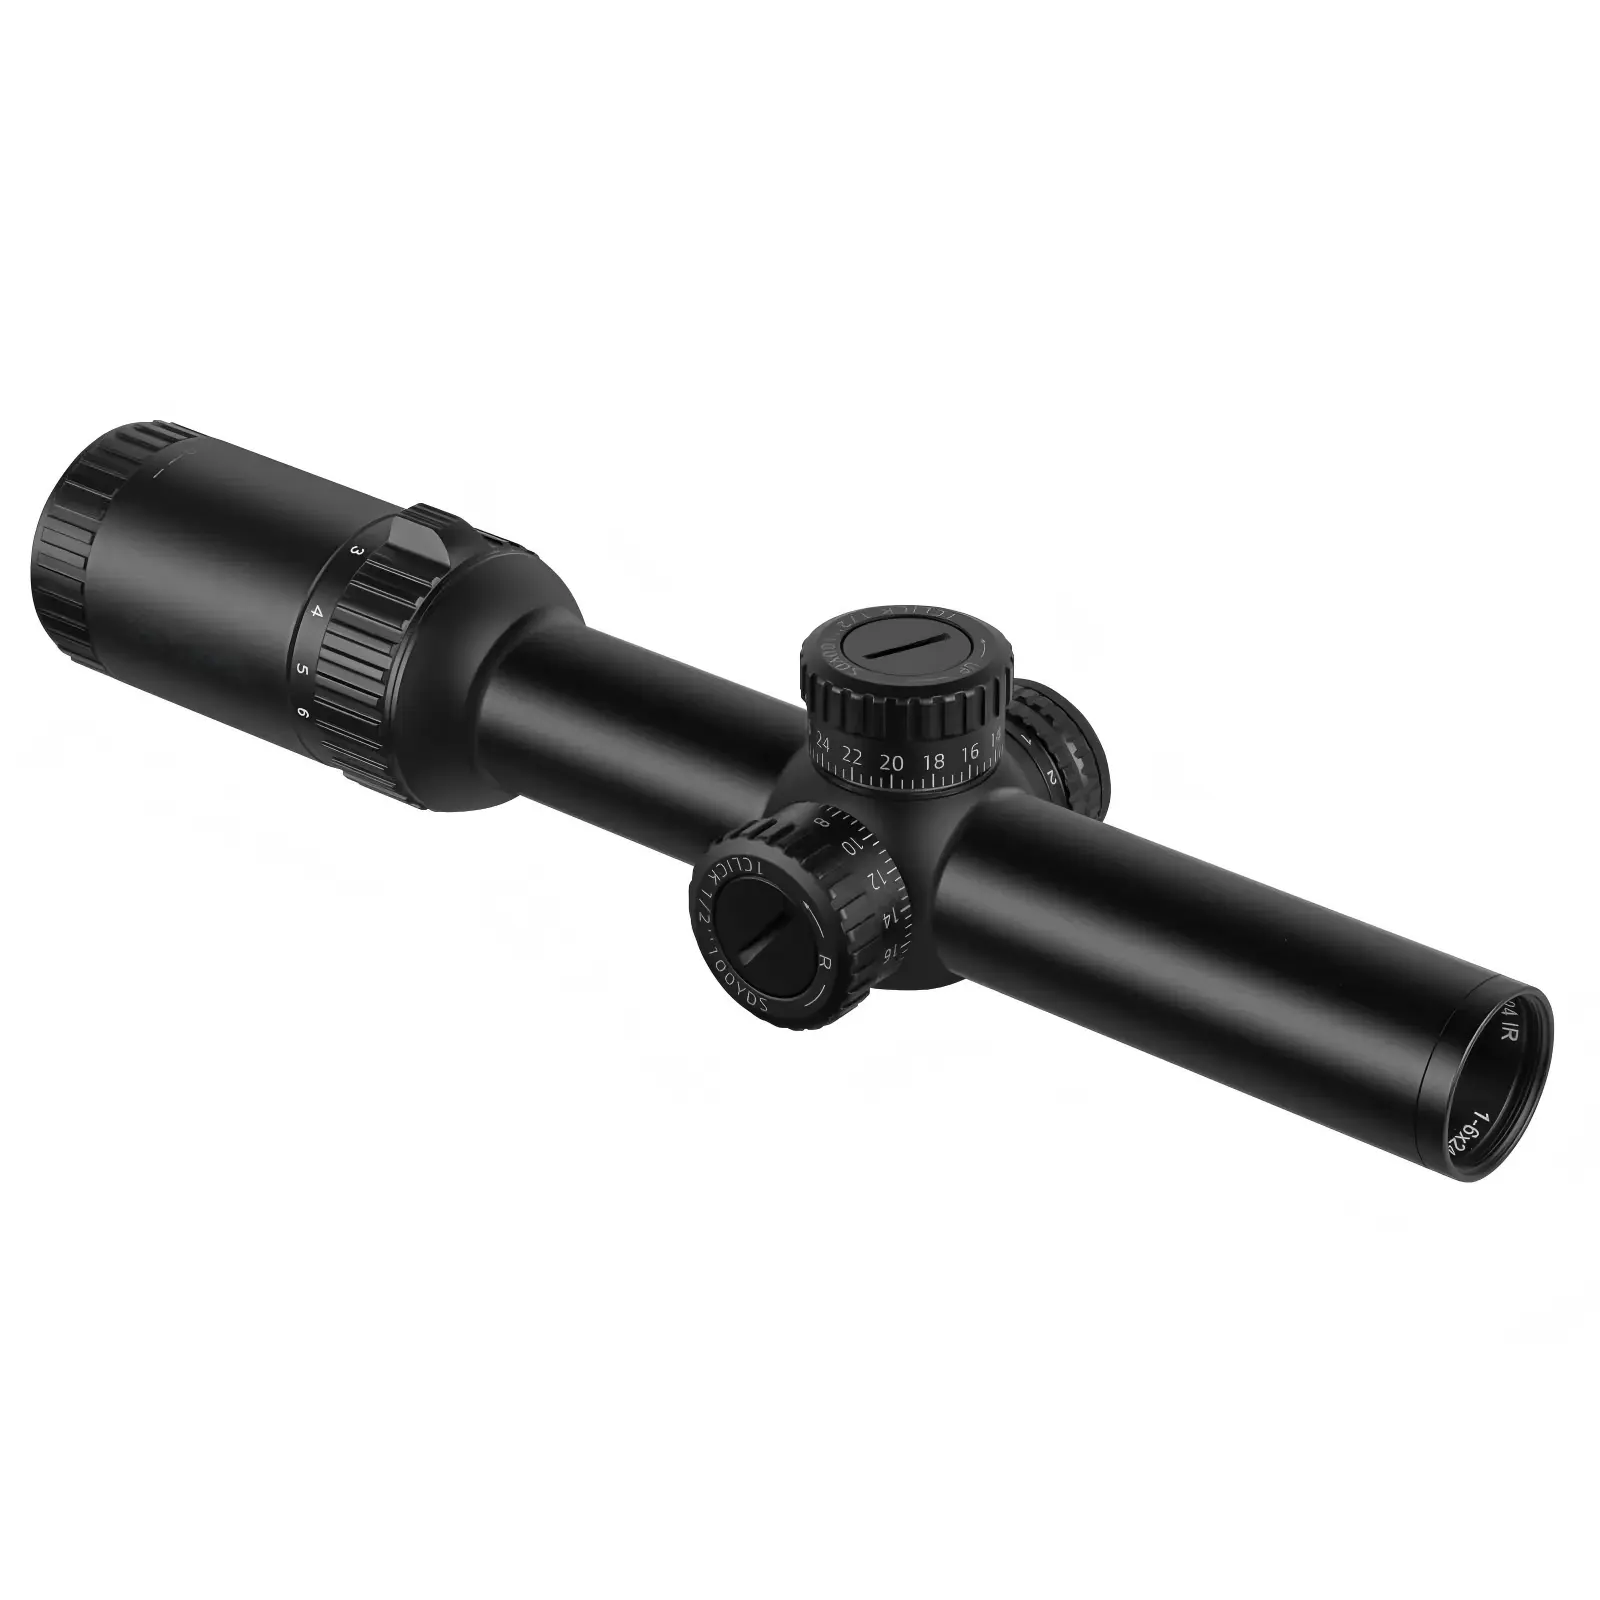
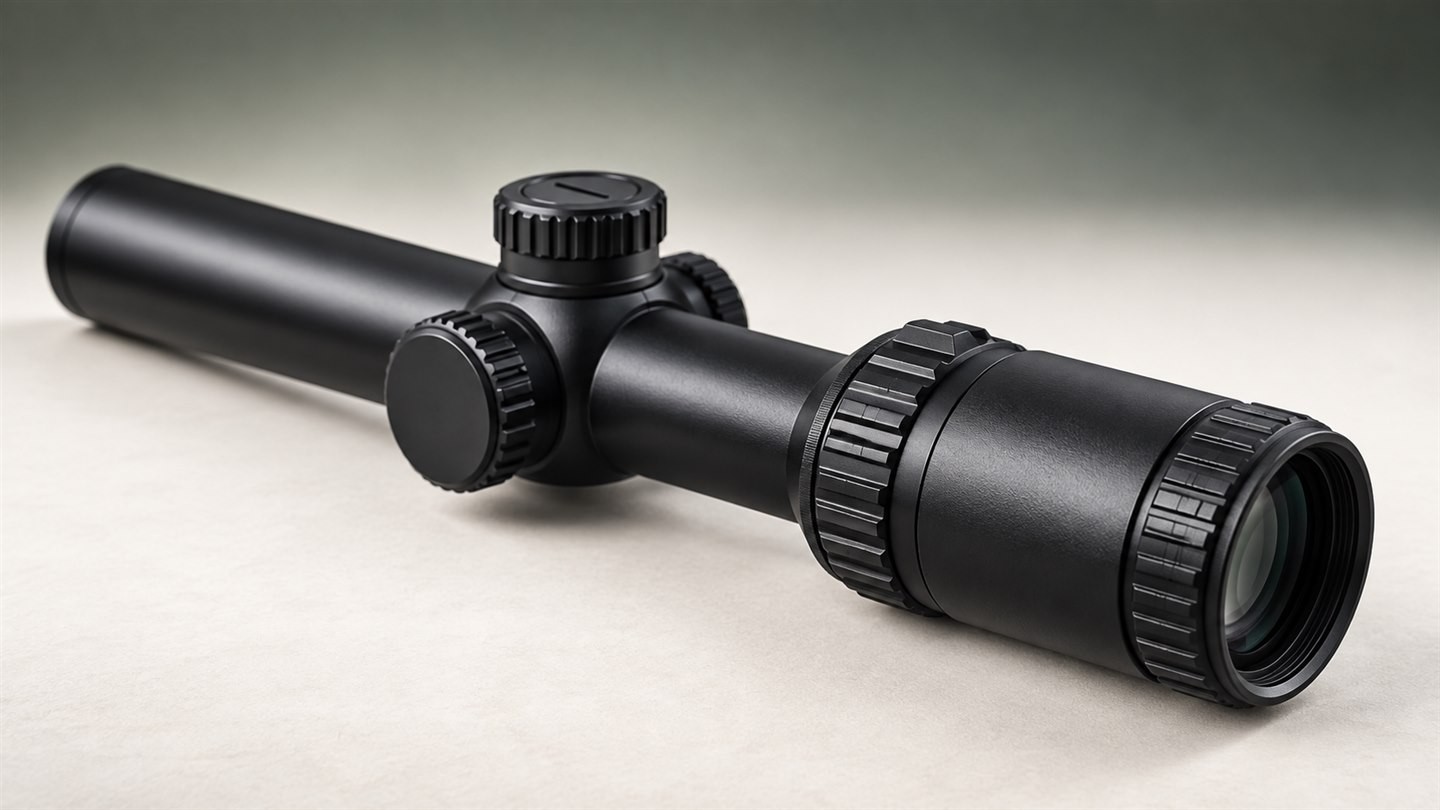
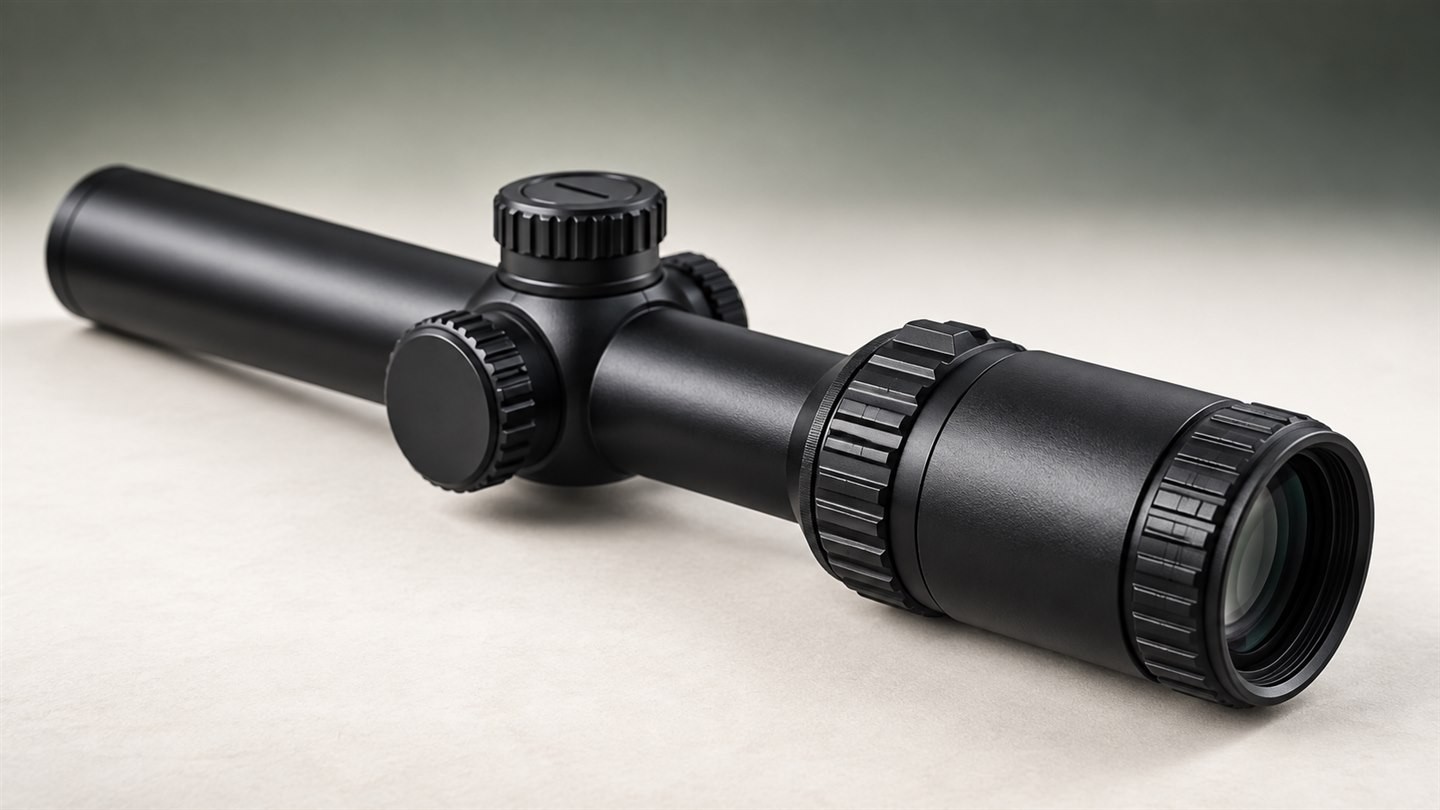
The numbered ring changes magnification. The ring at the rear eyepiece is the diopter adjustment.
First diagnose what looks wrong
The reticle is blurry
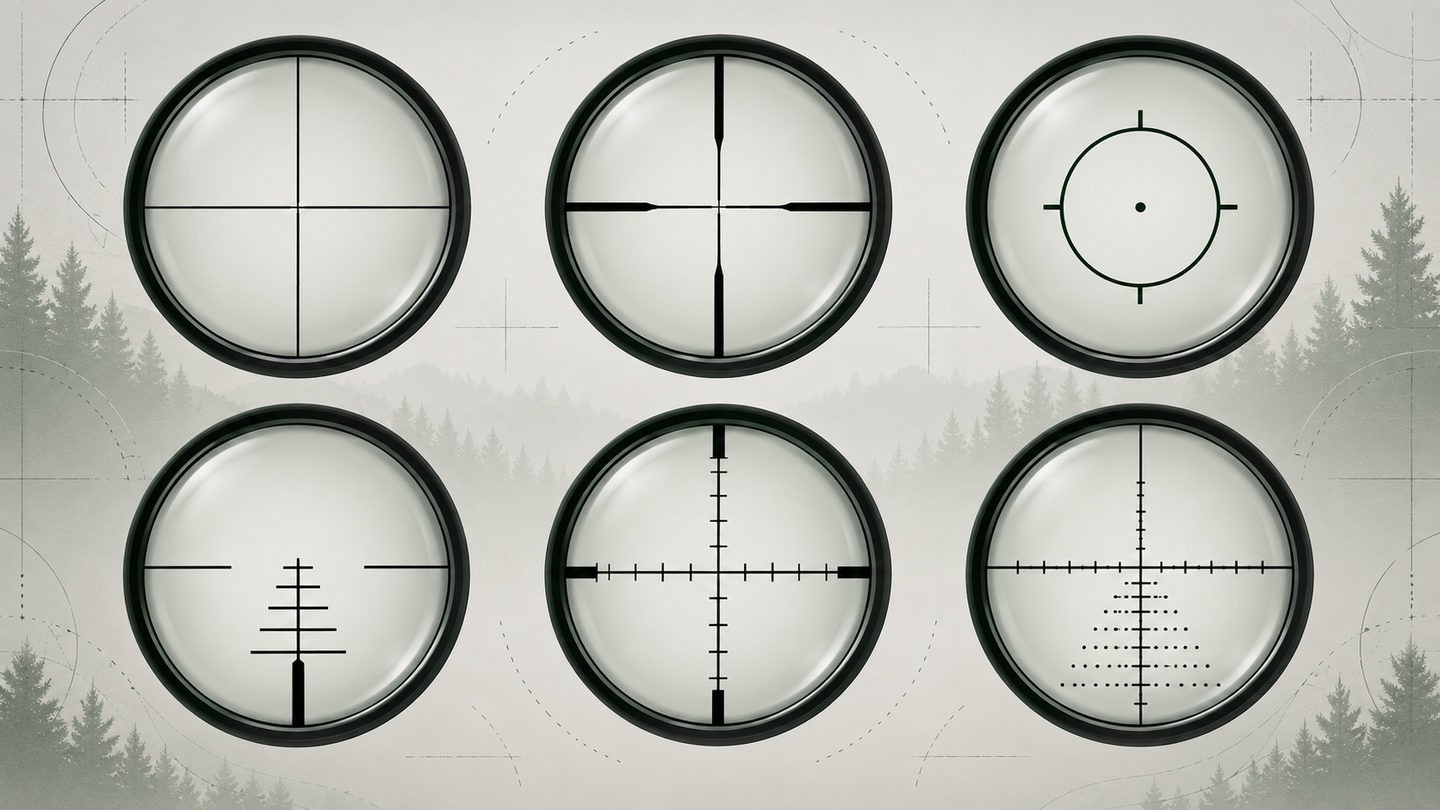
If the lines, dot, or etched markings of the reticle look soft as soon as you glance through the scope, adjust the diopter. Test the reticle against a plain, light background so your eye is not tempted to focus on a detailed target.
The reticle is sharp, but the target is blurry
If the reticle looks crisp but the target does not, the diopter is probably not the control you need. On a scope with Side Focus or AO, set that control for the target distance and refine it from there. On a fixed-parallax scope, the target may be outside the distance range at which the optical system appears clearest.
You see a black ring or only part of the image
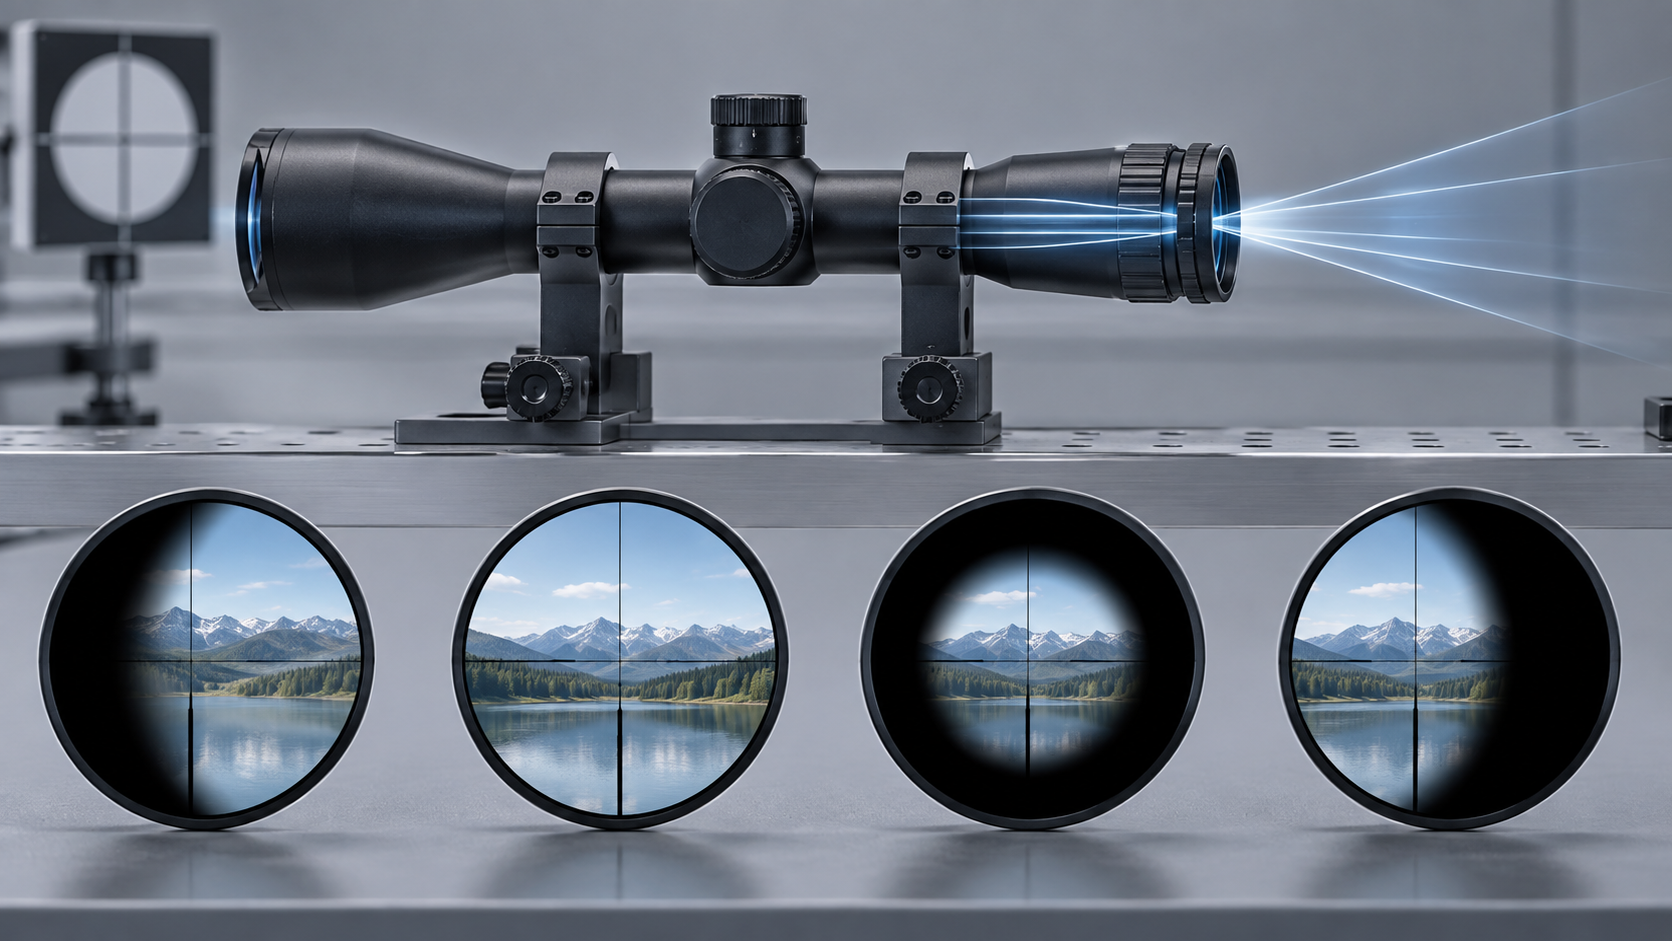
A dark crescent, heavy black border, or disappearing image usually points to eye relief or head position rather than diopter focus. Move your head slightly forward, backward, or sideways. If you cannot obtain a full field of view in a natural position, the scope may need to be repositioned in its rings.
The reticle seems to move across the target
Keep the scope still and shift your eye slightly behind the eyepiece. If the reticle appears to slide across the target, you are seeing parallax error. Use Side Focus or AO if the scope provides it, and keep a consistent cheek position.
How to adjust the diopter correctly
You do not need a distant target for this step. In fact, a detailed target can make it harder because the eye naturally tries to accommodate and sharpen what it sees.
1. Make the setup safe and stable
Confirm that the firearm is unloaded and pointed in a safe direction. Support it so you are not trying to hold the complete setup steady while judging a fine optical adjustment.
2. Use a plain, bright background
Aim at a blank wall, an overcast sky, or another evenly lit, featureless surface. Stay well away from the sun and intense artificial light. The background should give your eye nothing interesting to focus on; the reticle should be the only detailed object in view.
3. Start with a brief glance
Look through the scope for only a second or two. Ask one question: Does the reticle look immediately crisp?
Do not stare at it for a long time. Your eye can compensate for a slightly incorrect setting, making a soft reticle seem sharper than it really is. Look away between checks and let your eye relax.
4. Turn the eyepiece adjustment a small amount
Rotate the diopter or fast-focus eyepiece slightly, then look away. Different scopes use different thread directions and locking systems, so follow the markings or manual rather than assuming that one direction is universal.
If the reticle looks worse on the next quick glance, turn the control the other way. If it looks better, continue in small steps.
5. Stop when the reticle is instantly sharp
The correct point is not the setting that becomes clear after several seconds of staring. It is the setting at which the reticle looks sharp almost immediately when your relaxed eye returns to the scope.
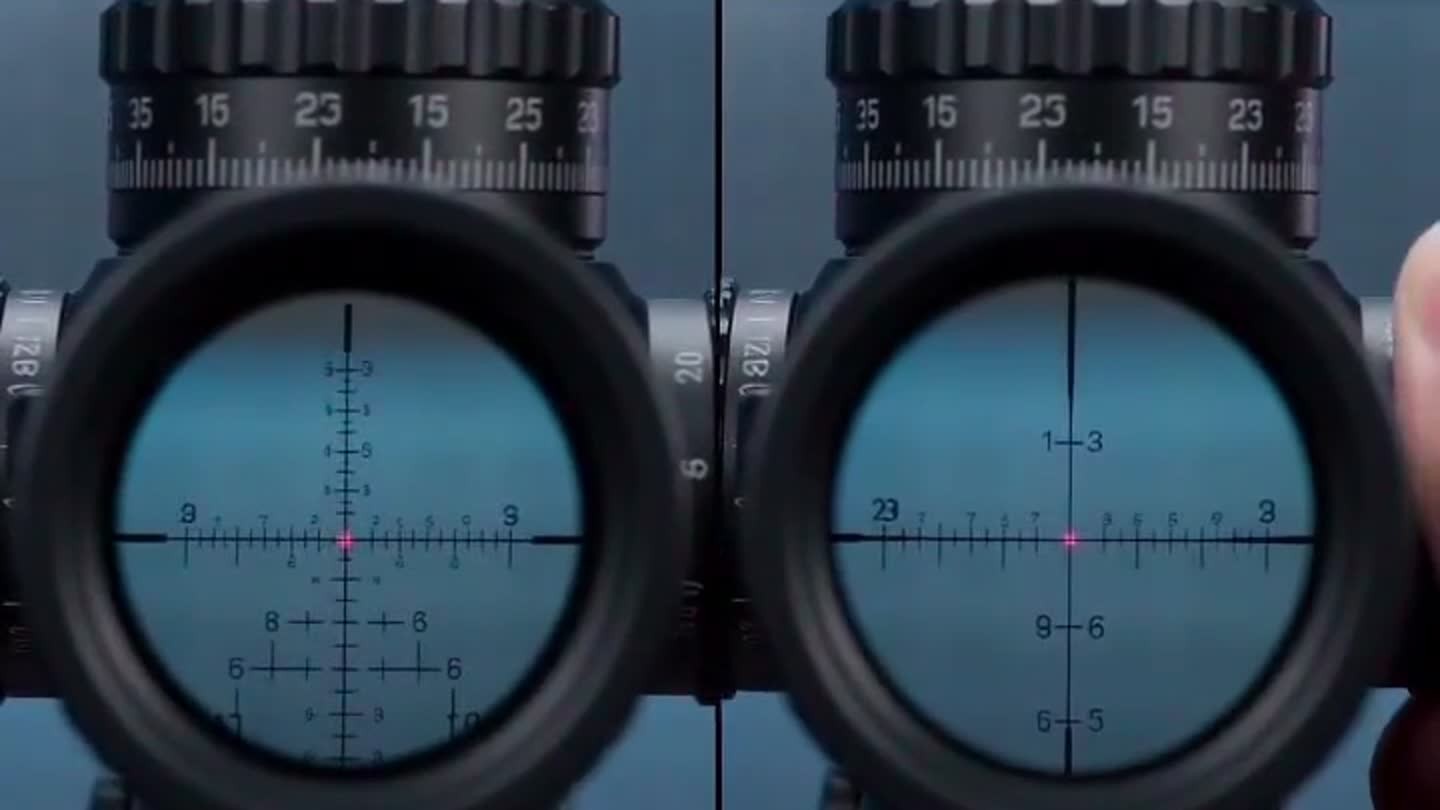
Check fine lines, small numbers, or the outer edge of the reticle if your design includes them. Those details often reveal a slightly incorrect setting more clearly than a thick centre mark.
6. Lock or mark the setting if appropriate
Some eyepieces have a locking ring. Others are fast-focus designs that remain in position through thread friction. Secure the setting according to the scope manual, but do not overtighten it.
Once adjusted, the diopter is generally a personal setting—not a control that needs to be changed every time the target distance or magnification changes.
Why the quick-glance method works
The human eye is very good at compensating for a slightly unfocused image. That ability is useful in daily life, but it can hide a poor diopter setting. If you stare through the scope while turning the eyepiece, your eye and the optic may keep chasing each other.
Looking away between adjustments lets the eye relax. When you return for a short glance, you get a more honest impression of whether the reticle is optically focused for you.
This is also why two people may prefer different diopter positions on the same scope. The adjustment is matching the reticle image to the user’s eye, not correcting a mechanical zero or changing the target distance.
Diopter vs parallax vs eye relief
Beginners often group every unclear scope view under the word “focus.” A faster approach is to separate the problems:
Soft reticle
Adjust: rear eyepiece diopter.
Sharp reticle, unclear target, or apparent reticle movement
Adjust: Side Focus or AO when available; also check target distance and eye position.
Black ring or incomplete field of view
Adjust: head position and scope placement for correct eye relief.
What if you wear glasses?
Set the diopter under the same conditions in which you normally use the scope. If you normally wear prescription glasses or contact lenses while viewing through it, keep them on during the adjustment.
A diopter has a useful adjustment range, but it should not be treated as a substitute for eye protection or prescribed vision correction. Eyewear can also change your usable eye relief, so confirm that you can see a full image without placing the eyepiece too close to your face.
If several people share the same optic, record each person’s preferred position or count the turns from a repeatable reference point. Recheck the setting whenever the shooter changes.
Common diopter mistakes
Focusing on the target instead of the reticle
A detailed target encourages the eye to accommodate. Use a featureless background first and judge only the reticle.
Staring too long during adjustment
After several seconds, the eye may make an imperfect setting look acceptable. Use short glances and look away between them.
Using Side Focus to fix a soft reticle
Side Focus or AO cannot replace a correct eyepiece setting. Set the reticle first, then adjust for the target distance.
Changing the diopter every time magnification changes
Magnification and diopter are separate controls. A correctly adjusted reticle should remain sharp throughout the usable magnification range. If it changes dramatically, repeat the setup carefully and consult the manufacturer if the problem continues.
Turning the wrong rear ring
On many variable-power scopes, the numbered ring nearest the scope body controls magnification, while the ring at the very rear adjusts the diopter. Designs vary, so confirm the control layout before applying force.
Trying to remove a black border with focus controls
Focus adjustments do not correct an eye-relief problem. Establish a comfortable, repeatable head position and verify that the scope is mounted far enough from the face for safe use.
If the view is still blurry
- Clean the exterior lens surfaces correctly and check that no cap or protective film is interfering with the view.
- Return to a plain background and confirm that the reticle itself is sharp.
- Use normal eye protection or corrective lenses and establish a natural head position.
- Set a moderate magnification while diagnosing the view.
- If the scope has Side Focus or AO, adjust it for the actual target distance and test for apparent reticle movement.
- Let another person check the optic, remembering that they may need a different diopter setting.
- Consult the model-specific manual or manufacturer if the reticle cannot be made sharp within the adjustment range, or if clarity changes unpredictably.
Do not disassemble the eyepiece or force a control past its normal travel. A persistent problem can come from the user’s vision, setup, lens condition, or the optic itself; forcing the mechanism will not identify which one it is.
A simple order for setting up the view
- Set the diopter so the reticle is instantly sharp.
- Establish eye relief so you see a full image from a safe, natural position.
- Choose magnification for the task.
- Adjust Side Focus or AO, if available, for the target distance and minimum apparent reticle movement.
The key is to give each control one job. The diopter belongs to your eye and the reticle. Parallax adjustment belongs to the target distance. Eye relief belongs to the physical relationship between your eye and the eyepiece.
Once those three ideas are separated, a blurry scope becomes much easier to diagnose—and a correctly set diopter becomes something you can set once and mostly forget.
For more beginner-friendly explanations, browse our Sporting Optics category and Buying Guides.




Leave a comment