A new rattle from a rifle scope is unsettling, but the sound alone does not identify the problem. A loose turret cap, removable throw lever, battery cover or mounting part can sound surprisingly similar to an internal fault. The useful question is not simply “Does it rattle?” but “Which part moves, under what normal handling, and is there any change in the image or controls?”
Use a calm, limited inspection. Do not repeatedly shake the optic to make the noise louder, and do not loosen parts that the manufacturer does not describe as user-removable. The goal is to separate a harmless external source from a condition that deserves qualified service without creating a second problem during diagnosis.
1. Stop and record the first symptoms
Before touching anything, note when you first heard the sound. Did it begin after transport, a drop, a battery change or a mounting adjustment? Does it occur only when a removable cap is loose, when a normal control is turned, or whenever the optic is handled gently? A short written timeline is more useful than a vague description after several rounds of testing.
Also record any symptom that appeared at the same time: a shifted image, a reticle that looks displaced, a control that binds, new internal haze, visible debris or an unexplained change in point of impact. If the noise followed an impact, use the separate dropped-optic inspection checklist and stop if you find broken glass or a deformed housing.
2. Do not use deliberate shaking as a test
Normal handling may reveal a sound, but vigorous shaking adds force without telling you which component caused it. It can also move loose debris, worsen a damaged part or make a service description less reliable. Hold the optic securely over a padded, clean surface and change its orientation slowly. If the sound is obvious during that limited movement, you already have enough information to continue the external check.
Never strike the tube, tap the lenses or use compressed air through an opening. Do not add oil to a power ring, turret or focus control unless the exact manufacturer instructions explicitly call for it. Many scope controls are factory lubricated and sealed; an improvised lubricant can migrate to places the user cannot clean.
3. Remove only clearly user-removable accessories
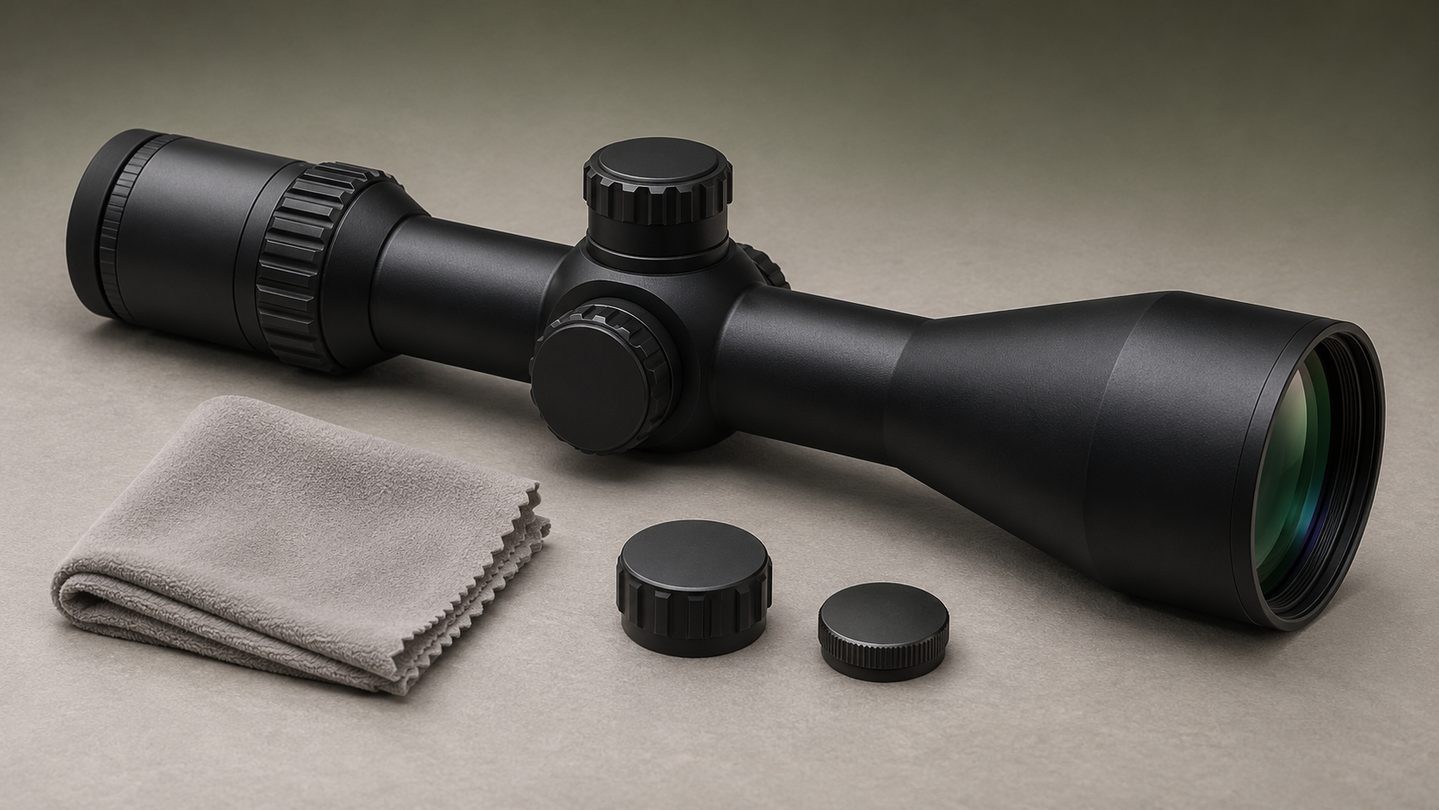
External accessories are the easiest sources to isolate. Depending on the model, these may include lens covers, a sunshade, a removable magnification lever, a protective turret cap or a battery cover. Remove one item at a time only if the manual identifies it as user-removable, then repeat the same gentle orientation check. Reinstall each part correctly before moving to the next.
A cap can click against its threads, a flip-up cover can move on its hinge, and a throw lever can have play even when the sealed scope body is sound. That does not prove the optic is healthy, but locating the noise in a specific accessory is much more actionable than assuming that a lens has come loose.
4. Check turret caps and external dial parts
Protective turret caps should be inspected for damaged threads, trapped grit and a missing or displaced seal. Tighten them only by hand to the model’s normal seated position. Do not force a cap past resistance or use pliers. Our guide to rifle-scope turret caps explains why these covers protect the controls but should not be treated as structural fasteners.
Some exposed dials include user-adjustable zero-reset parts, indicators or stop systems. Their construction varies widely. A small amount of movement that is normal for one design may be abnormal for another, so compare the exact model with its manual rather than copying a procedure from a different scope. Do not loosen dial screws merely to investigate a sound.
5. Inspect an illumination battery compartment carefully
On an illuminated scope, a battery or battery cover can make a light click if it is installed incorrectly, the contact insert is displaced or the cap has not seated. Turn the illumination off and follow the exact battery procedure for the model. Confirm the specified battery type and orientation, inspect the cap threads and seal, and make sure the cell lies flat.
Do not bridge the battery contacts with a metal tool, substitute a different cell because it happens to fit, or crush the cap down to remove play. If the compartment is corroded, the cap is cross-threaded, the battery is swollen or the internal contact appears loose, stop and request service guidance.
6. Separate the mounting system from the scope body
A scope can seem to rattle when the actual movement is at a ring, base, clamp, rail slot or removable accessory. Check for visible witness-mark movement and inspect the interfaces according to the mount and equipment manufacturers’ instructions. The scope-creep guide shows how to distinguish tube-to-ring, mount-to-base and base movement without assuming the optic itself is faulty.
Do not respond by tightening every fastener harder. Incorrect screw length, uneven ring gaps, a contaminated contact surface or excess clamping pressure can create new problems. If alignment or ring pressure is uncertain, review the ring-alignment and over-tightening guide or ask a qualified installer to inspect the mounting system.
7. Look through the optic without pressing on the glass
In good light, examine the objective and ocular ends from several angles. Look for a lens that visibly shifts, a lifted retaining feature, a new chip, moving internal debris, spreading haze or moisture inside the sealed body. Do not press on a lens or retaining ring. An external dust speck is a cleaning issue; a particle moving inside the optical system is a service issue.
Then view a plain, well-lit scene through the scope at a normal setting. Check whether the image, reticle and field of view appear as expected. A quick visual check cannot prove tracking accuracy, waterproofing or zero retention, but a new image jump, tilted internal element, partial obstruction or reticle movement is a clear reason to stop.
8. Operate normal controls once, gently
Use only the controls intended for routine operation: the magnification ring, diopter, side focus or adjustable objective, illumination control and exposed adjustment dials where applicable. Move them through their normal range slowly, without pushing past a stop. Note whether the sound appears at one position and whether any control has become unusually loose, stiff or uneven.
Do not remove the power-selector screw, eyepiece, lens retaining ring or sealed turret assembly. Manufacturer manuals commonly warn that these are not user-serviceable parts. A control that binds after an impact, produces an image jump or no longer behaves consistently belongs with the manufacturer or an authorised service centre.
9. Know the signs that justify service
Arrange professional inspection when the sound clearly comes from inside the sealed body, persists after external accessories are removed, or appears with another functional symptom. Important warning signs include a visibly loose lens, internal debris that moves, cracked glass, moisture inside the optic, a displaced reticle, controls that bind, an image that jumps during normal adjustment or a repeatable loss of zero after external mounting causes have been ruled out.
Warranty and service routes are brand- and region-specific. Some companies provide user-installable external parts, while integral lenses and internal assemblies require factory work. Check the current instructions for the exact model and country before shipping. Do not assume that a lifetime warranty, a retailer return policy and paid repair service are the same thing.
10. Send support a useful record
A concise report can save several rounds of questions. Record the model, serial number privately, purchase region, when the sound began, which external parts were removed, the exact normal movement that reproduces it and any related image or control symptom. Photograph the complete optic, the affected external area and the mounting interfaces without publishing private serial information.
Our support-photo checklist covers a practical image set and written timeline. Follow the service provider’s packing instructions, remove accessories if requested and use a traceable shipment where appropriate. Do not send batteries unless the service centre specifically asks for them.
A rattle is a clue, not a diagnosis. Start with removable caps and accessories, inspect the mounting interfaces, look for visible optical changes and operate only normal controls. If the sound remains inside the sealed body—or comes with image, reticle, moisture or adjustment problems—stop testing and let the correct service provider inspect it.

















Leave a comment