Stand in front of an optic on a bright day and the objective lens can catch the light like a small mirror. Good lens coatings help, but they cannot prevent every reflection from every angle. A honeycomb anti-reflection device—usually shortened to ARD—adds a physical screen in front of the objective to deal with that specific problem.
The idea is simple: let useful, nearly straight-ahead light pass while blocking more of the light arriving or leaving at an angle. The details matter, though. Cell depth, opening size, alignment and fit all affect how the device behaves, and an ARD can introduce its own optical trade-offs.
What the Honeycomb Is Actually Doing
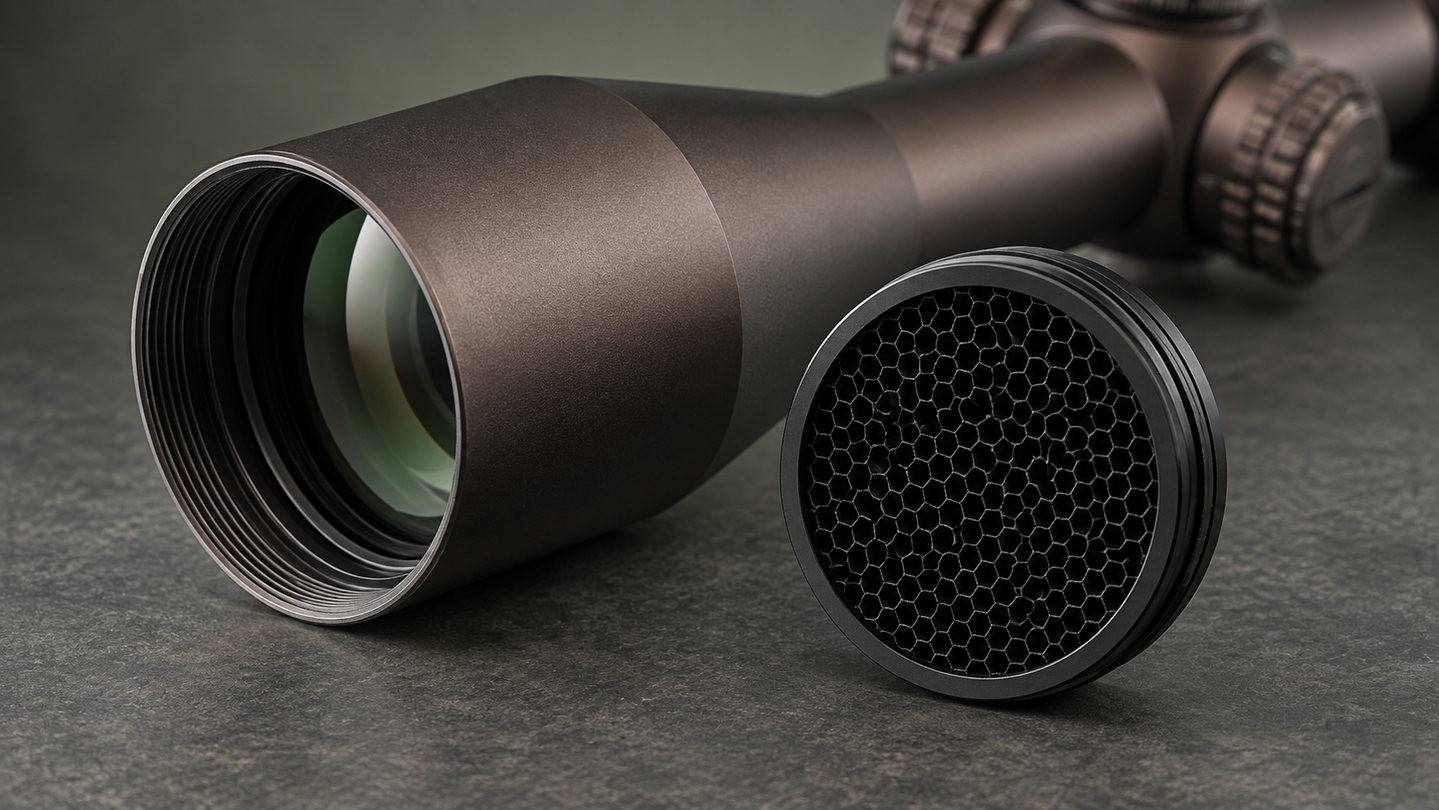
Look closely at an ARD and you will see dozens or hundreds of small cells. Each cell works like a very short, dark tube. Light traveling roughly along the optic's viewing axis has a relatively clear path through the openings. Light traveling at a steeper angle is more likely to hit a cell wall instead.
That geometry does two related jobs. It limits some off-axis light before it reaches the objective, and it limits some light that would otherwise reflect from the front lens toward an off-axis observer. The dark internal surfaces matter because they absorb or scatter the intercepted light rather than acting like another bright surface.
An ARD does not make the lens invisible, and it cannot cancel every reflection. Its effect changes with the angle of the light, the angle of the observer and the design of the cells. It is better to think of it as reflection control than as a guarantee of zero glare.
Why You Can Still See Through It
From the normal viewing position, your eye is looking along the same general axis as the useful light passing through the optic. The thin cell walls occupy only part of the opening, so the sight picture remains usable. The honeycomb pattern often becomes less noticeable once your eye is properly positioned and focused on the scene.
Move your eye far off-axis, however, and the walls cover more of the apparent opening. That is the same angular filtering that helps reduce front-lens reflections. A deep cell structure may control a wider range of oblique light, but it can also be less forgiving if the device is undersized, misaligned or poorly matched to the optic.
An ARD Is Not a Sunshade or a Lens Cap
These accessories can all sit near the objective, but they solve different problems.
- A closed lens cap protects the glass while the optic is stored or carried.
- A sunshade extends the objective housing and helps block some stray light arriving from outside the field of view.
- A honeycomb ARD filters light by angle across the full front opening, primarily to reduce visible objective reflections.
Some designs combine an ARD with a flip-up cover, but the honeycomb itself is not a sealed cap. Dust and moisture can still reach the glass through the cells. For a broader comparison, see Scope Lens Caps, Sunshades, and ARDs Explained.
Will an ARD Make the Image Darker?
It can, although the amount is not universal. The cell walls occupy some physical area and can block part of the incoming light. Whether you notice that as lower brightness or contrast depends on the ARD geometry, the optic, magnification, exit pupil, background and ambient light.
In bright conditions, a small loss may be hard to notice and reducing stray light can make the image feel cleaner. Near dusk or against a dark subject, the same device may make the view feel less open. This does not mean the ARD has changed the scope's glass or coatings; it has simply added a physical structure in front of them. Our guides to rifle-scope lens coatings and light transmission explain those separate parts of the optical system.
The sensible test is a direct comparison. View the same scene with and without the ARD, without changing magnification, focus or eye position. Check both a bright background and a darker, lower-contrast subject.
Watch the Edge of the Image
A correctly matched ARD should not create an obvious hard obstruction in normal use. A device with an opening that is too small, a deep housing that intrudes into the light path or an off-center installation can produce a dark edge or partial vignette. The effect may be easiest to spot at the low end of a variable-power scope, where the field of view is widest.
If a dark ring appears only after the ARD is installed, remove it and compare again before changing the scope position. The issue may be the accessory rather than eye relief. Our field-of-view guide provides more context for what you should expect at different magnifications.
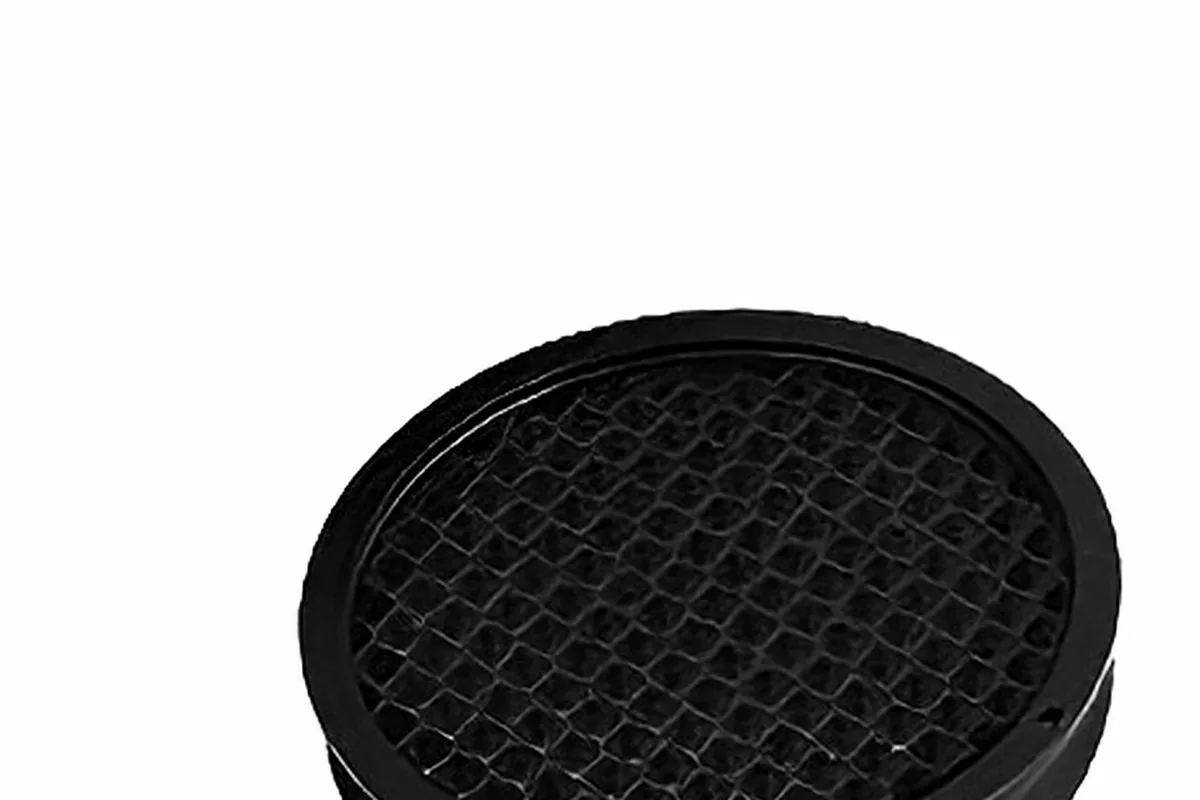
A close view of a project-owned honeycomb ARD. Cell size, depth and attachment design vary between models.
Fit Is More Than the Number on the Objective
A scope described as 50 mm has a nominal 50 mm objective lens. That number does not necessarily tell you the outside diameter of the bell, the accessory thread specification or the space available inside the front housing.
Before ordering or installing an ARD, check:
- the exact optic model and generation;
- whether the ARD screws in, presses on or uses an adapter;
- the specified thread or fitting diameter;
- whether a sunshade or flip-up cap uses the same attachment point;
- whether the installed device clears the lens and sits square to the optical axis.
Start threaded parts by hand and stop if you feel binding. A part that looks nearly correct can still have the wrong pitch or diameter. Do not force it, and do not assume that accessories from two optics with the same advertised objective size are interchangeable.
Cleaning a Honeycomb ARD
The cells collect dust, fibers and dried droplets more easily than a smooth ring. Remove the ARD when the manufacturer allows it, then use a hand blower or a clean, very soft brush. Work from the lens side outward so loose debris is not pushed toward the objective.
Avoid forcing a cloth, swab or hard tool deep into the cells. The thin walls can bend, and residue trapped inside the grid can be harder to remove than the original dust. Clean the objective lens separately with a proper optics routine, then reinstall the dry ARD without cross-threading it.
A Useful Before-and-After Check
An ARD should earn its place on the optic. After installation, make a quick comparison:
- Look through the optic at low and high magnification.
- Check the full edge of the image for a dark ring or clipped area.
- Compare a bright scene and a darker scene without changing other settings.
- Move a bright source outside the field of view and look for changes in veiling glare.
- Step to the side of the objective and compare the visible front-lens reflection.
- Confirm that caps, shades and focus controls still move freely.
If reflection control improves and the viewing trade-off is acceptable, the device is doing useful work. If the image becomes noticeably dim, the edge is obstructed or the fit feels improvised, remove it and verify compatibility rather than trying to make the combination work.
An ARD is a small accessory with a very physical job. It does not upgrade the glass, replace a lens cap or guarantee a reflection-free objective. What it can do is limit light by angle—and when the fit and cell geometry suit the optic, that simple idea can be effective.
Explore more optics guides
Browse more practical explanations of scope setup, accessories and optical specifications.

















Leave a comment