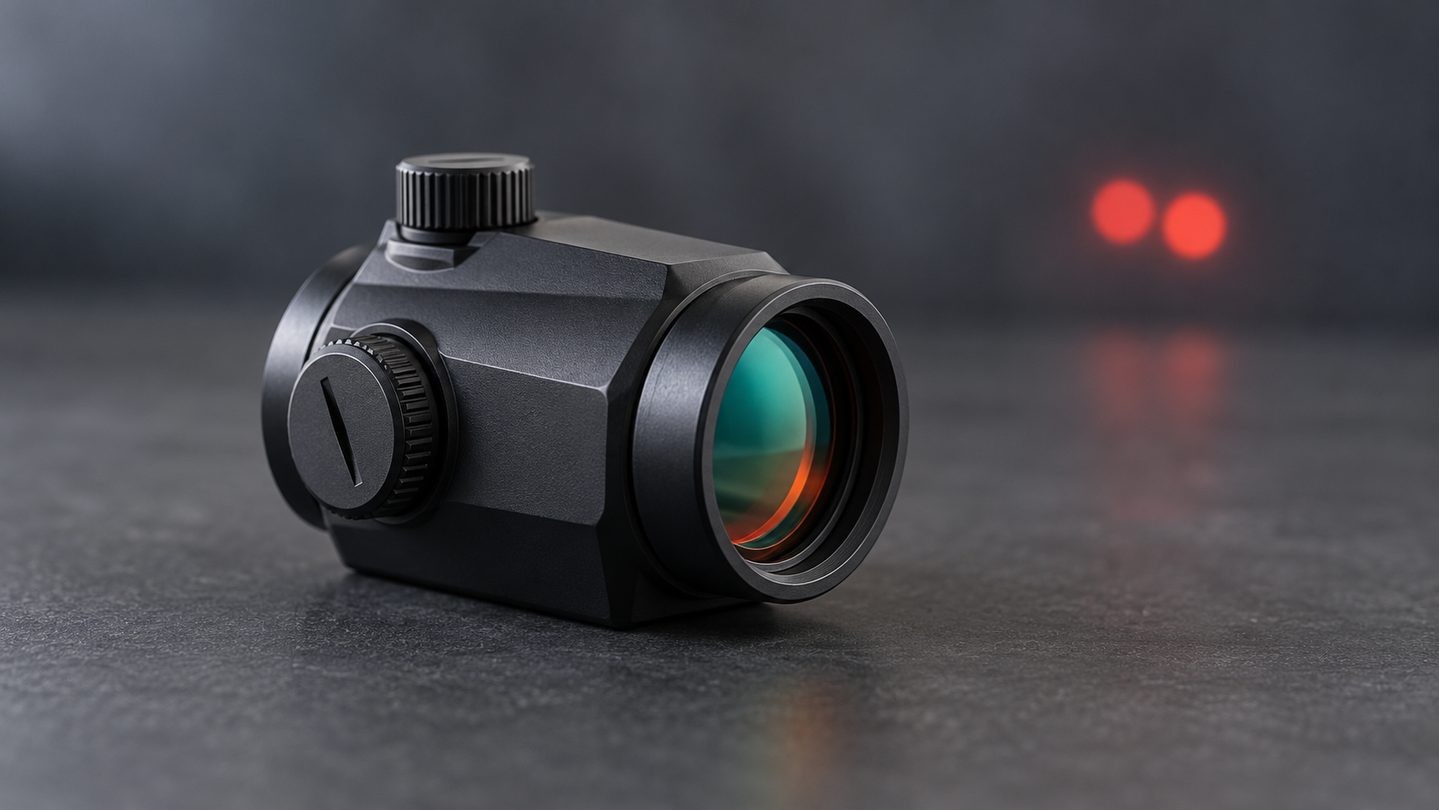
Seeing two red points when you expected one can be confusing, but “two dots” is a description, not a diagnosis. A second spot may be a brightness bloom, a reflection, a selectable reticle pattern, a camera artifact, the way one eye forms the image, or a real problem that needs manufacturer support. The fastest way to sort these possibilities is to change one condition at a time.
The checks below are designed for a standalone optic in a safe, controlled setting. They do not require mounting the sight to a firearm. If you see double images in normal daily vision—not only through the optic—stop troubleshooting the device and seek appropriate eye care.
First decide whether it is truly a second dot
A true ghost image usually looks like a dimmer copy displaced from the main dot. A starburst has rays, spikes or an irregular smear instead of a separate copy. Bloom makes the dot look larger and softer, especially in a dim room. A circle-dot or multi-reticle setting can also be mistaken for an unexpected second element when the pattern is over-bright.
Describe what you see before changing anything: two distinct round points, one point plus a faint offset copy, a streak, or a large glowing patch. That simple description keeps unlike problems from being grouped together. If the pattern is mainly stretched or spiky, use the separate red-dot starburst troubleshooting guide.
Focus on a distant scene, not the illuminated point
A reflex sight creates an apparent aiming point inside the sight; it does not project a visible dot onto the target. When you stare at the emitter image itself, your eye may try to focus at the wrong apparent distance and make small optical imperfections more noticeable.
Instead, look through the window at a distant, evenly lit scene and keep your attention on that scene. Let the dot remain an overlay. This is the viewing method recommended in manufacturer troubleshooting guidance, and it often makes a large or doubled-looking point appear cleaner without changing the device.
Avoid using a blank dark wall as the only test. A bright dot against darkness creates the highest contrast and can exaggerate halos, reflections and visual artifacts that are much less noticeable in ordinary daylight.
Lower the brightness before judging the shape
Set the intensity only high enough to remain visible against the background. If the dot is much brighter than the scene, light can spread across the retina or camera sensor, turning a compact point into a blob, tail or apparent pair. Reduce the setting one or two steps, pause, and compare again while keeping your focus on the background.
Repeat the check in normal indoor light and in daylight. A setting that is appropriate outdoors can look excessively bright indoors. If the apparent copy fades as brightness decreases, the result points more toward intensity and viewing conditions than toward two independent emitter images.
If your sight offers dot, circle-dot or other patterns, confirm the selected mode in the manual. “Multi-reticle” is not one universal layout; the red-dot reticle modes guide explains the common differences.
Compare one eye, the other eye and a camera
With the optic held safely and independently, view the same scene with one eye, then the other. This is a comparison, not a home eye test and not a medical diagnosis. If the doubled shape changes substantially between eyes while the optic and brightness remain unchanged, the viewing system includes an eye-dependent factor.
Next, photograph the dot through the optic with a phone or camera while the camera focuses on the distant scene. Do not judge from an overexposed frame: lower exposure until the dot is compact. A clean camera image alongside an irregular direct view can be useful evidence that the optic is producing one point, although phone processing, focus and exposure can create their own artifacts.
If you normally wear corrective lenses, repeat the comparison with the correction prescribed for distance vision. Astigmatism is one possible reason an electronic point can look blurred or distorted, but only an eye-care professional can determine the cause. The prism-versus-red-dot comparison explains why an etched reticle may look different without claiming that an optic can treat eyesight.
Check the window for moisture, oil and loose debris
Fingerprints, fine dust, dried droplets and condensation can scatter the emitter’s light and create a faint offset copy. Inspect both sides of the window under soft white light with the optic powered off. First remove loose grit with a clean air blower or a very soft lens brush. If needed, use the cleaning method and fluid approved by the manufacturer.
Do not scrub a dry coated window, flood an open emitter, or use household glass cleaner. Cleaning should be a controlled check, not an attempt to polish away normal coating color. If the window shows blue, green or amber reflections only at certain angles, read the guide to red-dot lens tint and reflections before treating that appearance as contamination.
Change the angle and lighting without chasing every reflection
Reflex optics use a specially coated, often slightly angled objective window to return the emitter image to the eye. Bright overhead or rear lighting can produce glare at unusual viewing angles, particularly when an unmounted optic is rolled and tilted far beyond its normal viewing position.
Keep the optic at a natural eye-level angle, then move the light source or shade the window without touching it. If a faint secondary spot appears only at one extreme angle and disappears in normal alignment, record that condition rather than assuming the emitter has duplicated. The useful test is repeatability in an ordinary viewing position, not whether any reflection can be forced to appear.
Use a rotation check carefully
Manufacturer guidance commonly suggests rotating an uninstalled optic while observing a misshapen dot. Keep the scene, intensity, viewing distance and eye unchanged, and rotate only the standalone sight. Do not perform this test while the optic is attached to a firearm.
If the abnormal shape or offset copy rotates with the housing, document the result with a photo and contact the manufacturer because the effect may be within the optic. If the pattern stays in the same orientation relative to your eye while the housing rotates, that suggests the viewer’s perception is contributing. Neither result is a complete diagnosis, but the comparison gives support staff much better information than “the dot looks wrong.”
Know when to stop device troubleshooting
Contact the manufacturer or seller if two distinct points remain visible to a camera and to different viewers after brightness, focus, cleaning and lighting have been controlled. Also stop if the window is loose or cracked, moisture appears inside a sealed housing, controls behave unpredictably, or the reticle changes when the body is gently handled. Do not open a sealed optic or adjust internal components.
Eye symptoms have a separate boundary. If you see double images when looking at ordinary objects without the sight, if the change is new or sudden, or if it comes with eye pain, severe headache, weakness, confusion, dizziness or a recent head injury, seek prompt medical care according to local guidance. An optics checklist cannot rule out an eye or neurological cause.
A repeatable checklist for a double-looking dot
Use this order and write down what changes:
- Confirm whether the pattern is two points, a starburst, bloom or a selected reticle mode.
- Focus on a distant, evenly lit scene rather than the dot.
- Reduce brightness one or two steps.
- Compare normal indoor light with daylight.
- Compare each eye and then a correctly exposed camera image.
- Inspect and clean the window only with an approved method.
- Check whether lighting angle alone creates the faint copy.
- Rotate only the standalone, uninstalled optic and observe whether the pattern rotates.
- Save photos and contact support if the result remains repeatable across viewers and a camera.
The goal is not to prove a cause from one glance. It is to separate brightness, reticle mode, contamination, reflections, eyesight and device behavior with small, reversible comparisons. That process protects the coated window, produces useful evidence for support, and keeps a visual symptom from being mistaken for a guaranteed product defect—or dismissed when professional eye care may be appropriate.

















Leave a comment