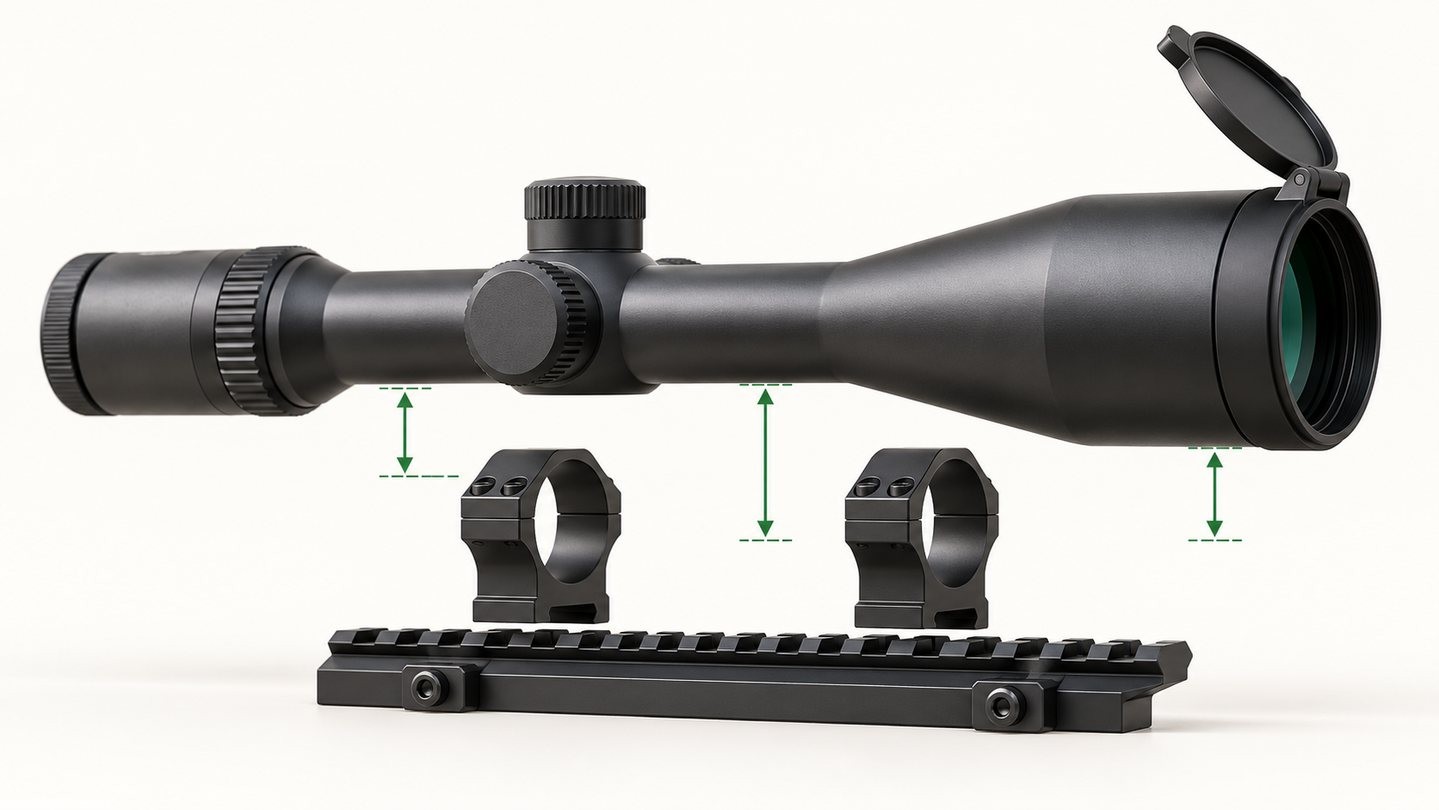
Ring-height calculations often begin with objective diameter. That is a sensible start, but the final setup includes more than a bare objective bell. A flip-up cap, rail, barrel profile, handguard or nearby fastener can consume the remaining gap.
The goal is not to make the scope touch the equipment. It is to achieve reliable clearance while keeping a comfortable viewing position.
Objective size is not the outside diameter
A scope described as 50 mm identifies the nominal objective lens, not necessarily the outside diameter of the bell. The housing is larger, and a lens cap makes it larger again.
Use a manufacturer drawing or measure the actual outer diameter. Do not calculate only from the number in the scope name.
Measure from the correct height reference
Ring height may be listed from the base to the bottom of the ring, to the centerline or by a simple low/medium/high label. Those formats cannot be compared without knowing the reference.
Our scope ring-height guide explains the geometry in detail.
Lens caps need operating space
A cap that fits around the objective may clear when closed but strike the rail or barrel as it opens. Check the hinge direction, latch and any protective ridge. If the cap rotates around the bell during installation, its final orientation matters.
Caps, sunshades and anti-reflection devices serve different roles; see the lens accessory guide before stacking parts.
Other clearances are easy to miss
Check the eyepiece, magnification ring, throw lever, turret saddle and bolt or charging-handle area where applicable. A scope can have generous objective clearance and still interfere elsewhere.
Leave room for movement and flex
A gap that looks acceptable on a bench may disappear when a flexible cap is opened, a removable accessory is added or the system experiences normal vibration. The objective does not need an excessive gap, but it should not rely on paint-thin clearance. Also check that a cap can be removed without levering against the scope or nearby surface.
Mock up before final tightening
- Confirm the correct rail and tube diameter.
- Set the lower ring halves or mount in position.
- Place the scope without final torque.
- Install the actual cap and accessories.
- Establish eye relief and rotate the controls through their full range.
- Open the cap and inspect every nearby gap.
- Only then level and tighten according to the instructions.
Low mounting can be useful, but touching is not a virtue. Leave enough real clearance for the parts that will remain on the optic in normal use.

















Leave a comment