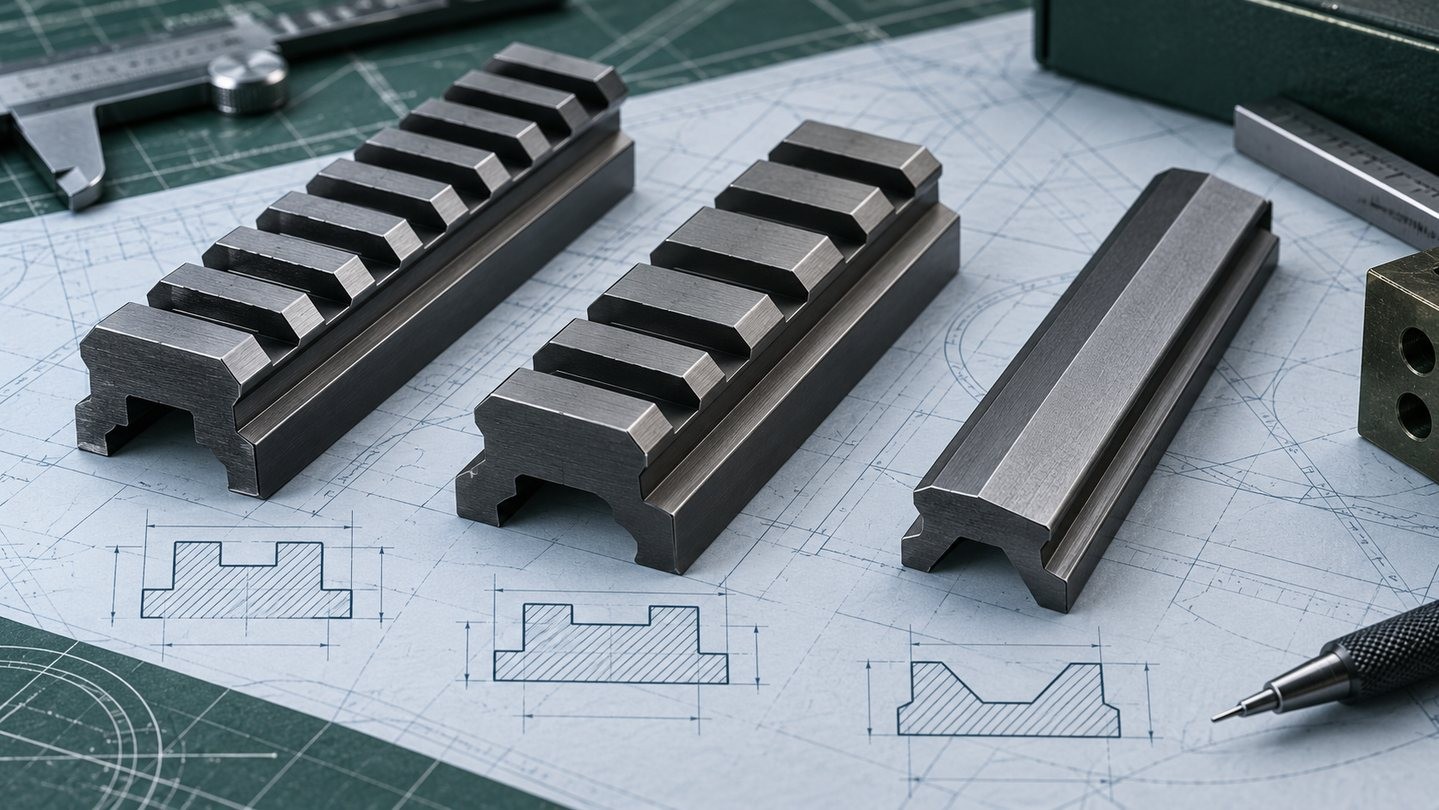
Mounting rails are easy to underestimate. Picatinny, Weaver-style and dovetail interfaces can all appear as a dark strip with grooves, especially in a small product photo. That does not make them interchangeable.
Before choosing ring height, offset or a quick-release lever, identify the interface that actually exists on the equipment. A mount that is almost compatible can clamp unevenly, stop in the wrong place or fail to use its recoil feature as designed.
Picatinny is a standardized cross-slot pattern
A Picatinny rail uses repeated transverse slots with standardized geometry and spacing. Mounts designed around that pattern often use a crossbolt or recoil lug that engages one slot while the clamp grips the rail sides.
The repeatable slot spacing makes it easier to document a mounting position. It does not mean every mount will fit every situation: clamp width, crossbolt size, available rail length and nearby controls still matter.
Weaver-style rails look similar, but slot spacing can differ
Weaver-style bases also use cross slots, but the dimensions and spacing are not necessarily the same as Picatinny. Some manufacturers design cross-slot rings to work on both systems; others specify one interface only. Read the exact mount documentation instead of assuming that a similar profile is enough.
A broad claim such as “fits 20 mm rail” is not a complete compatibility statement. The useful questions are which standard the maker intends, whether the crossbolt fits the slot, and whether the clamp seats fully.
Dovetail rails use a different clamping idea
Dovetails are commonly described by a nominal width such as 11 mm, but profile angle and actual dimensions can vary. The mount normally grips the angled sides rather than locating itself in repeated cross slots.
That means a dovetail ring is not simply a narrower Picatinny ring. Even within the dovetail category, confirm the intended rail profile and whether the base includes a stop pin or another recoil-control feature.
Compatibility comes before ring height
Once the interface is correct, then evaluate tube diameter, ring spacing, objective clearance and eye relief. Our scope ring-height guide explains why the lowest possible ring is not always the most comfortable choice. The one-piece mount vs separate rings guide covers the next structural decision.
Nominal width is not a complete standard
Retail listings sometimes reduce an interface to “11 mm” or “20 mm.” That shorthand can help identify a family, but it does not describe the angle, slot width, clamp form or tolerance. When the mount and rail come from different makers, compare the drawings or obtain an explicit compatibility statement. Filing, forcing or partially engaging a clamp is not a safe substitute for the right interface.
A practical compatibility check
- Identify the rail or base by its documentation, not appearance alone.
- Confirm the mount maker names that exact interface.
- Check crossbolt or recoil-lug dimensions where applicable.
- Measure usable rail length and nearby clearance.
- Confirm tube diameter, ring spacing and required height separately.
- Follow the installation and torque instructions for the exact hardware.
The rail is the first link in the mounting system. Getting that interface right removes a surprising number of problems before installation even begins.

















Leave a comment