A red dot that blinks once during a mode change is not the same problem as a dot that cuts out whenever the sight is moved. “Flickering” can describe several different behaviors, and the fastest way to diagnose it is to describe exactly what you see before changing anything.
Some apparent failures are normal power-mode behavior. Others come from a weak or incorrectly installed battery, a cap or tray that is not fully seated, contaminated contacts, or an internal fault that belongs with the manufacturer. The goal is not to take the sight apart. It is to make a few controlled checks, follow the model-specific manual, and know when to stop.
Start by Defining the Symptom
Watch the dot against a plain background and note when the change occurs. Does it blink once after a button is held? Does it slowly become too dim as the room gets darker? Does it disappear only when the housing is tapped or moved? Does it return when the battery cap is pressed?
Those details matter because they point to different systems. A deliberate confirmation blink may indicate that the sight changed operating modes. A gradual brightness change may come from an automatic light sensor. A sudden loss of power during movement is more consistent with an intermittent electrical connection, although that still needs to be verified rather than assumed.
Record the battery type, operating mode, brightness setting, temperature, and what action reproduces the symptom. A short phone video can also help a dealer or service department understand an intermittent problem.
Rule Out Normal Power-Mode Behavior
Before opening the battery compartment, read the current manual and identify the active mode. Some solar-assisted sights change reticle intensity according to ambient light. Covering the light sensor can make the dot extremely dim, while moving back into brighter light makes it visible again. That is not the same as a loose electrical connection.
Some models also use a blink to confirm a mode change, brightness lock, or another button command. Motion activation and automatic shutoff can make a dot go dark after the sight has remained still, then wake after movement. Our guide to red dot motion activation, auto-off, and always-on modes explains why those features should be checked before treating every disappearance as a fault.
Test manual and automatic modes only as the manufacturer describes. Do not assume the button sequence from a similar-looking sight applies to yours.
Verify the Battery Before Blaming the Sight
A battery can be the correct diameter and still be the wrong type, upside down, depleted, damaged, or unsuitable for the model. Check the exact designation and polarity shown in the manual or inside the compartment. Battery orientation is not universal: trays, side caps, and bottom-loading designs can place the positive face in different directions.
If the manual permits normal user replacement, install a fresh, reputable battery of the specified type. Avoid mixing a used cell back into your spares. Inspect it for swelling, leakage, dents, or a damaged wrapper before installation. Stop if you find corrosion or residue in the compartment; do not scrape or flood the sight with cleaner.
A long advertised runtime does not prove that the cell currently installed is healthy. Temperature, brightness, operating mode, battery quality, and storage history can all affect real use. See our explanation of how to read red dot battery-life claims for the difference between a rated figure and a maintenance schedule.
Check the Cap, Tray, Door, and Seal
The battery must remain in stable contact while the compartment stays correctly sealed. Confirm that the cap, tray, or door sits flush and that its screws or latch are engaged according to the manual. Aimpoint specifically tells users of certain models to check battery-cap tightness when a dot blinks or disappears. That is a model-specific service step, not permission to overtighten every battery cap.
More force is not automatically better. Trijicon, for example, publishes a maximum torque for a particular replacement battery cap and warns that exceeding it can cause electrical or cap damage. Use only the specification for the exact model and part. A generic “snug” instruction or a torque number copied from another sight is not a safe substitute.
Look for a pinched O-ring, cross-threading, a tray that is slightly proud of the housing, or a screw that never seats normally. If the compartment will not close without force, remove the battery and recheck orientation and alignment. The comparison of top, side, and bottom battery access shows why the correct closing procedure changes with the design.
Inspect Accessible Contacts Carefully
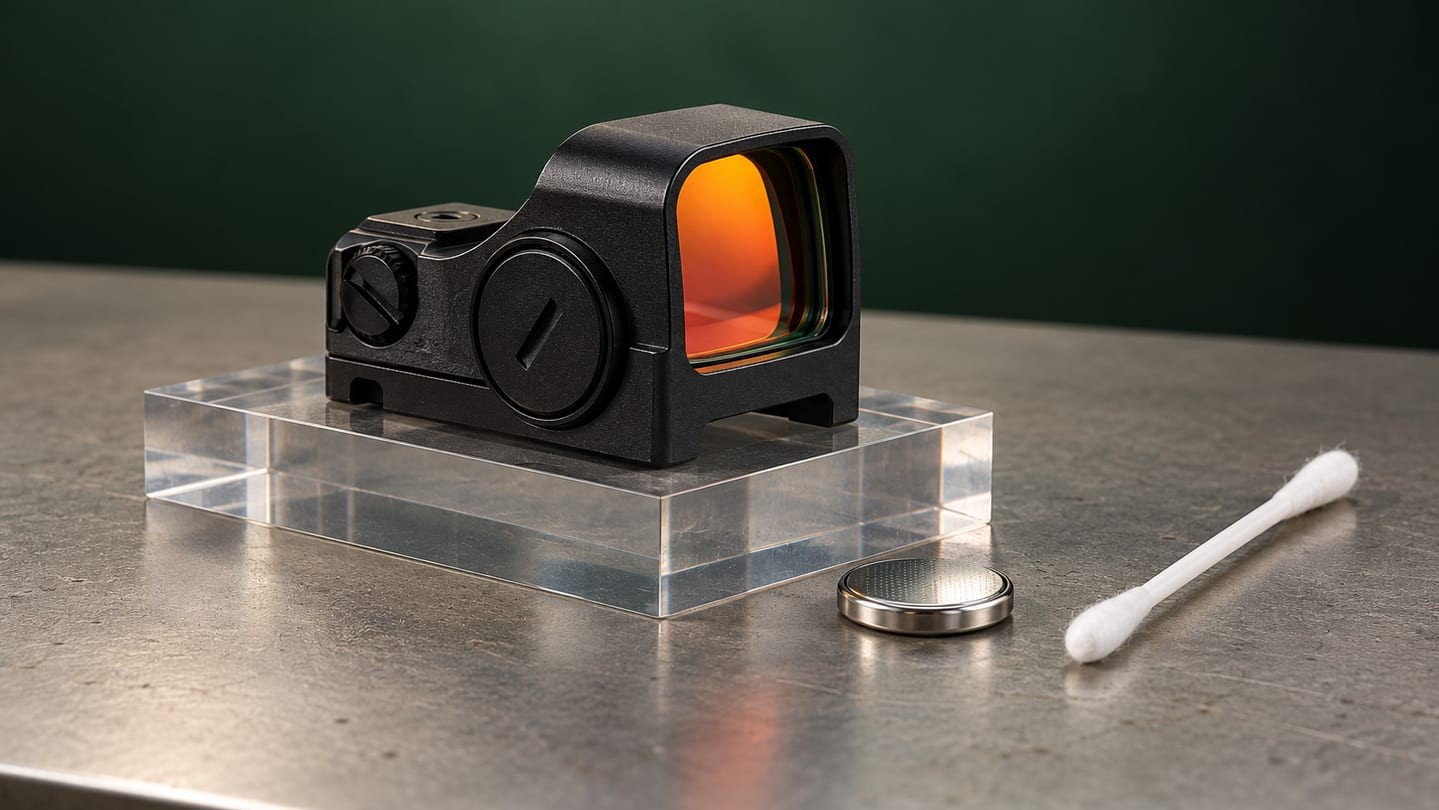
Only inspect parts the manual treats as user-accessible. With the battery removed, look for obvious dirt, moisture, flattened contact points, corrosion, or a foreign object preventing the cell from sitting flat. Use clean, dry handling practices and follow the manufacturer’s cleaning instructions. Do not bend contacts, insert metal tools into the electronics, or dismantle a sealed housing.
If a dry, lint-free swab is allowed, use it gently and keep fibers out of the seal. Avoid household oils, abrasive pads, compressed air at close range, and unapproved solvents. A residue that improves contact for a moment can later attract dust or attack a seal.
After reinstalling the battery, close the compartment exactly as specified and test the sight through the normal brightness range. If touching or pressing the cap makes the dot cut in and out, stop repeating the test and document it for service.
Separate a Power Problem from a Viewing Problem
A dot can appear to vanish even when the LED remains powered. If the brightness is set far too low for the background, the reticle may wash out. If it is set too high, bloom or reflections can make the image look unstable. Lens contamination, astigmatism, camera shutter effects, and viewing the dot far off-axis can also change its apparent shape or visibility.
Compare the sight with your unaided eye against a plain background at a sensible brightness. A phone camera may show bands or pulsing that your eye does not see because the camera’s shutter and the LED control system interact. Treat camera-only flicker as a separate observation, not proof that the sight is failing.
If the dot is stable to the eye but looks irregular, the issue may be optical rather than electrical. Clean the lenses only with an optics-safe method and avoid turning this check into an internal repair attempt.
Use a Controlled Reproduction Test
Make one change at a time. Start with the correct fresh battery, the documented operating mode, and a mid-range brightness setting. Observe the dot while the sight rests on a stable, non-magnetic work surface. Then use only the normal controls and gentle handling described by the manufacturer.
Do not strike, drop, freeze, heat, immerse, or deliberately shock the sight to recreate a failure. Environmental and impact ratings are test claims with specific methods, not a home diagnostic procedure. If the symptom appears only after recoil, impact, or water exposure, note that history and move to professional support.
Also avoid repeated removal and reinstallation unless the battery design requires it. Any sight that is removed from its mount should be reinstalled according to the relevant instructions and its zero should be confirmed before further use.
Know When to Stop and Request Service
Stop user troubleshooting when a fresh correctly installed battery does not restore stable operation, the compartment or threads are damaged, corrosion is present, the seal will not seat, the housing has been impacted, or the dot still cuts out after the manual’s permitted checks. The same applies when the controls behave differently from the documented sequence.
Do not open a sealed electronic assembly. Aimpoint states that disassembly or unauthorized repair can affect warranty coverage, and other manufacturers apply their own service terms. Keep the receipt, model and serial information, battery details, symptom notes, and video together when contacting the dealer or manufacturer.
If replacement is the practical choice, compare current options in the USEEIN red dot sight category, then confirm the exact manual, battery type, access method, and support terms before ordering.
A Short Troubleshooting Checklist
- Describe exactly when the dot blinks, dims, or disappears.
- Confirm the current mode and whether a blink is an intended status signal.
- Verify the exact battery type, condition, and polarity.
- Seat the cap, tray, door, seal, and screws only as the model manual specifies.
- Inspect accessible contacts without bending, scraping, or dismantling anything.
- Test with one controlled variable at a time and distinguish eye-visible behavior from camera artifacts.
- Stop if damage, corrosion, leakage, repeated interruption, or an undocumented control response remains.
- Contact the dealer or manufacturer with clear notes instead of attempting an internal repair.
A useful diagnosis does not begin with a screwdriver. It begins with a precise symptom, the correct manual, and the discipline to stop when the remaining fault is inside the sight.

















Leave a comment