One optic, two modes—and suddenly half the menu looks different. That is not necessarily a firmware problem. On a dual-use thermal optic, the controls should change because the device is doing a different job.
In front clip-on mode, the thermal unit works with a separate daytime scope. In standalone sight mode, the thermal device becomes the primary aiming optic. Those two arrangements do not need the same reticle behavior, zeroing tools or screen layout.
The short version is simple: clip-on mode supports the sight behind it; standalone mode has to be the sight.
First, a note about the names
“Front-mounted,” “rear-mounted,” “clip-on” and “scope mode” are not used consistently across every brand. The video supplied for this article is best described as a front clip-on mode and a standalone thermal sight mode. Its first mode is intended to sit ahead of another optic; its second mode uses the thermal device as the complete sighting system.
Always use the wording in the manual for your exact model and firmware. Choosing a mode because its name sounds close is not enough.
What changes in front clip-on mode?
A front clip-on adds a thermal image ahead of a conventional day scope. You still look through the day scope, and its reticle normally remains your main aiming reference.
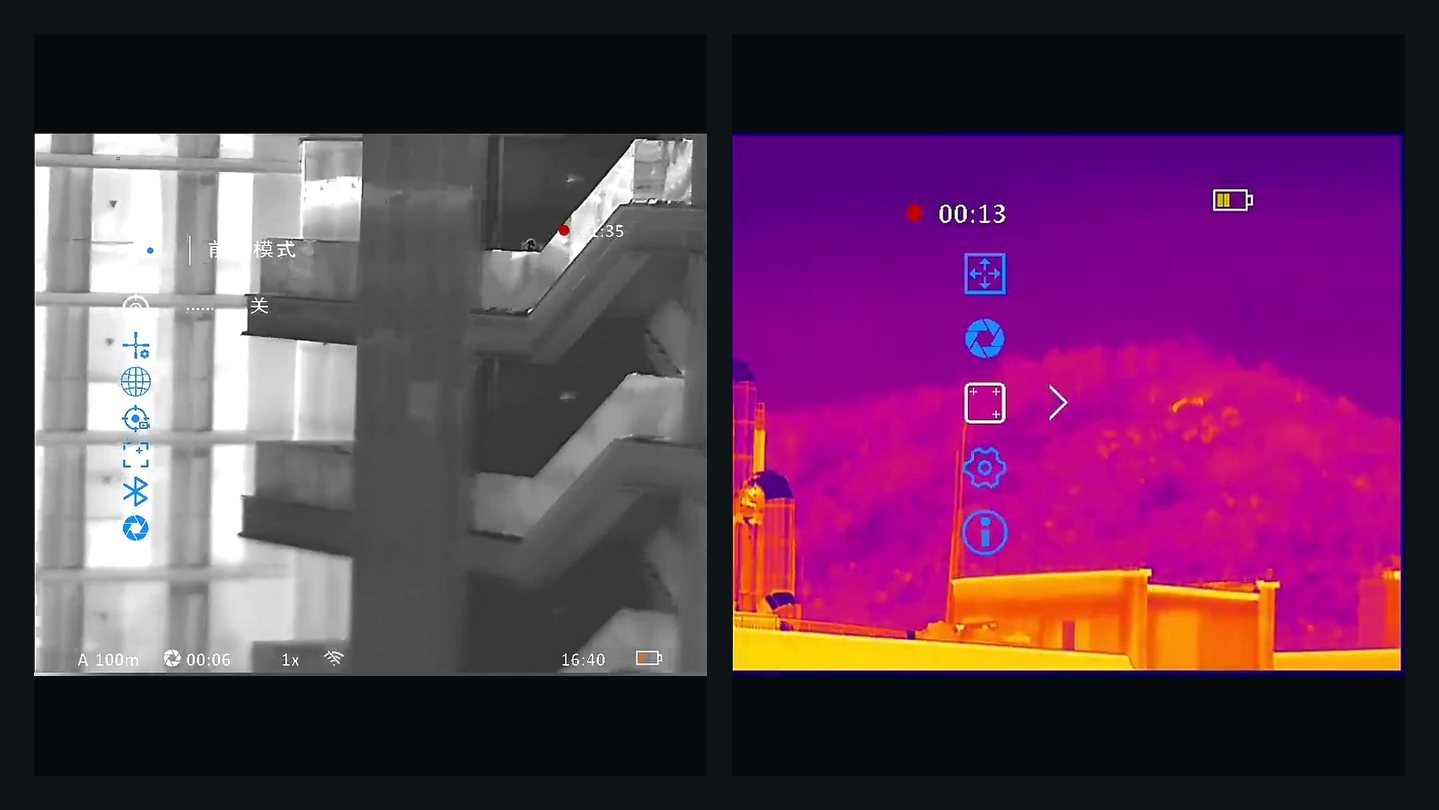
The device shown in the source video automatically hides its own reticle in this mode. That keeps a second crosshair from competing with the reticle in the day scope. The on-screen menu also presents the controls needed for the clip-on arrangement rather than treating the unit as a complete standalone sight.
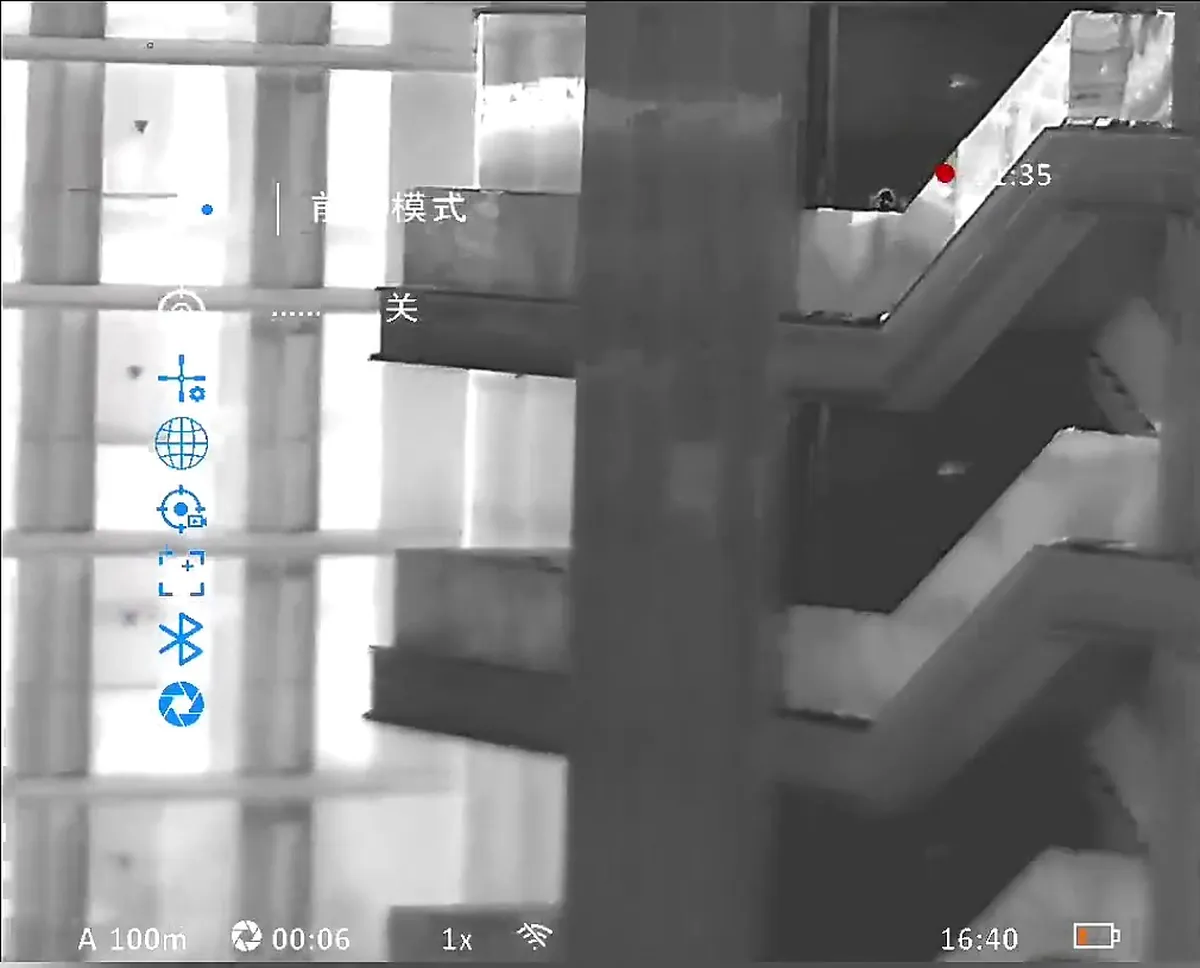
This does not mean every clip-on must be completely reticle-free. Some designs provide a virtual reticle for alignment, zeroing or recorded video. The important question is not whether a reticle feature exists somewhere in the software. It is which reticle is intended to be used for the live aiming setup.
What changes in standalone scope mode?
Once the thermal unit is used by itself, there is no day-scope reticle behind it. The device now needs to provide the aiming reference and the controls required to place that reference correctly.
That is why a standalone menu may add or expose items for:
- reticle style, color or brightness;
- reticle position and zeroing;
- saved zero profiles;
- magnification behavior around the reticle;
- range or ballistic functions, if the model actually supports them.
The video shows a distinct menu layout in the second mode, including a reticle-related control that is not presented in the same way in clip-on mode.
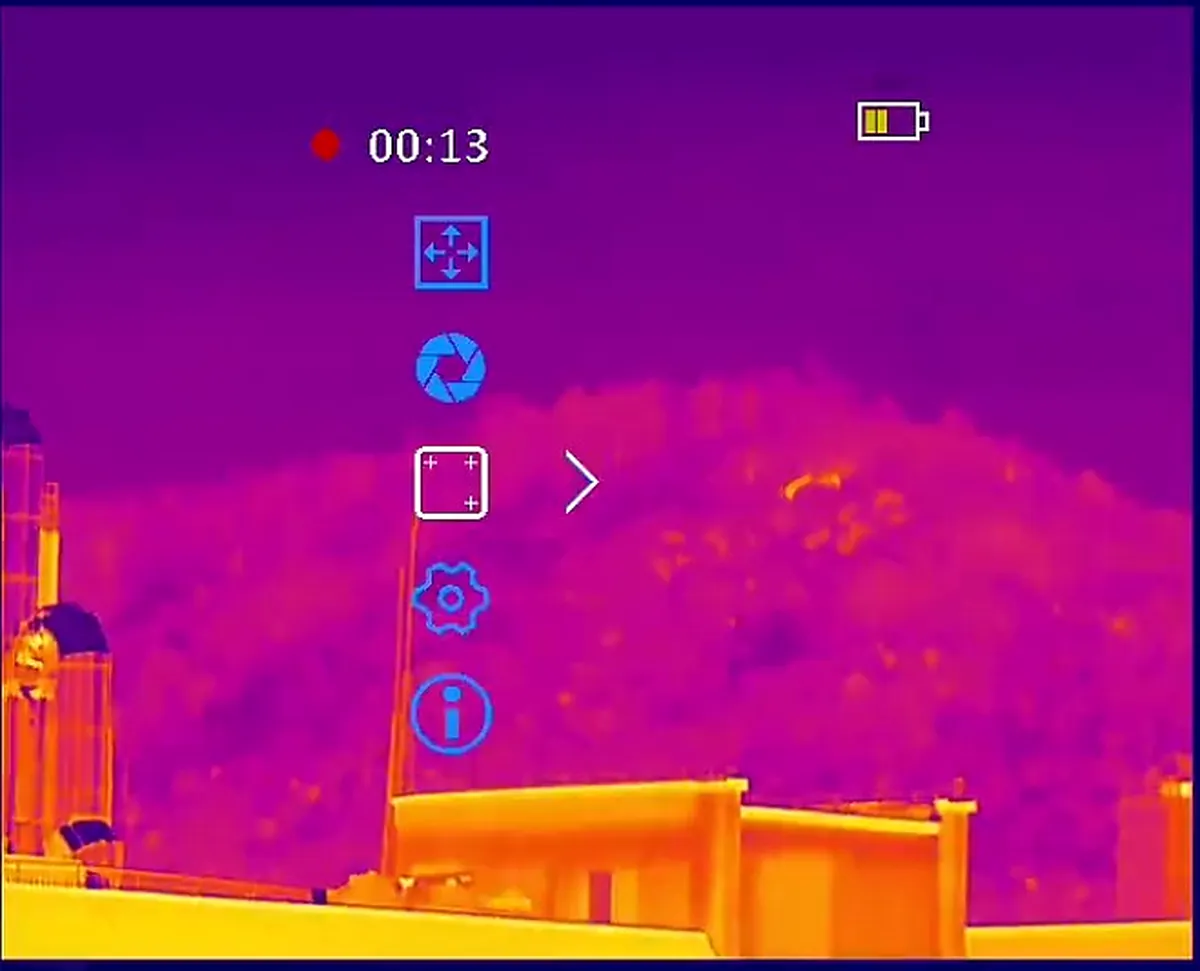
The exact list varies widely. A menu icon in one device should never be used as proof that another model includes the same function.
Why not show every option in both modes?
It might sound convenient to leave the full menu available all the time, but that creates opportunities for the wrong setting to be changed.
A second reticle can be confusing
If a clip-on reticle and a day-scope reticle are both visible, the user needs to know which one is the actual aiming reference. Even when they appear close together, they may not represent the same optical or mechanical relationship.
Zeroing means something different
In standalone mode, moving the electronic reticle changes the device's own aiming reference. In front clip-on mode, an alignment or calibration function may instead be used to keep the thermal image centered relative to the host optic. The procedure and the value being saved are not automatically interchangeable.
A shorter menu is harder to misuse
Removing irrelevant controls makes the active mode easier to understand. Image palette, brightness, calibration, recording and connectivity may remain useful in both modes, while reticle and zeroing tools can be shown only where the firmware expects them.
Switching modes is more than changing one icon
The software mode and the physical setup need to agree. Selecting clip-on mode while using the device as a standalone sight can leave you without the reticle or zeroing controls you expect. Selecting standalone mode while the unit is in front of another scope can give you two aiming references and invite an incorrect adjustment.
Before using either arrangement, check the following:
- Confirm the physical configuration. Verify the adapter, mount, orientation and required eye or lens spacing from the manufacturer's instructions.
- Select the matching operating mode. Do this before adjusting the reticle, image position or zero profile.
- Check which reticle is active. In clip-on use, identify whether the day scope, the thermal unit or a temporary alignment reticle is supposed to be the reference.
- Confirm the saved profile. Do not assume the device has loaded the same profile you used last time.
- Verify the setup safely. After a mount, adapter, mode or profile change, confirm alignment and point of impact using the maker's procedure in a controlled setting.
If the unit uses a removable mount, consistency matters there too. Check the maker's mounting procedure and inspect the hardware rather than simply adding more force; our guide to why optic mounting screws loosen covers the related fastener checks.
Do the two modes share a zero?
Never assume they do.
A dual-use optic may store mode-specific settings, separate profiles or a common value interpreted differently by each mode. A firmware update can also change where a setting is stored or how the menu presents it. The safe approach is to treat a mode change as something that requires verification, not as a display preference.
This is also separate from a conventional scope's tracking and return-to-zero behavior. If you want to understand that distinction, see scope tracking and return to zero explained.
Why did the reticle disappear?
If the reticle disappears immediately after you select front clip-on mode, that may be intentional. The device in the supplied video does exactly that because the host day scope is expected to provide the aiming reticle.
Before treating it as a fault:
- confirm that the device really is in clip-on mode;
- check whether a virtual reticle is available only inside an alignment or zeroing screen;
- read the manual section for reticle display and mode switching;
- verify that the firmware version matches the instructions you are following.
If the reticle is missing in standalone mode, or if mode changes do not save, then the battery state, profile selection, firmware and reset procedure are reasonable things to check before contacting support.
Brightness settings still need context
Reticle brightness is useful only when a reticle is active. In standalone mode, too much illumination can hide fine detail or dominate the thermal image. In clip-on mode, the day scope's reticle may be illuminated separately, so changing the thermal display brightness is not the same as changing reticle brightness.
Our guide to illuminated reticle brightness explains why the brightest setting is rarely the best default.
The practical takeaway
Different menus are a sign that the firmware recognizes two different jobs. Front clip-on mode is designed to cooperate with another optic, while standalone scope mode must provide its own aiming reference and zeroing controls.
Match the software mode to the physical configuration, check which reticle is actually in use, and verify the setup after any change. Most importantly, follow the manual for the exact device and firmware rather than assuming that every dual-use thermal optic handles the transition in the same way.

















Leave a comment