A flip-to-side magnifier can make a well-zeroed red dot appear off-center inside the magnified view. The instinct is often to adjust the red dot. That is usually the wrong place to start.
The red dot establishes the aiming reference. The magnifier’s centering controls are used to place that existing view comfortably inside the magnifier.
Match optical height first
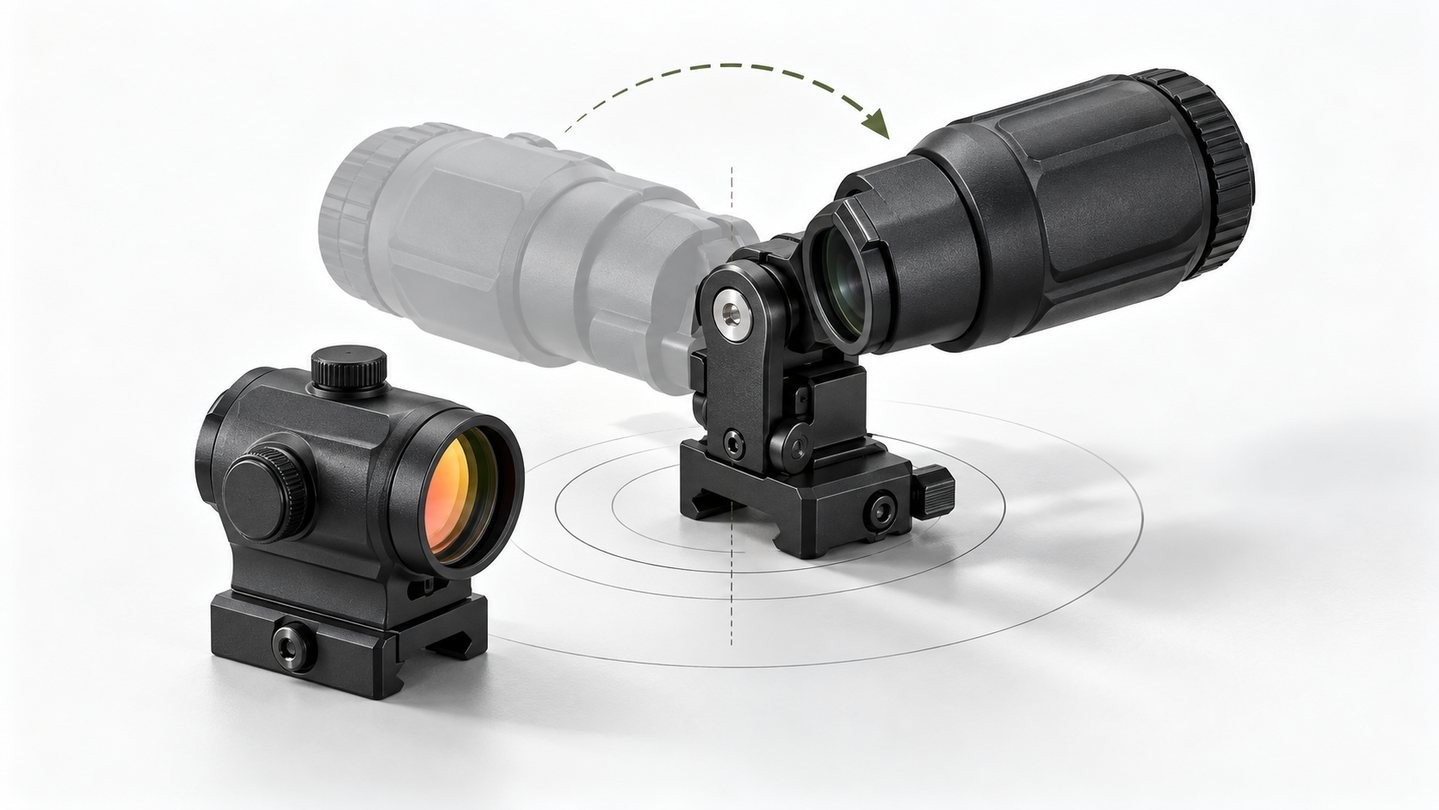
The red dot and magnifier need compatible centerline heights. A spacer, riser or alternate plate may be required by the exact models. If the height is wrong, centering adjustments may run out of range or leave the image visibly clipped.
Do not identify compatibility from appearance alone. Check the documented mount height and included spacers.
Check hinge lockup
Swing the magnifier into position and confirm that the mount seats fully without excessive play. Then move it aside and return it several times. The view should return consistently.
A loose rail clamp, incomplete latch or contact with another accessory can create a changing alignment that adjustment screws cannot solve.
Establish eye position before centering
Find the full field of view at the correct eye relief. If the eye is outside the eye box, the dark edge can make the image appear displaced. Read the eye-box guide if the picture disappears with small head movements.
Use magnifier adjustments only for the magnified view
Many magnifiers provide horizontal and vertical centering adjustments. These shift the image within the magnifier; they are not normally used to re-zero the red dot. Follow the exact manual, because control direction and range vary.
Once centered, compare the red dot with the magnifier engaged and moved aside. The point of aim should remain governed by the red dot, while the magnifier changes only the apparent size of the scene.
A centered dot is not the only success criterion
The dot does not always need to look mathematically centered inside the magnifier for the system to work. A clear full field, repeatable hinge position and an unchanged red-dot zero matter more. If centering the dot clips the image or consumes all adjustment, recheck height and mount seating instead of forcing the controls to their limits.
Setup sequence
- Verify the red dot is mounted and zeroed according to its own instructions.
- Match the magnifier’s centerline height.
- Secure the rail clamp and confirm hinge lockup.
- Set fore-aft position for eye relief.
- Set diopter focus.
- Center the magnified view without altering the red dot zero.
- Cycle the hinge repeatedly and check repeatability.
Good alignment is a mechanical stack: rail, mount, hinge, optical height and eye position. Adjust it in that order and there is much less temptation to chase the dot.

















Leave a comment